
How to Draw on Google Docs A Complete Guide
Need to get a drawing into your Google Doc right now? The quickest way is to use the built-in drawing tool. Just go to your menu bar, click Insert > Drawing > + New, and a drawing canvas pops right up. It's the most direct path for creating simple sketches, diagrams, or even adding a signature without ever leaving your document.
4 Ways to Draw in a Google Doc
Ever find yourself in the middle of writing a report and suddenly need a quick flowchart? Or maybe you're working on a school project and need to sketch out a simple diagram to explain a concept. That's exactly what the native drawing feature in Google Docs is for. It’s like having a mini-whiteboard tucked right inside your file.
This method is brilliant for those on-the-spot visual needs. Instead of firing up a separate program, creating a graphic, saving it, and then importing it, you can just build it right there. It saves a ton of time and keeps everything neatly packaged together within the document itself, which makes future edits a breeze. If you're curious about how file management works in the cloud, you can learn more about how to use cloud storage to keep your documents organized.
Why the Built-In Tool Is Often Your Best Bet
The biggest advantage of the integrated tool is its simplicity. It gives you the essentials without a cluttered interface, making it the perfect entry point for most users.
- Convenience: It’s already there for every Google Docs user—no add-ons or extra software needed.
- Speed: You can create and drop a drawing into your doc in seconds, keeping your workflow smooth and uninterrupted.
- Core Functionality: The toolbar has the basics covered with lines, shapes, and text boxes, which is all you really need for most simple diagrams and charts.
Not sure which drawing method is right for your task? This decision tree can help you figure out whether the simple built-in tool will do the job or if you need to pull out something with more firepower.
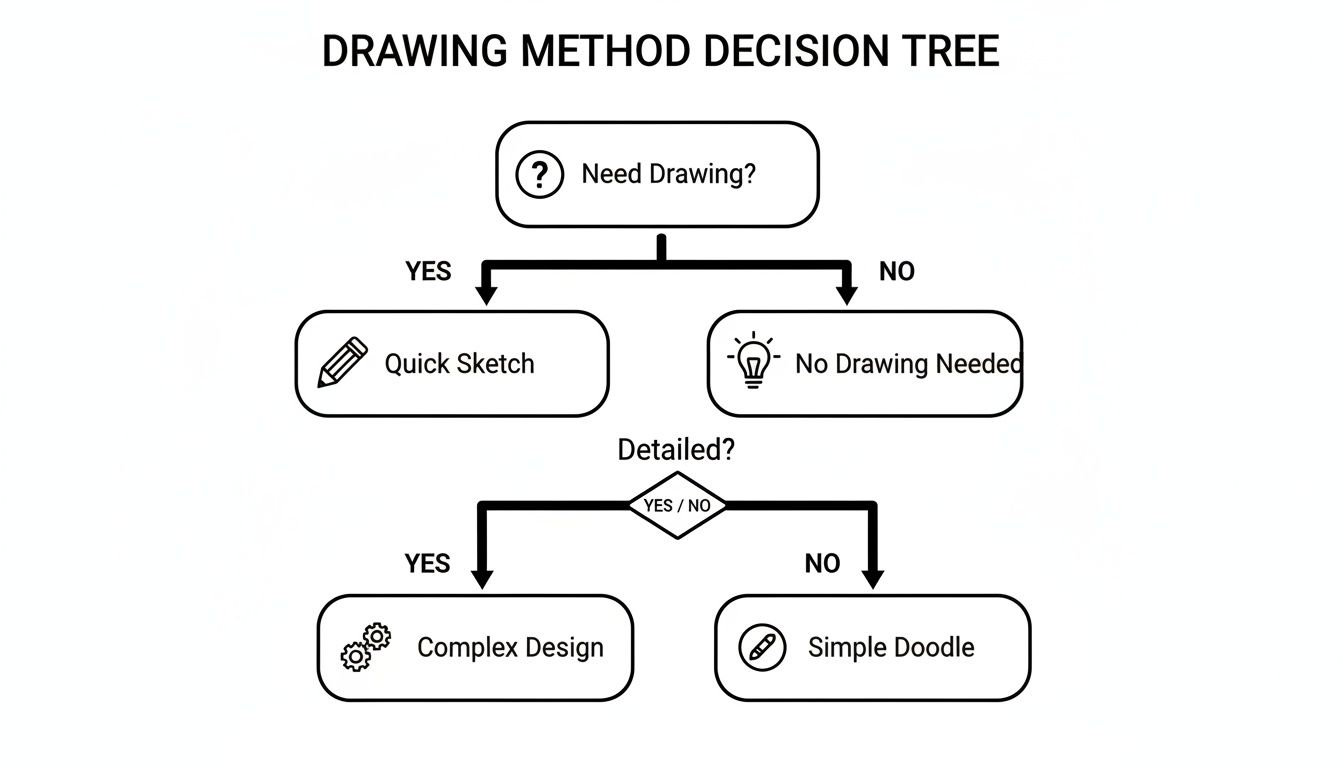
As you can see, it really boils down to complexity. Quick sketches are a perfect match for the integrated tool, but more detailed designs might have you looking for a different approach.
The built-in drawing feature is a cornerstone of modern digital collaboration. With over 1.8 billion Google Workspace users, the tool saw its usage jump by 40% as teams and classrooms shifted to remote environments.
Recent surveys even highlight its impact in education, where 85% of teachers now use it for everything from concept mapping to simple illustrations in student projects. This wide adoption is a testament to how valuable a simple, accessible drawing feature can be for just about anyone.
Choosing Your Drawing Method in Google Docs
To help you decide at a glance, here's a quick comparison of the different ways you can get a drawing into your document.
| Method | Best For | Key Feature |
|---|---|---|
| Built-in Drawing Tool | Quick, simple diagrams, flowcharts, and signatures made directly in the doc. | Simplicity and speed; no need to leave your document. |
| Google Drawings | More complex, detailed illustrations that you plan to reuse or edit often. | Full-featured canvas with advanced options like layers and guides. |
| Google Slides | Creating multi-part diagrams or presentations that need to be embedded as an image. | Combining multiple shapes, images, and text boxes with better alignment tools. |
| Google Jamboard | Freehand sketching, brainstorming, and collaborative mind-mapping. | A true digital whiteboard experience, especially with a stylus or touchscreen. |
Each method has its place, but for most day-to-day needs, starting with the built-in tool is the way to go. Now, let's walk through how to actually use it.
Mastering the Built-In Google Docs Drawing Tool
When you pop open the drawing canvas (Insert > Drawing > + New), you get a clean, uncluttered space. I like to think of it as a mini digital whiteboard tucked right inside your document. It's not a full-blown design program, and that's its strength—it’s built for speed and simplicity.
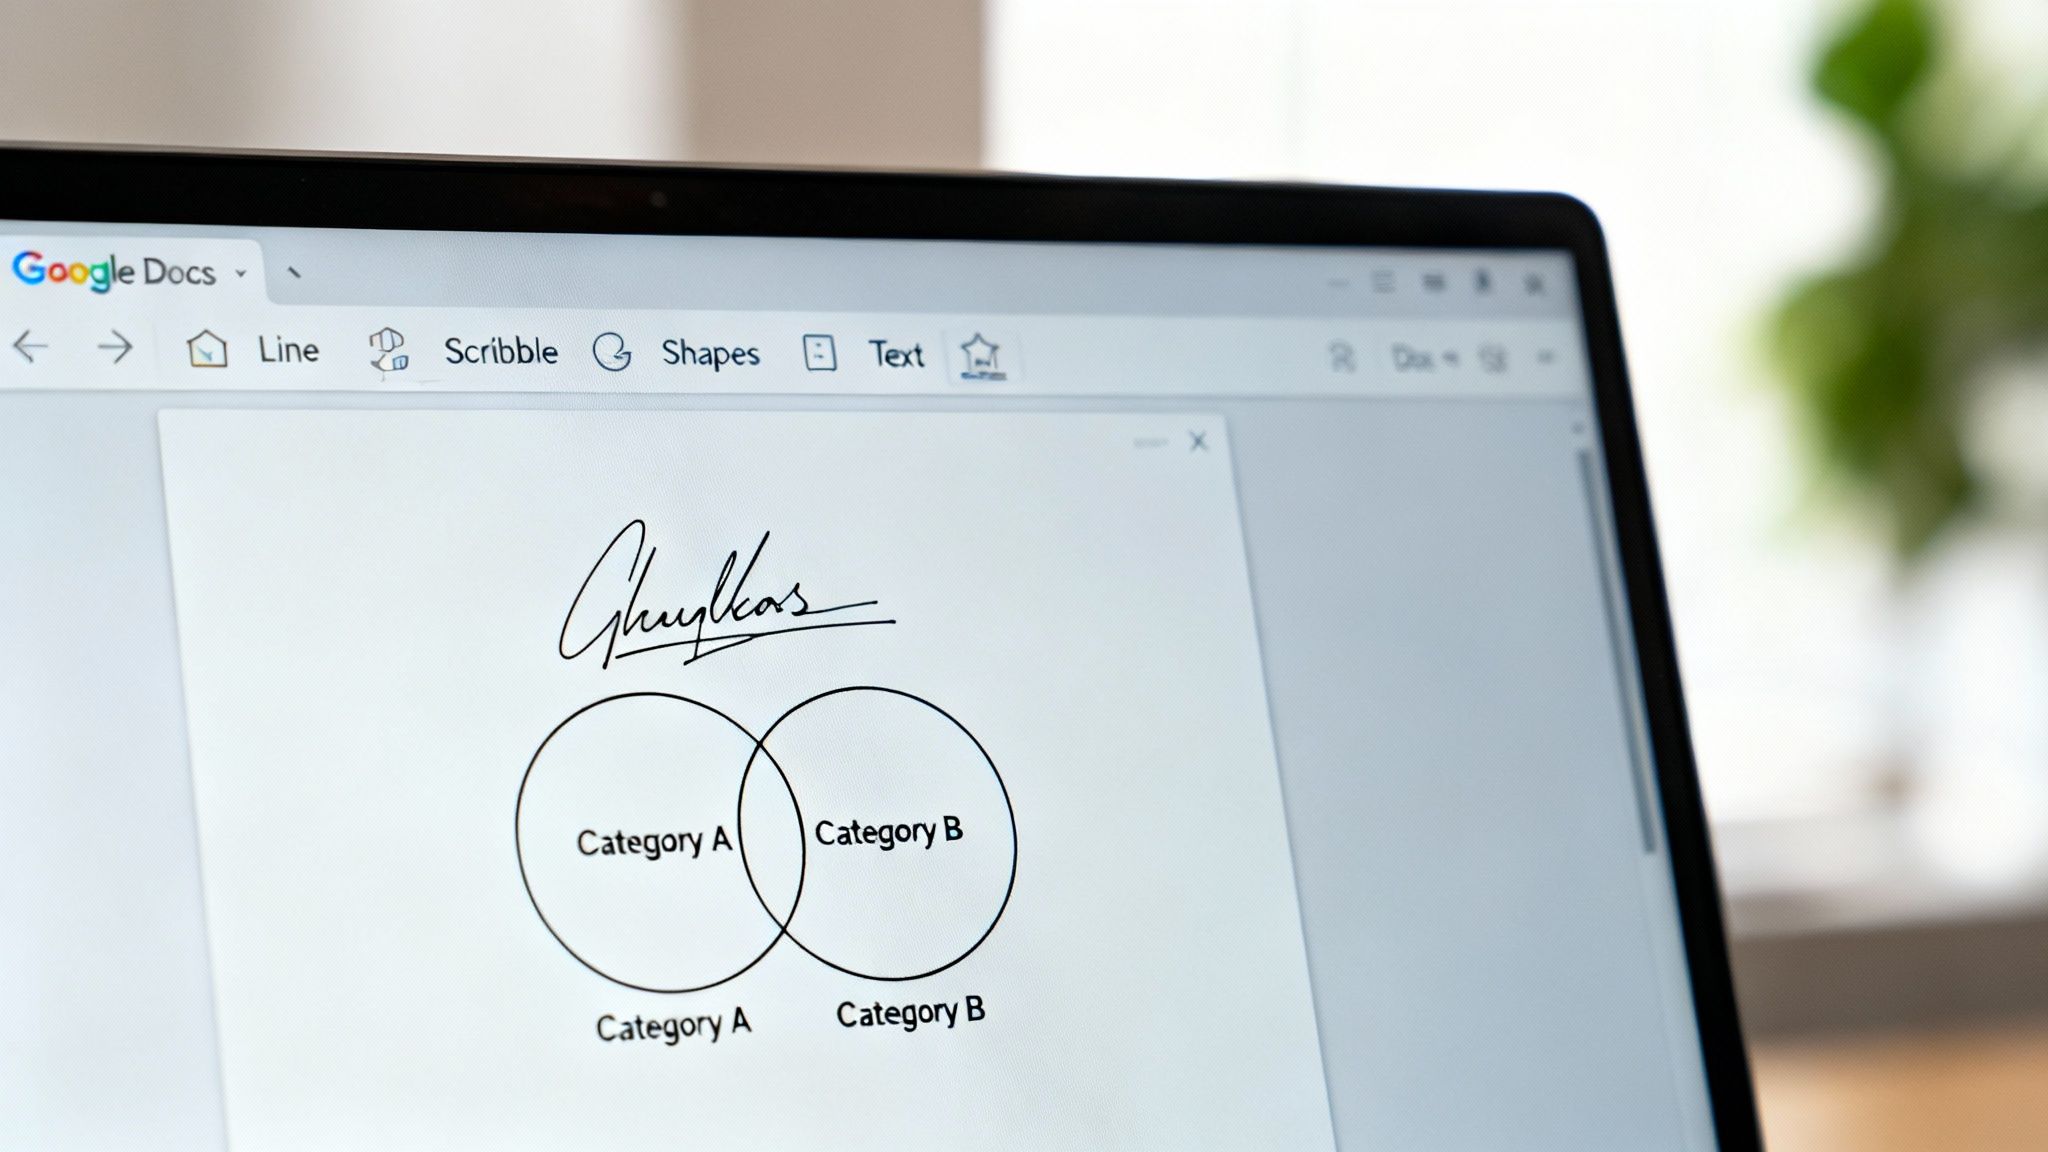
This tool is my go-to for quick visuals that need to be done now. I've used it for everything from mapping out a simple org chart for a proposal to throwing together a Venn diagram to compare marketing concepts. All the basic tools you need are right there, ready to go.
Drawing with Lines and Shapes
At its heart, the drawing tool is all about lines and shapes. You’ll find these front and center in the toolbar, giving you the building blocks for just about any diagram.
- The Line Tool: Don't let the name fool you; it's more than just straight lines. Clicking the little arrow next to it reveals options for arrows, elbow connectors, and curves. But the real star for free-form drawing is Scribble.
- The Scribble Tool: This is what turns your cursor into a pen. If you need to add a handwritten signature or sketch an organic shape, this is the tool you want. It tracks your mouse movements directly onto the canvas, giving you that freehand feel.
- The Shape Tool: Need a flowchart or a simple diagram, fast? This menu is packed with presets like squares, circles, callouts, and arrows. Just click and drag.
Once a shape is on your canvas, making it your own is easy. Just click on it. The toolbar will immediately show options to change the fill color, border color, and even the line weight. A quick tip: bumping up the line weight can make a specific part of your diagram really pop.
Adding Text and Images
Visuals are great, but they usually need a little context. The Text Box icon lets you click and drag to create a space for text anywhere on your canvas. It's perfect for labeling parts of a diagram or giving your drawing a title. You get all the standard formatting options, too—font, size, color, you name it.
You can also pull images directly into your drawing. Hit the Image icon to upload a picture from your computer or grab one from Google Drive. I find this incredibly handy for annotating screenshots or adding a company logo to a chart. If your image needs a little cleanup first, checking out some of the best photo editing apps for beginners can make a big difference.
Pro Tip: Your drawing is made of layers. If one shape is hiding behind another, just right-click it and use the "Order" menu to bring it forward or send it backward. Mastering this is key to creating clean, professional-looking diagrams where everything overlaps just right.
Putting It All Together: A Practical Example
Let's say you're building that simple Venn diagram I mentioned earlier. You'd start by grabbing the circle from the Shape tool and drawing two of them, making sure they overlap. To see through them, select a circle, click the Fill color icon, and pick a light color or even set it to transparent.
Next, you'd use the Text Box tool to add labels for each circle and the intersecting area. Once you're happy with how it looks, hit the big blue Save and Close button. Your creation will drop right into your document as a single image that you can resize and move around as needed.
2. Going Beyond the Basics with Google Drawings and Slides
While the built-in drawing tool is fantastic for quick sketches and simple diagrams, sometimes you just need more firepower. When you start feeling boxed in by that little pop-up canvas, it’s time to look at a couple of powerful workarounds right within the Google ecosystem: the standalone Google Drawings app and the surprisingly versatile Google Slides.
Think of the standalone Google Drawings app as the supercharged, more capable sibling to the tool inside Docs. It’s my go-to for creating more complex, detailed illustrations that I might want to reuse or tweak extensively later on.
Unleash Your Creativity with Google Drawings
The standalone Google Drawings application gives you a proper, infinite canvas to work with. You’re no longer stuck in that small pop-up, which is a game-changer for bigger projects like detailed flowcharts or intricate infographics.
It also packs in some more professional-grade features that give you much finer control over your work.
- Advanced Alignment Guides: Smart guides and rulers pop up as you move objects, helping you snap elements into perfect alignment with pixel-level precision. This is a lifesaver for creating clean, organized diagrams.
- Gradient Fills: You can move beyond flat, solid colors. Applying smooth gradient fills to shapes adds a sense of depth and a professional polish that really makes your visuals stand out.
- Better Layer Management: You get much more explicit control over object layers, making it far easier to juggle complex compositions with lots of overlapping elements without pulling your hair out.
Once your masterpiece is ready in Google Drawings, getting it into your document is a cinch. Just hop back over to your Google Doc, navigate to Insert > Drawing > From Drive, and pick your saved drawing. It pops right into your document as a high-quality image.
The best part of this method is that your drawing remains a live, editable file in Google Drive. If you spot a typo or need to make a change, just open the original Google Drawings file, edit it, and then click the little "Update" button that appears on the image in your Doc. Everything syncs up automatically.
Tool Comparison: Docs Drawing vs. Google Drawings
It can be helpful to see the differences side-by-side. The built-in tool is all about speed and convenience, while the full Google Drawings app is about power and control.
| Feature | Built-in Docs Tool | Google Drawings App |
|---|---|---|
| Canvas Size | Fixed, small pop-up window | Infinite, resizable canvas |
| Alignment | Basic guides | Smart guides, rulers, distribute & align tools |
| Color Options | Solid colors, basic transparency | Solid colors, custom gradients, transparency |
| Image Editing | Basic cropping and masking | Advanced options, adjustments, drop shadows |
| Saving & Reusability | Saved only within the document | Saves as a separate file in Google Drive |
| Collaboration | Not available | Real-time collaboration with others |
This table makes it clear: for anything more than a quick annotation, jumping over to the full Google Drawings app is almost always worth the extra click.
A Clever Workaround Using Google Slides
Here’s a trick I use all the time for creating polished custom graphics like page headers or unique callout boxes: Google Slides. I know it sounds a little strange, but Google Slides actually offers superior tools for combining text, shapes, and images into a single, cohesive graphic.
The text wrapping and image manipulation options in Slides are simply more robust. For instance, you can easily create a custom-shaped text box, layer it over a semi-transparent image, and add a subtle drop shadow for a really professional touch.
Once you’ve arranged all the elements perfectly on a slide, the next part is easy.
- First, click and drag your cursor to select every single shape, image, and text box that makes up your graphic.
- Next, right-click on your selection and choose Group. This fuses everything into a single, movable object.
- Finally, with the new group selected, just copy it (Ctrl+C or Cmd+C) and paste it directly into your Google Doc (Ctrl+V or Cmd+V).
Google Docs will import the entire group as one clean, polished image. This technique is fantastic for creating visually rich components that require more design finesse than the basic drawing tool can offer. As your projects get more complex, you can even explore how to use AI tools to help generate ideas or elements for these graphics, further streamlining your creative process.
How to Draw on Your Phone, Tablet, or Chromebook
Inspiration doesn't always wait until you're sitting at a desk. Thankfully, you can still sketch out a concept, jot down handwritten notes, or even sign a document right from the Google Docs mobile app. This works great whether you're on a phone, a tablet, or a touchscreen Chromebook.
Just know that the mobile experience is a little different from the desktop version. You can't start a brand-new drawing from scratch inside a Doc on your phone. Instead, the app is geared toward editing drawings you’ve already added or marking up the document with handwritten notes. This is perfect for quick reviews and adding feedback when you're on the move.
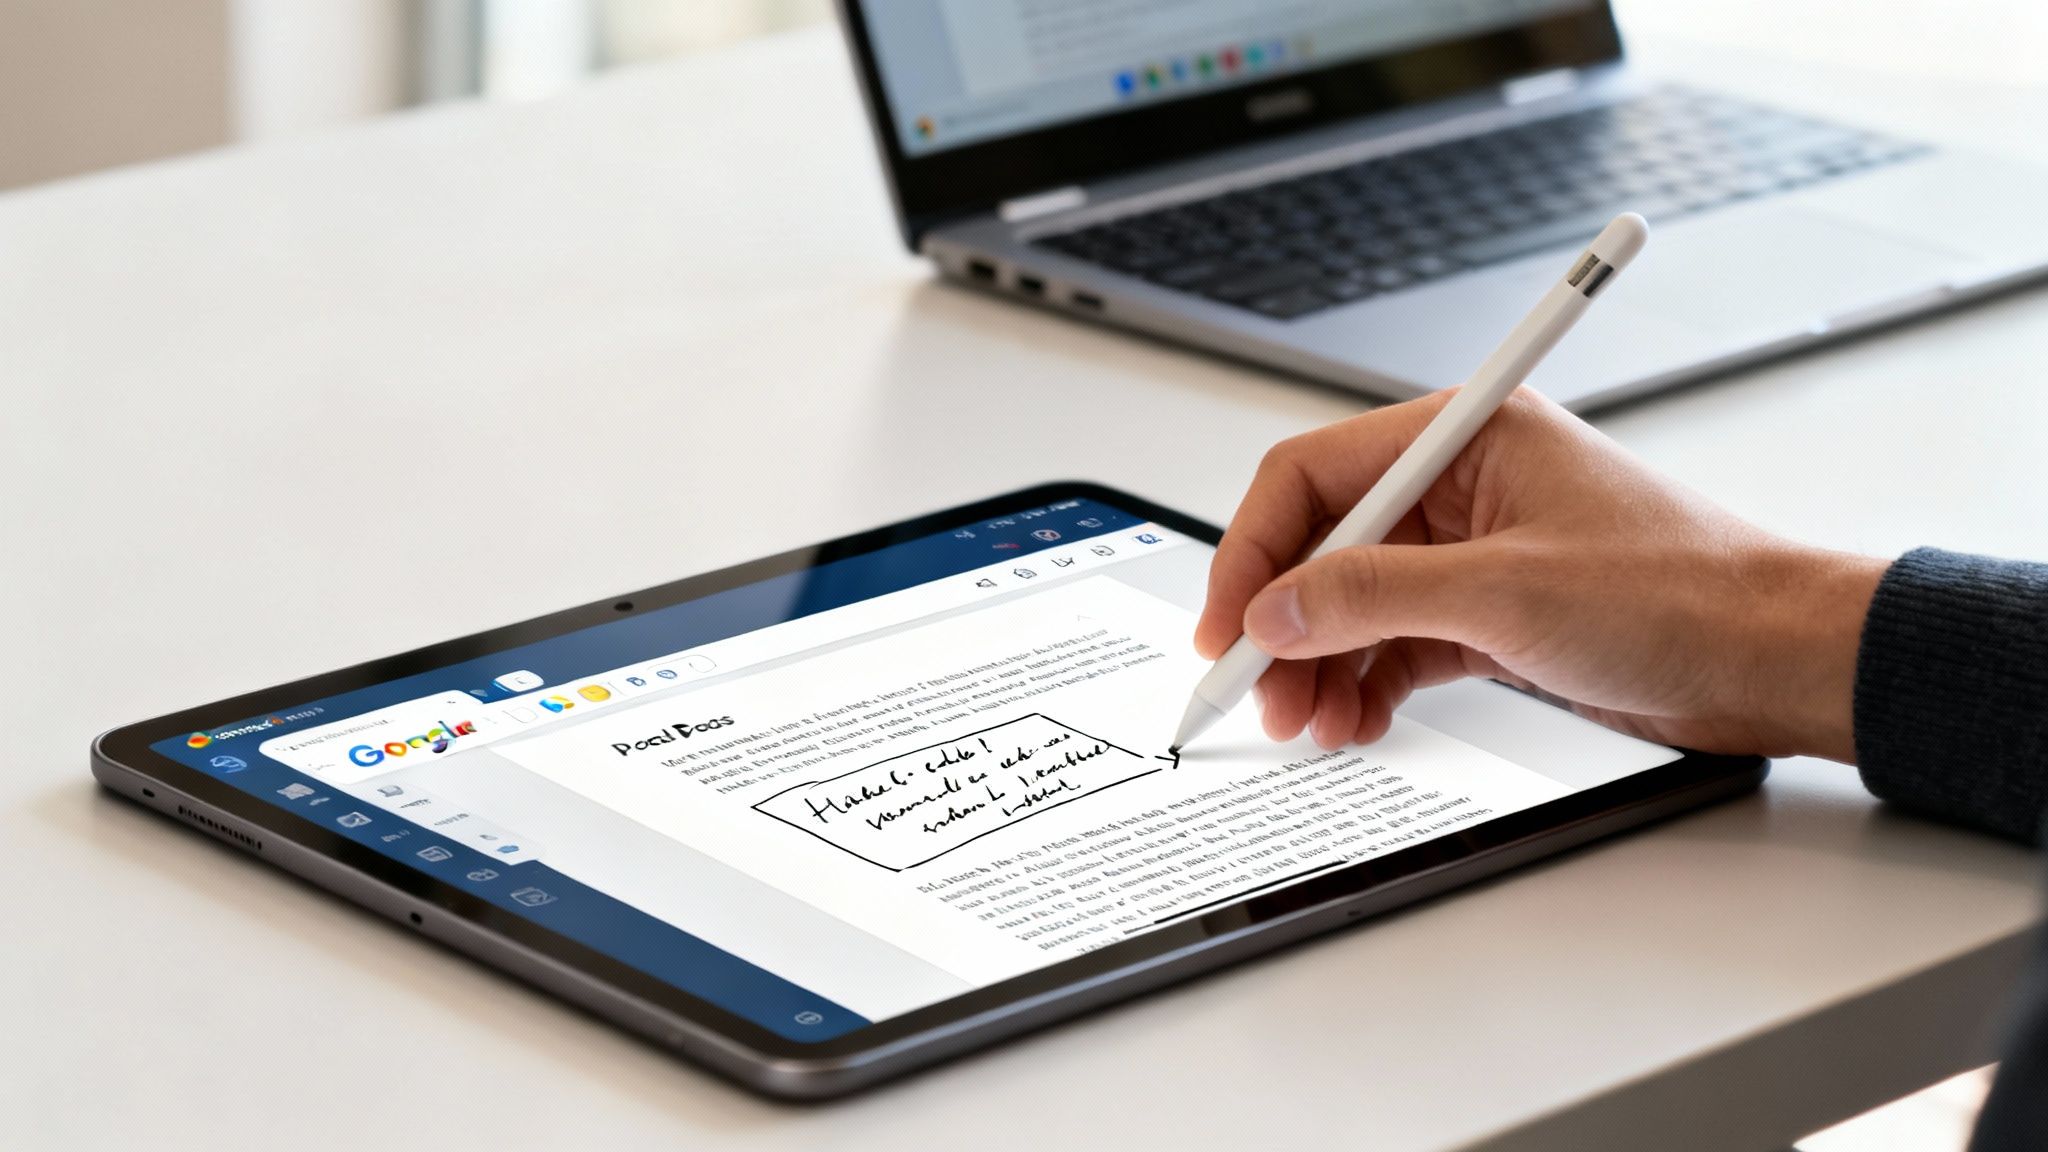
Using a Stylus for Better Precision
If you have a tablet like an iPad, a Samsung Galaxy Tab, or a Chromebook with a touchscreen, a stylus is a total game-changer. It offers a level of control and a natural feel that you just can't get with a fingertip, bridging the gap between digital work and pen on paper.
Think about signing a contract—a stylus gives you a much more authentic and readable signature. It’s also fantastic for annotating drafts with precise feedback, like circling a specific word or drawing an arrow to connect two ideas during a review. The "Scribble" tool suddenly feels less like a clumsy digital sketch and more like you're using an actual pen.
Tips for Drawing on Mobile Devices
Even with its limitations, the mobile interface is quite capable if you know a few tricks. Here are some practical tips I've picked up for making the experience smoother on a phone or tablet.
- Prepare on Your Desktop First: This is my go-to move. If I know I’ll need to sketch something later, I insert a blank drawing canvas into the Doc from my computer. This acts as a placeholder that I can easily open and edit from my phone later on.
- Zoom In for Detail: Mobile screens are small. Don't be afraid to use the pinch-to-zoom gesture to get up close to the area you're working on. This effectively gives you a bigger canvas for more detailed drawings or tiny annotations.
- Use the Standalone Apps: For anything more complex, I usually create the visual in the dedicated Google Drawings or Google Slides apps first. They have more robust tools and a friendlier interface for drawing. Once it's done, I just copy and paste the finished product into my Google Doc.
A quick thought: Your device really does make a difference. A Chromebook with stylus support or a larger tablet is always going to give you a better drawing experience than a small smartphone. For important work, picking the right tool is half the battle.
It’s also smart to keep your work secure, especially when you’re handling important documents on the go. If you want to brush up on best practices, our guide on how to backup phone data has some great tips for keeping everything protected. By combining these mobile strategies, you can draw and annotate effectively in Google Docs, no matter where you are.
Pro Tips for Editing and Managing Your Drawings
Okay, so you’ve got your drawing into the document. That's the first step, but the real magic happens when you start finessing how it looks and works on the page. Getting a handle on editing and managing these visuals is what separates a clunky document from a polished, professional one.
One of the first things you'll bump into is getting the drawing to play nicely with your text. Once you've inserted it, just click on the drawing. A little menu pops up right below it—this is your control panel for text wrapping and positioning.
Fine-Tuning Your Drawing Layout
You'll see three main layout options, and knowing which to pick makes all the difference. I use all three, depending on what the document needs.
- In line: This is the default. It basically treats your drawing like a huge letter in the middle of your sentence. I find this works best for really small things, like a custom icon or a simple signature that needs to sit right inside a line of text.
- Wrap text: This is my personal favorite for most situations. It lets the text flow neatly around your drawing. You can drag your diagram anywhere on the page, and the paragraphs will just move out of the way. It’s perfect for placing an explanatory diagram right next to the paragraph describing it.
- Break text: This option acts like a full stop, forcing all the text to stay either above or below your drawing—nothing on the sides. It creates a clean, intentional break in your content, which is great for large charts or diagrams that deserve their own space.
Crucial Tip for Future Edits: Don't ever delete and remake a drawing just to fix a small mistake. To get back to the editor, just double-click the drawing in your Doc. The canvas will pop right back up, you can make your changes, and they’ll automatically update when you save.
Saving and Reusing Your Work
Creating a fantastic diagram is one thing; being able to use it again and again is where you really start saving time. Drawings made inside a Doc are technically saved with that document, but you can easily pull them out for other uses.
This is where working directly in the standalone Google Drawings app really shines. Since every drawing is its own file in your Google Drive, it automatically becomes a reusable asset. From there, you can download your work in a bunch of useful formats.
- In Google Drawings, go up to File > Download.
- Then, pick the format that fits your needs:
- PNG Image (.png): This is my go-to for diagrams with text and shapes. The key feature is its support for transparent backgrounds, which lets your drawing blend in perfectly on a website or slide.
- JPEG Image (.jpeg): Better for drawings that have photos in them. Just remember, it will have a solid white background by default.
- PDF Document (.pdf): This is the best choice for sharing a high-quality version that anyone can view or print without losing any sharpness.
By saving your frequently used visuals—like a company flowchart or a blank wireframe template—you start building a personal library. It's a huge time-saver and keeps your branding consistent across different documents. Of course, the more you create, the more files you have to manage; it's always a good idea to know how to free up storage space to keep your Google Drive from getting cluttered.
Frequently Asked Questions About Drawing in Docs
Once you start getting the hang of drawing in Google Docs, you'll probably run into a few common questions. Maybe you're trying to nail a specific look or figuring out the best way to sketch something out with your team. These answers should help clear things up and make your workflow a whole lot smoother.
Let's dig into some of the most frequent questions people have when adding visuals to their documents.
Can I Use a Stylus to Draw in Google Docs?
Yes, you absolutely can! If you have a device that supports it—like a tablet, touchscreen laptop, or a Chromebook—using a stylus makes drawing feel much more natural than fiddling with a mouse or trackpad. The built-in drawing tool in Google Docs works great with stylus input, especially with the Scribble tool. It feels almost like using a real pen on paper.
This is my go-to method for adding a quick, clean digital signature or sketching a freehand diagram with nice, fluid lines. For anything more detailed or artistic, I'd recommend using your stylus with the standalone Google Drawings app, which gives you a much bigger and more capable canvas to work with.
How Do I Make a Drawing Background Transparent?
Good news—you don't have to do anything! The background of any drawing you create with Insert > Drawing > + New is already transparent by default. When you hit "Save and Close," only the shapes and lines you added will appear on your document, blending right in with the page.
Now, if you've dropped an image onto the drawing canvas and want to remove its background, that’s a different story. The drawing tools don't have a background removal feature. You’ll need to edit that picture in a separate tool first to create a transparent PNG file, and then upload it to your drawing canvas.
A common point of confusion is thinking the drawing canvas has a white background. It's actually a completely transparent layer, which is perfect for overlaying diagrams on top of your text without a clunky white box getting in the way.
Is It Possible to Collaborate on a Drawing?
You can't have multiple people editing the little pop-up drawing canvas inside a Google Doc at the same time. But don't worry—real-time collaboration is a core feature of the full Google Drawings application. This is the best way to handle any visual work with a team.
Here’s the workflow I always use for team diagrams:
- First, create the drawing directly on the Google Drawings website.
- Then, use that familiar blue Share button in the corner to invite your teammates to edit, just like you would with any other Google Doc.
- Once everyone's done and the drawing is finalized, pop back over to your Google Doc. Go to Insert > Drawing > From Drive to place the finished product right where you need it.
This approach keeps your collaborative brainstorming separate and clean. You can then insert the polished, final image into your document, and it can still be easily updated later if you need to make changes.
At Simply Tech Today, we believe in making technology straightforward and accessible. Our guides are designed to give you clear, practical steps to master the tools you use every day. For more tips and easy-to-follow tutorials, visit us at https://www.simplytechtoday.com.
Member discussion