Guide: how to set up new iphone efficiently
So, you've got a brand-new iPhone. That first moment of powering it on is always a little bit special, but then comes the big task: making it your phone. Getting this initial setup right lays the foundation for a smooth experience, whether you're upgrading from an older model or making the switch from Android.
Setting up a new iPhone is pretty straightforward these days. You'll power it on, connect to Wi-Fi, and follow the prompts. The biggest decision you'll face early on is how to get your data over. You can use Quick Start to transfer everything directly from an old iPhone or restore from an iCloud backup. Both are great ways to move your apps, settings, and photos without much fuss.
Your First Moments with a New iPhone
Before you even get to the fun stuff, a little prep work can save you a ton of headaches. Think of it as a pre-flight check.
The two absolute must-haves are a reliable Wi-Fi connection and your Apple ID password. You'll need solid Wi-Fi for downloading updates and restoring your data—doing this over a spotty connection is just asking for trouble. And trust me, you don't want to get locked out mid-setup because you can't remember your password.
Powering On and Initial Greetings
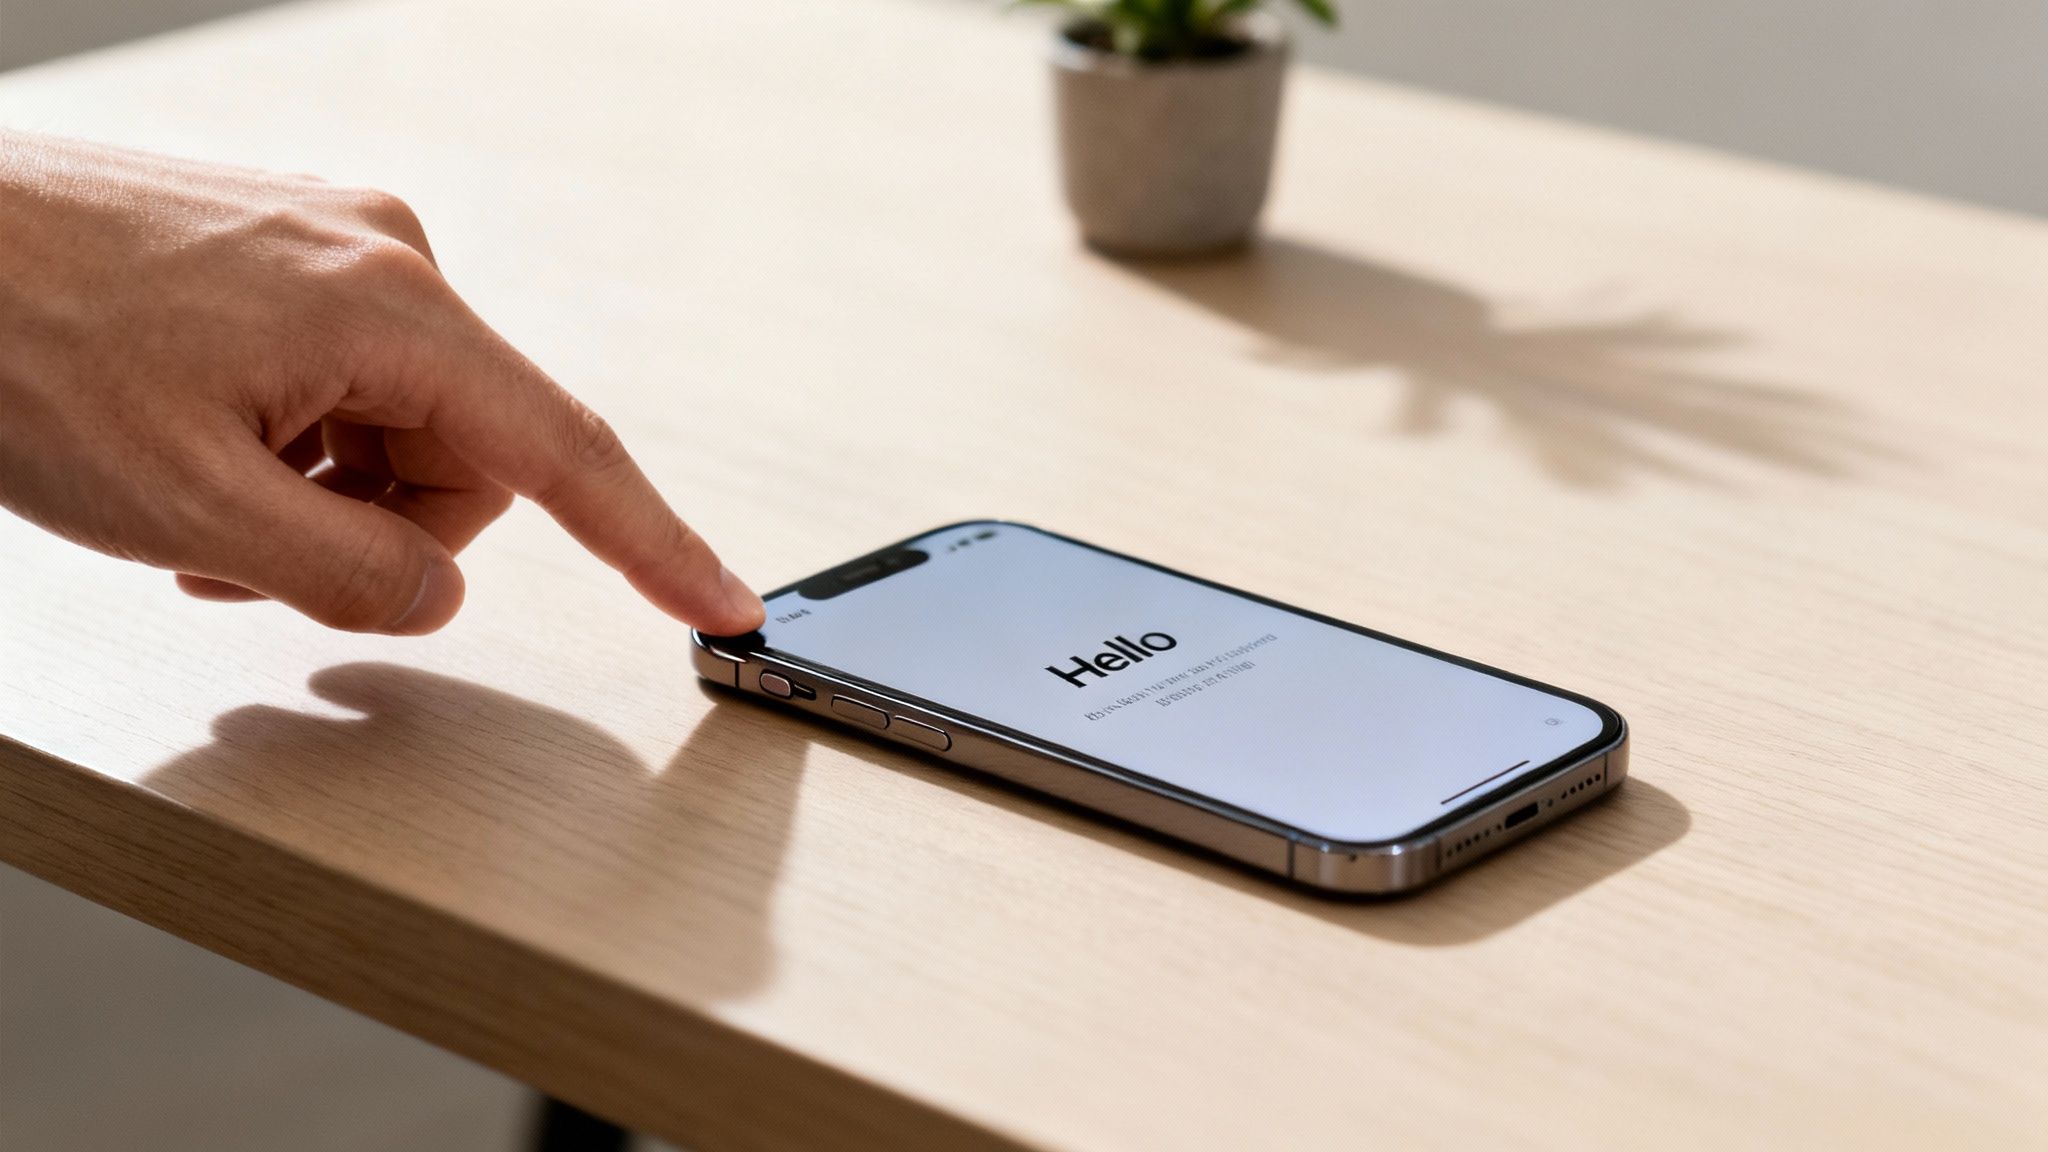
Go ahead and press and hold the side button until you see the Apple logo. The classic "Hello" screen will pop up, cycling through different languages. This is your starting line. Swipe up to get going.
First, you'll pick your language and region. These settings might seem minor, but they dictate how your phone displays everything from the time and date to currency formats in the App Store.
Right after that, you hit your first real crossroads: setting up manually or using Quick Start. If you have another iPhone or iPad handy, Quick Start is a fantastic shortcut. We'll dig into both options soon, but this is where your setup path really begins.
Key Takeaway: The first five minutes are all about the basics. A solid Wi-Fi connection and your Apple ID are non-negotiable for a hassle-free experience. Getting these simple things right from the start makes everything else that follows much smoother.
Preparing for a Seamless Transfer
Before you power on the new phone, take a moment with your old one. A few preparatory steps here can make all the difference.
If you use an Apple Watch, it's a good idea to unpair it from your old iPhone first. This automatically backs up your Watch data, which makes pairing it with your new iPhone a breeze. If you're not sure how, this guide on how to remove an Apple Watch from an iPhone walks you through it.
Most importantly, make sure your old device is backed up. This is your digital safety net.
- For an iCloud Backup: Head to Settings > [Your Name] > iCloud > iCloud Backup and hit Back Up Now.
- For a Computer Backup: Plug your old iPhone into a Mac or PC and use Finder (on macOS Catalina or later) or iTunes to create a backup.
Having a fresh backup provides incredible peace of mind. If the transfer hits a snag, you know you have a complete copy of your photos, messages, and contacts ready to go. It’s a simple step that’s easy to skip but can be a real lifesaver.
Choosing the Best Way to Transfer Your Data
Getting your digital life onto your new iPhone is, without a doubt, the most critical part of the whole setup. This is the step that brings your photos, contacts, messages, and apps over, making the new device truly yours. You've got three main ways to do this, and the best one for you really depends on your specific situation.
Think about it: do you have your old phone with you? Is it working, or is it broken? Or are you making the big switch from Android? Answering these questions first will point you directly to the most painless method for getting your new iPhone up and running.
Quick Start: The Magic of an iPhone-to-iPhone Transfer
If your old iPhone is sitting right next to you and works just fine, Quick Start is your new best friend. It’s a direct, device-to-device transfer that feels almost like magic, and it's by far the easiest route for anyone already in the Apple ecosystem.
Just place your new iPhone next to your old one. A prompt will pop up on your old phone's screen to kick things off. Your new phone will then show a swirling blue animation—you just scan that with your old phone's camera to pair them up. After that, just follow the on-screen prompts.
Quick Start is incredibly thorough. It moves nearly everything, including your Wi-Fi passwords, app layout, and system settings. It’s like creating a perfect clone of your old phone. Because it's a direct transfer over Wi-Fi (or even faster with a cable), it usually beats restoring from the cloud, especially if your camera roll is packed with photos and videos.
Real-World Scenario: You just unboxed the latest iPhone and your old one is on the counter. You're eager to get going before you have to run out. Quick Start is perfect for this. You can start the transfer, grab a coffee, and it'll often be done in under an hour.
Restoring from an iCloud Backup: Your Digital Safety Net
What happens if your old iPhone is gone? Maybe it was lost, stolen, or took an unfortunate dive into a pool. This is precisely where having an iCloud Backup is a lifesaver. As long as you had it enabled, your digital life is tucked away safely in the cloud, ready to be beamed down to your new device.
When you're setting up your new iPhone, you'll hit a screen called "Apps & Data." From here, you’ll want to select "Restore from iCloud Backup." You'll sign in with your Apple ID and then pick the most recent backup from the list.
The phone will immediately start pulling down your settings, home screen layout, and purchase history. Your apps will begin to download automatically in the background. The key here is to stay connected to a solid Wi-Fi network and keep the phone plugged in. Restoring a hefty backup can take a while and uses a lot of battery.
Making the Switch from Android with Move to iOS
Not too long ago, moving from Android to an iPhone was a real headache, often requiring clunky third-party software or manual file-juggling. Thankfully, Apple streamlined this with their Move to iOS app, which you can grab from the Google Play Store on your old Android phone.
Before you start, make sure both phones are charging and your Android is on Wi-Fi. Power on your new iPhone and go through the setup until you see the "Apps & Data" screen. Tap "Move Data from Android," and your iPhone will display a ten or twelve-digit code.
Now, open the Move to iOS app on your Android phone, agree to the terms, and pop in the code from your iPhone. This creates a secure, temporary Wi-Fi connection between them. You’ll then see a list of everything you can bring over.
The app does a pretty good job of moving the important stuff:
- Contacts
- Message history (SMS and MMS)
- Camera photos and videos
- Mail accounts and calendars
- Web bookmarks for Safari
It's just as important to know what doesn't come over. Your apps won't transfer directly. Instead, the tool will find the free apps that exist on both platforms and suggest you download them from the App Store. You'll have to repurchase any paid apps. Things like call history or specific app data also get left behind.
Comparing iPhone Data Transfer Methods
Choosing the right data transfer option is the first big decision you'll make with your new device. This table breaks down the three main methods to help you see which one fits your situation best.
| Transfer Method | Best For | What You Need | Key Benefit |
|---|---|---|---|
| Quick Start | Upgrading from another iPhone with the old device present. | Your old and new iPhones, Wi-Fi connection. | Fastest and most complete transfer, creating a near-perfect clone. |
| iCloud Backup | When your old iPhone is lost, broken, or not with you. | Your Apple ID and password, a recent iCloud backup. | A complete safety net that restores your data from anywhere. |
| Move to iOS | Switching from an Android device to a new iPhone. | Your Android phone with the app, both phones on Wi-Fi. | Simplifies moving core data like contacts and photos from Android. |
Ultimately, each of these methods is designed for a specific scenario, ensuring you can get started smoothly. If you're looking for an even more detailed walkthrough, our guide on how to transfer data to a new phone dives deeper into these processes.
Securing Your iPhone with Apple ID and Biometrics
Alright, once your data is on its way to your new iPhone, the next big step is locking it down. This is where you connect your digital identity to the device and set up the everyday security features that will protect your personal information.
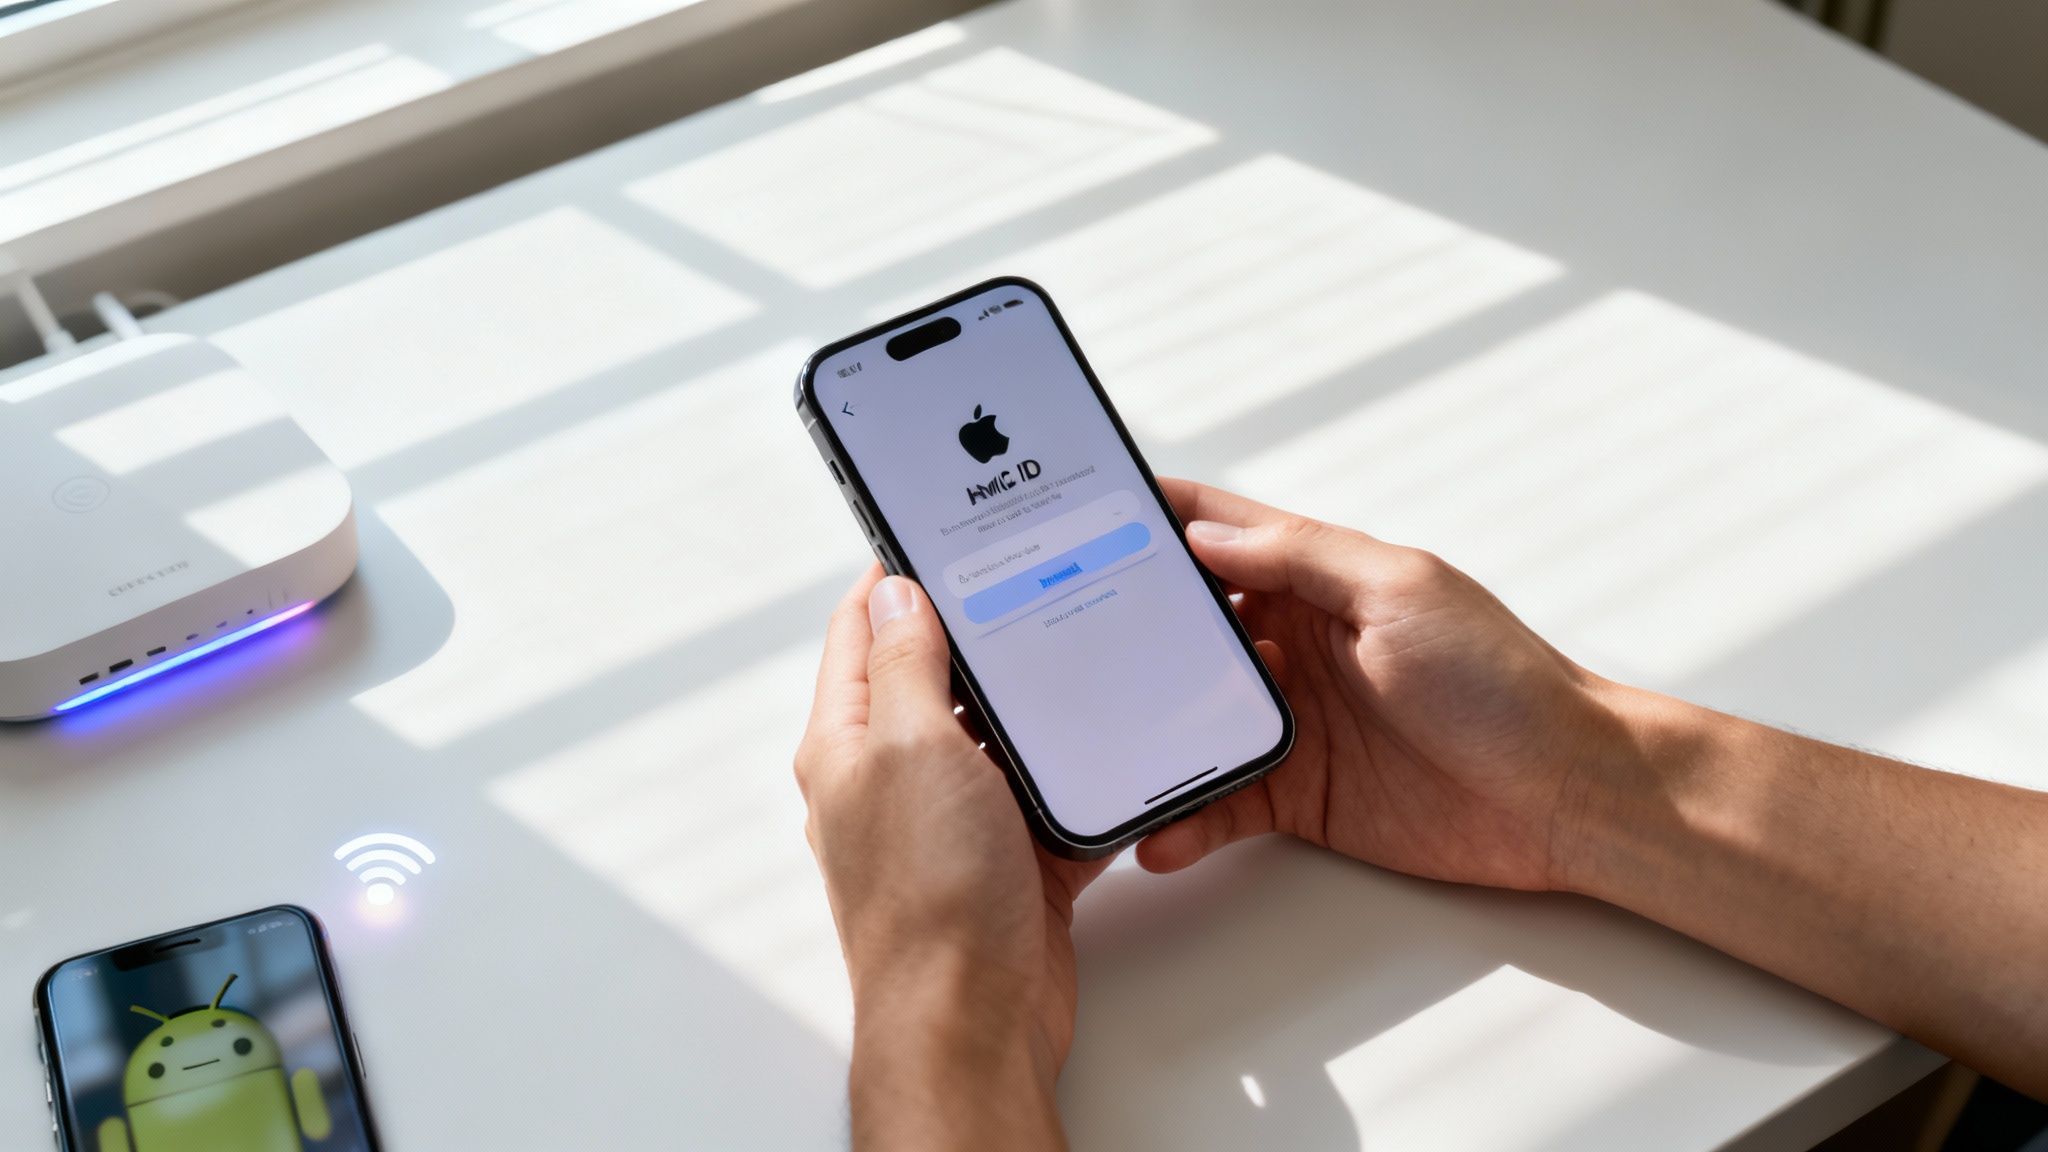
Your Apple ID is the absolute core of your Apple experience. It’s more than just a login; it’s the key that syncs your photos across devices, handles your iCloud backups, manages App Store purchases, and keeps your messages private. During the setup process, the phone will ask you to either sign into your existing Apple ID or create a new one.
It's easy to forget just how massive the Apple ecosystem is. When you activate this device, you're plugging into a network of over 2.35 billion active devices worldwide. With the iPhone making up 47.41% of Apple's revenue, your Apple ID is the gateway to everything—including services like Apple Pay, which is now supported in 89 markets with over 11,000 banking partners.
Your Apple ID and Two-Factor Authentication
If you’re starting fresh with a new Apple ID, take a moment to create a strong, unique password. My best advice? Don't use a single word. Think of a passphrase like "BlueOcean!Waves23"—it's much tougher for anyone to guess or crack.
Even more important is enabling Two-Factor Authentication (2FA) when prompted. This is non-negotiable for security. It means that even if a scammer somehow gets your password, they can't log into your account without a second piece of information: a six-digit code that gets sent to one of your trusted devices.
Key Takeaway: Turning on 2FA is like hiring a digital bodyguard for your Apple account. It is the single most effective thing you can do to prevent someone from getting unauthorized access.
Without it, a leaked password could expose your private photos, messages, and backups. With 2FA, you get an immediate alert and a verification code, stopping an intruder cold. If you're curious about the nuts and bolts, we have a great guide explaining how to use two-factor authentication.
To help you visualize how to get your data over before you start securing the device, this chart lays out the different paths you can take.
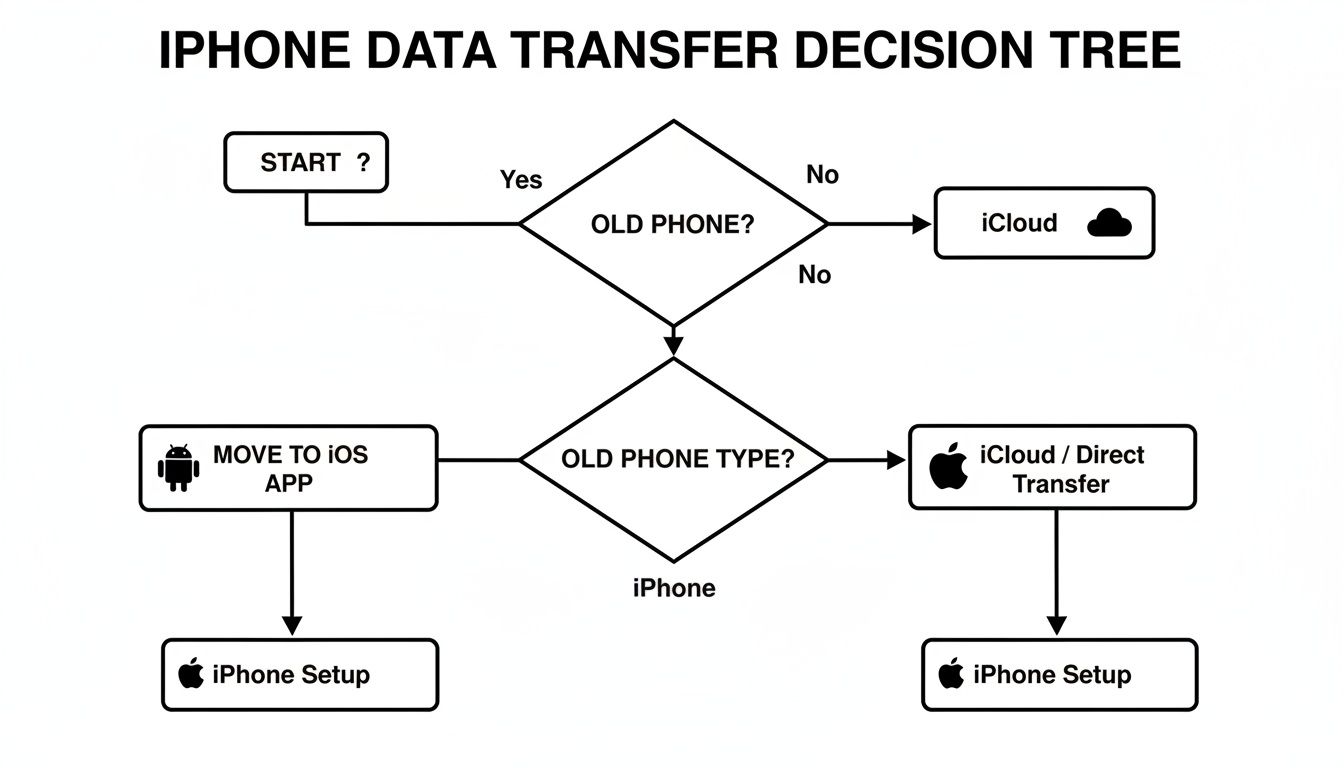
As you can see, the right choice really just depends on whether you have your old phone handy. From there, you can decide between a direct transfer, an iCloud restore, or a specific method for moving from an Android phone.
Unlocking with Your Face or Fingerprint
After your Apple ID is squared away, it’s time for the fun part: biometrics. Depending on which iPhone you have, you’ll be prompted to set up either Face ID or Touch ID. This is more than just a cool way to unlock your phone; it fundamentally changes how you securely interact with it.
- Face ID: This uses the advanced TrueDepth camera system to project and analyze thousands of invisible dots to create a precise 3D map of your face.
- Touch ID: This relies on a high-resolution sensor, either in the classic Home button or built into the side button, to capture a detailed image of your fingerprint.
The setup itself is a breeze. For Face ID, you’ll just look at your phone and gently move your head in a circle. For Touch ID, you’ll repeatedly lift and rest your finger on the sensor so it can learn all the ridges of your print.
This isn’t just for showing off, either. Biometric authentication is a serious security tool that you'll use constantly.
Here’s where you’ll use Face ID and Touch ID all the time:
- App Store Purchases: Forget typing in your password for every app. A quick glance or touch confirms the download instantly.
- Apple Pay: This is how you authorize payments in stores or online, making it both fast and incredibly secure.
- App Logins: Countless apps, especially for banking and password managers, use it to keep your most sensitive data safe.
Basically, your face or your fingerprint becomes your password—one that’s completely unique to you and much harder to steal than a line of text.
Adding Your First Card to Apple Pay
The final piece of this initial security setup is Apple Pay, which lets you make secure, contactless payments right from your iPhone. The setup wizard will give you a chance to add a credit or debit card right away.
You can either point your iPhone’s camera at your physical card to scan the numbers automatically or just type them in manually. Your bank will need to verify it's you, usually by sending a confirmation code via text or through their own app.
The security here is top-notch. When you add a card, Apple doesn’t store your actual card number on the device or its servers. Instead, it creates a unique Device Account Number, encrypts it, and locks it away in a special hardware chip called the Secure Element.
This means merchants never even see your real card number, which dramatically cuts down on the risk of your financial info getting snatched in a data breach. Every single transaction has to be authorized with your Face ID, Touch ID, or passcode, adding yet another layer of protection. Getting this done now means you’re ready for quick, safe payments right out of the box.
Alright, your new iPhone is officially up and running. You've got your data moved over and your Face ID or Touch ID is good to go. But don't stop there. The real magic happens when you move beyond the factory defaults and start making the phone truly yours.
Think of it like moving into a new house. The furniture is in, but now you need to hang the pictures and arrange things just right. Spending a few minutes in the Settings app right now will save you a ton of frustration later and make your iPhone a joy to use. We're going to focus on three big areas: getting to your favorite tools faster, silencing the constant noise of notifications, and locking down your privacy.
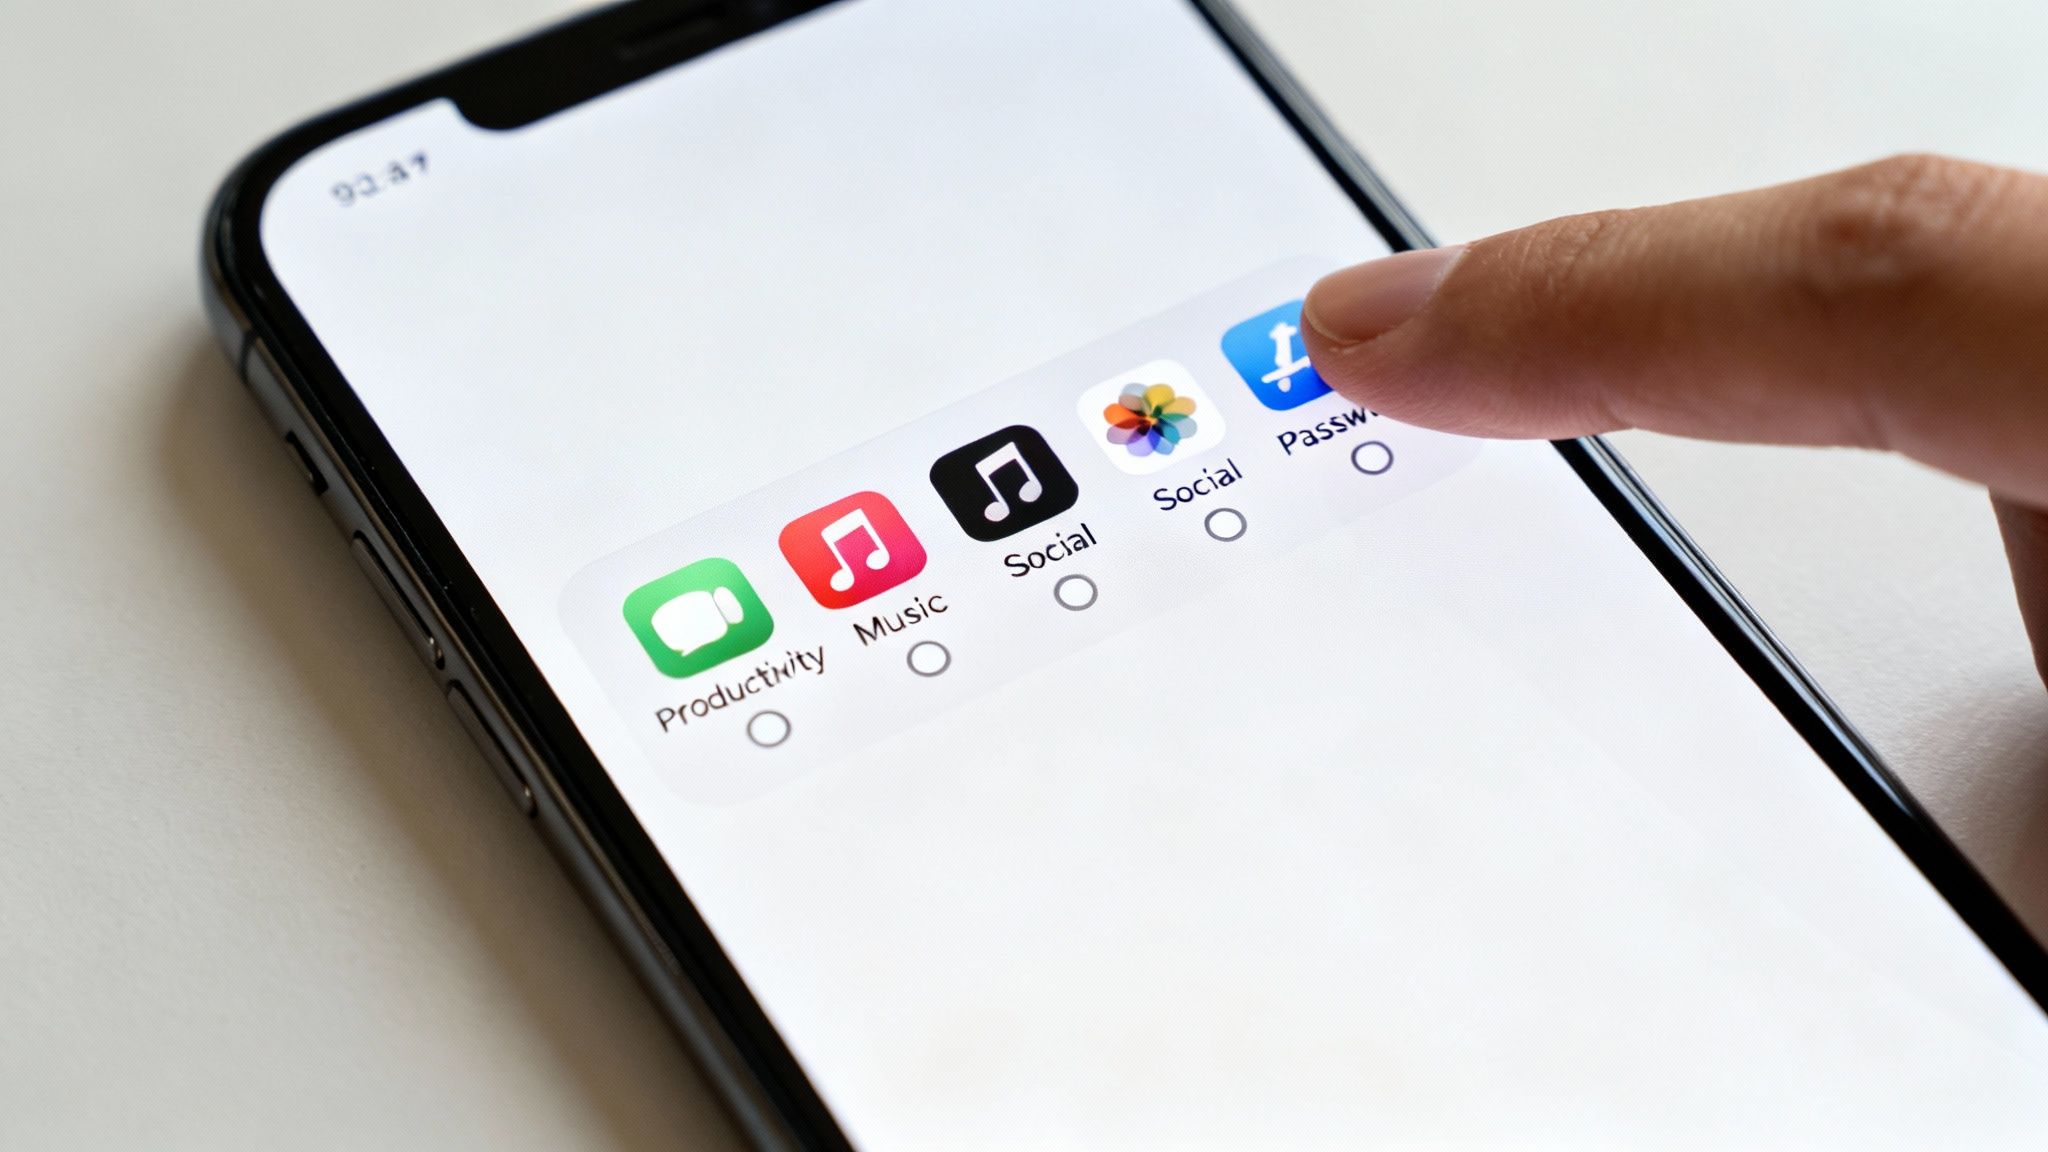
Tailoring Your Control Center for Quick Access
You know that screen full of handy buttons you get when you swipe down from the top-right corner? That's the Control Center, and it's your secret weapon for quick access to your most-used tools. By default, it has the basics like Wi-Fi and Bluetooth, but you can load it up with the things you actually use every day.
Always fumbling to find the Calculator app? Need the Flashlight in a pinch? Adding them to your Control Center is a total game-changer.
Here’s how to set it up:
- Open up Settings and head to Control Center.
- You’ll see what’s already included and a bigger list of options under "More Controls."
- Tap the green plus (+) icon next to anything you want to add. I highly recommend Low Power Mode, Screen Recording, and maybe the Calculator.
- Hit the red minus (-) icon to get rid of anything you never touch.
- You can also drag the three-line icon to reorder them and put your most-used shortcuts at the top.
Personally, I always add Low Power Mode and the Notes shortcut. That way, I can save battery or jot down a quick thought without ever having to hunt for an app.
Taming Notifications to Reclaim Your Focus
Out of the box, every single app you install is going to beg for permission to send you notifications. If you say yes to all of them, your phone will become a non-stop buzzing, blinking source of anxiety. It's a huge battery drain and a massive distraction. The best approach is to get ahead of it and decide which apps have actually earned the right to interrupt you.
Just go to Settings > Notifications. You'll see a list of every app on your phone. Tap on one to control exactly how it can get your attention.
Pro Tip: Think about notifications in tiers. For something like Messages, you probably want instant alerts with sound. But for a news app, maybe you just want its updates to collect silently in the Notification Center for you to check when you feel like it. This simple strategy makes a world of difference.
This is the perfect time to be a little ruthless. Do you really need breaking news alerts from three different sources? Does that game really need to remind you to play? Shutting off notifications from non-essential apps is probably the single best thing you can do for your focus and your iPhone's battery life.
Taking Control of Your Privacy
Your iPhone comes with some fantastic privacy features, but they aren’t always front and center. You need to know where to look. The two most important settings to check right away are Location Services and App Tracking Transparency.
You'll find both of them in Settings > Privacy & Security.
Location Services: This is where you decide which apps get to know where you are. Some, like Apple Maps or your weather app, obviously need it to work. But does a simple photo editor or social media app really need your precise location 24/7? Go through this list and set each app to "Never," "Ask Next Time," or "While Using the App." My rule of thumb is pretty simple: "While Using" for apps with a legitimate need, and "Never" for almost everything else.
App Tracking Transparency: This one is a huge win for privacy. Turning off "Allow Apps to Request to Track" stops them from following you around the internet to show you targeted ads. It’s a simple toggle that makes it much harder for companies to build a profile on you. Unless you have a very specific reason to leave it on, I’d suggest disabling it.
With Apple projected to ship a staggering 247.4 million iPhones in 2025, driven by new models like the upcoming iPhone 17 series, millions of people will be making these same choices. As you can read in the complete research on Apple's record-breaking sales, each new device is an opportunity for a user to take control of their data. Taking a few moments to lock these settings down is a critical step in protecting your personal information. And if you want to take personalization even further, check out our guide on how to change app icons on your iPhone.
Downloading Your First Must-Have Apps
Alright, your new iPhone is active, secure, and has your personal data on it. Now for the fun part: making it yours. The device itself is just a starting point; the apps you install are what truly transform it into a tool that fits your life. This is where you go from a basic setup to a powerhouse in your pocket.
Tapping that App Store icon opens up a massive world. As of 2025, there are an incredible 3.84 million apps available—up from 3.8 million in mid-2022. It's a huge digital library that has generated over $550 billion for developers since it launched. You can see more stats on the App Store’s growth over at Backlinko. With so many choices, it helps to start with the essentials.
Building Your Productivity Hub
Before you even think about games or social media, I always recommend getting your productivity tools installed. These are the apps that will make your daily life run smoother, keep you on track, and just generally reduce a bit of chaos. A few smart downloads here can make all the difference.
- A Solid To-Do List: Apple's built-in Reminders app has gotten really good, but power users might want more. I'm a big fan of Todoist and Things 3 for managing complex projects and setting clear deadlines.
- A Capable Note-Taker: Again, Apple Notes is great for quick thoughts, but apps like Craft or Bear offer a more polished and organized writing experience. They’re perfect for everything from meeting notes to journaling.
- A Password Manager: This is absolutely non-negotiable. Don't rely on your memory or a note file. An app like 1Password or Bitwarden creates and saves strong, unique passwords for every site you use, keeping your entire digital life safe behind one master password.
Connecting with Your World
Next up, get your communication lines open. These are the apps that keep you in touch with friends, family, and colleagues. You probably already know what you use, but getting them downloaded and logged in early means you won't miss anything while you're still getting settled.
This list is obviously personal, but it usually includes your go-to social platforms (Instagram, TikTok, X), messaging apps (WhatsApp, Telegram), and professional networks like LinkedIn.
A Personal Tip: As you install these apps, pay close attention to the permissions they ask for. Does your social media app really need access to all your contacts? Does that game need your location? Take a moment to think before you tap "Allow"—it's a great security habit to get into.
Your Entertainment on the Go
With the serious stuff out of the way, it's time to load up on entertainment. Your iPhone is an incredible portable media device, so make sure you have your favorite music, podcasts, and shows ready to go.
These are the downloads that will save you on your commute or help you unwind at the end of the day.
- Music and Podcasts: If you're not an Apple Music or Podcasts user, grab Spotify for your tunes or Pocket Casts for your favorite shows.
- Video Streaming: Get Netflix, YouTube, Max, or whatever other video services you subscribe to. Nothing's worse than wanting to watch something and realizing you have to download the app first.
- Reading: For bookworms, the Kindle app is a must. And if you use your local library, Libby is an fantastic app for borrowing e-books for free.
Finally, think about your hobbies. If you love taking pictures, a good photo editor can take your shots to the next level. We actually have a whole guide on the best photo editing apps for beginners that's worth a look. By being thoughtful about your first few app downloads, you’re truly finishing the setup process and making your new iPhone your own.
A Few Common iPhone Setup Questions
Even with a smooth setup, a few questions always seem to come up. It's totally normal. You're not the first person to wonder how long this is all going to take or why the screen suddenly seems stuck.
Let's walk through the three most common questions I hear: how much time you should set aside, what to do if the phone freezes, and whether you really need a SIM card right away. Getting these answers sorted out now will save you a ton of stress.
How Long Does It Take to Set Up a New iPhone?
This is the big one, and the honest answer is, "it depends." The initial part—choosing a language, connecting to Wi-Fi, and scanning your face for Face ID—is incredibly quick. You'll likely be through that in less than 15 minutes.
The part that takes the time is moving all your stuff over. The transfer time really comes down to how you're doing it and how much data you have.
- Quick Start (iPhone to iPhone): If you've got both phones side-by-side and a decent Wi-Fi connection, you're probably looking at 30 to 45 minutes for an average amount of photos, apps, and messages.
- Restoring from an iCloud Backup: This one is all about your internet speed. If your backup is huge (say, over 100 GB) and your internet is just okay, this could easily stretch to an hour or more.
- Moving from Android: The Move to iOS app is pretty efficient, but it's still moving a lot of data. Expect it to take somewhere in the neighborhood of 30-60 minutes.
My Best Advice: Whatever you do, don't start the data transfer five minutes before you need to run out the door. Give yourself a relaxed hour where neither phone is critical. Just get it started, go do something else, and check on it every so often.
What Should I Do If My iPhone Gets Stuck During Setup?
It's a little panic-inducing to see your brand-new phone frozen on the Apple logo or a message like "Updating iCloud Settings," but it's usually an easy fix. If it's been stuck on one screen for more than 15 minutes, the best first step is a good old-fashioned forced restart.
Don't worry, this won't delete anything. It's just like rebooting a frozen computer to get things moving again. The button combo is different depending on your model, so a quick search for "force restart iPhone 15" (or whatever model you have) will give you the right instructions. Most of the time, this is all it takes to get the setup process back on track.
If the freeze happened during a data transfer, double-check these things first:
- Are both phones plugged in and charging?
- Did you keep the devices close to each other?
- Are both phones still connected to the same stable Wi-Fi network?
If it's still stuck after a restart, you might have to start the setup process over, but honestly, that’s pretty rare.
Do I Need a SIM Card to Set Up My New iPhone?
Nope, you can do almost everything without a SIM card. As long as you have Wi-Fi, you can turn on your new iPhone, connect to your network, restore from a backup, sign into your Apple ID, and even start downloading apps from the App Store.
The only thing you absolutely need a SIM (or an eSIM) for is to activate your cellular service. Your iPhone will actually offer to transfer your cellular plan from your old phone during the setup process. If you're not ready for that, just skip it for now.
This is super helpful if your phone arrives before your new cell plan is active. You can get the entire phone configured and ready to go, then pop into Settings > Cellular later to add your plan when you're ready.
At Simply Tech Today, we focus on providing clear, straightforward answers to help you get the most out of your devices. For more guides and simple explanations, visit us at https://www.simplytechtoday.com.
Member discussion