How to transfer data to new phone: A Seamless, Stress-Free Guide
Before you get swept up in the excitement of a new phone, let's talk prep work. A few simple checks beforehand can be the difference between a smooth, seamless transfer and a full-blown tech headache. Think of it as packing your digital bags—a little organization now saves a ton of frustration later.
Your Pre-Transfer Checklist for a Flawless Switch
Jumping into a data transfer unprepared is like starting a road trip with an empty gas tank. Sure, you can get going, but you won't get far before hitting a snag. Taking a few proactive steps ensures the whole process is as quick and painless as possible. The real goal here is to sidestep those common pitfalls before they even have a chance to trip you up.
This isn't just about convenience; it's about protecting a huge chunk of your digital life. The average person has around 21 GB of data on their phone at any given time—a mix of precious photos, crucial documents, and years of conversations.
Key Preparations Before You Begin
First things first: power. The most common—and most avoidable—reason a transfer fails is a dead battery mid-process. Don't let that be you.
- Charge Both Phones: Plug in both your old and new devices. I always aim for at least an 80% charge on each. This gives you a comfortable buffer so neither phone dies while it's working.
- Connect to Stable Wi-Fi: Trying to move gigabytes of data over your cellular connection is a recipe for a slow transfer and a shockingly high bill. A strong, stable Wi-Fi network is your best friend here.
- Update Your Old Phone: Go into your settings and check for a software update on your current phone. Manufacturers constantly release patches that improve their data migration tools, and being on the latest version can iron out potential bugs.
This handy flowchart lays out the essential pre-transfer steps in a really simple way.

As you can see, confirming you have power, a good connection, and a recent backup is the foundation for getting this done right.
Perform a Final Backup and Declutter
Creating one last backup is your ultimate safety net. It’s the one step you absolutely cannot skip, as it protects your data if anything unexpected happens. If you're unsure how, we've got you covered in our complete guide on how to backup phone data.
Here's a pro-tip from my own experience: declutter before you back up. Take 15 minutes to delete apps you haven't opened in months, get rid of those 10 nearly identical blurry photos, and clear out old video files. You'd be amazed how much this can shrink your backup size and speed up the entire transfer.
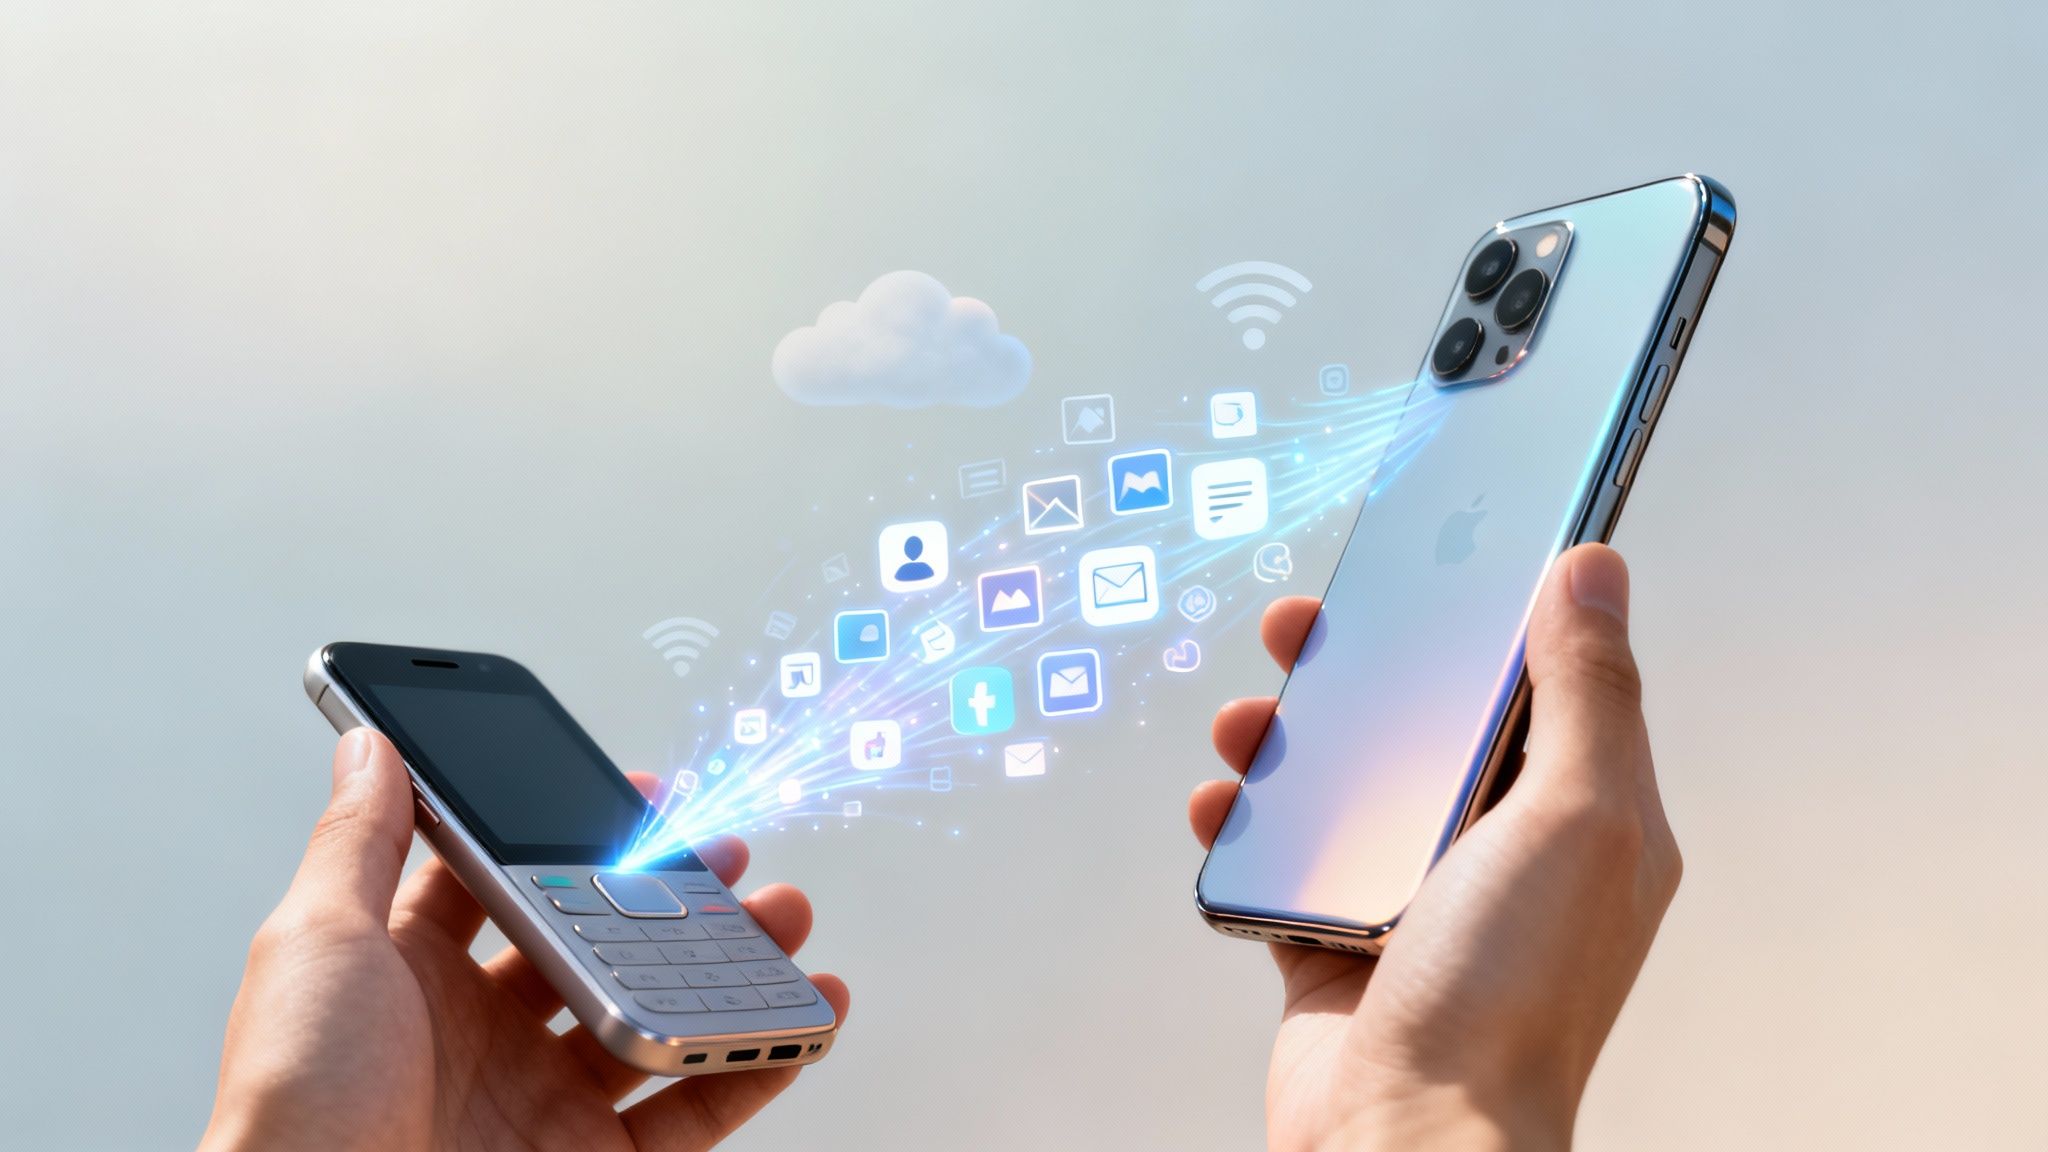
Moving Your Data Between Android Devices

Upgrading from one Android phone to another used to be a real chore. Now? It feels more like logging into a familiar account than a complicated migration. Thanks to Google's tight integration, the whole process is surprisingly straightforward, turning a technical headache into a simple, guided experience.
The magic behind this is that your most important stuff—contacts, calendar, and even data for many apps—is already tied to your Google Account. The moment you sign in on your new device, that information starts to flow in, making your new phone feel like a near-perfect clone of the old one, right down to your app layout.
The Best Time to Transfer: During Initial Setup
Hands down, the easiest way to move everything is during the initial setup of your new phone. You can't miss it. You'll get a prompt asking if you want to copy apps and data from your old device. Saying "yes" here kicks off a powerful, direct transfer.
You'll generally have two options for how to do this:
- Wired Transfer: This is usually the fastest and most stable method. You just need a USB-C to USB-C cable or an adapter to connect the two phones. Once they’re linked up, they create a secure, direct connection.
- Wireless Transfer: Don't have the right cable? No problem. You can transfer everything over your Wi-Fi network instead. Just make sure both phones are on the same strong network. It might be a little slower than a cable, but it gets the job done just as well.
Once connected, your new phone guides you through selecting exactly what you want to bring over. This isn't just your apps—we're talking call history, SMS messages, and even device settings like your Wi-Fi passwords and wallpaper.
Using Manufacturer-Specific Transfer Tools
While Google's built-in tool is great, many phone makers have their own specialized apps that give you even more control. These are designed to make switching between their own phones completely seamless.
For example, Samsung’s Smart Switch is a real standout. It doesn’t just transfer the standard data; it goes the extra mile by perfectly replicating your home screen layout, including all your widgets and app folders. If you’re a Samsung user, it’s a game-changer that makes your new phone feel like home in minutes. Other brands, like Google and OnePlus, have similar dedicated tools that are absolutely worth using.
Here’s a key takeaway: your most precious files—photos and videos—are probably already safe and sound. If you use Google Photos, your entire library will just appear on your new device as soon as you log in. No manual transfer needed. It's a huge time-saver.
It makes sense that 73.49% of global mobile web traffic comes from Android when you see how user-friendly the ecosystem is. Features like Google One backups and tools like Samsung's Smart Switch are a huge part of that. A Samsung user, for instance, can move a massive 256 GB of data wirelessly in less than 30 minutes.
What if You've Already Set Up Your Phone?
Missed the initial prompt? Don't worry, you haven't lost your chance. You can still use manufacturer apps like Smart Switch at any time to pull data over from your old device.
Beyond that, your Google Account is still your best friend. Just grab your old phone and make sure it’s backing up to Google One.
- On your old phone, head to Settings > Google > Backup.
- Check that the "Backup by Google One" toggle is on.
- Hit "Back up now" to run one last, final sync.
Your new phone will then continue to pull this data from the cloud. This sync is the core benefit of using cloud storage for your mobile devices, ensuring your digital life stays with you, no matter which phone you're holding.
Moving to a New iPhone: It's Easier Than You Think
Apple has poured a ton of effort into making an iPhone upgrade feel less like a technical chore and more like a bit of magic. When you're moving from one iPhone to another, the whole process is remarkably polished. Your new device can be an almost perfect clone of the old one in minutes, right down to your app layout and that photo of your dog on the lock screen.
You've got two main paths to get this done: Quick Start and restoring from an iCloud Backup. Both are fantastic, but they're built for slightly different situations. Let's break down which one is right for you.
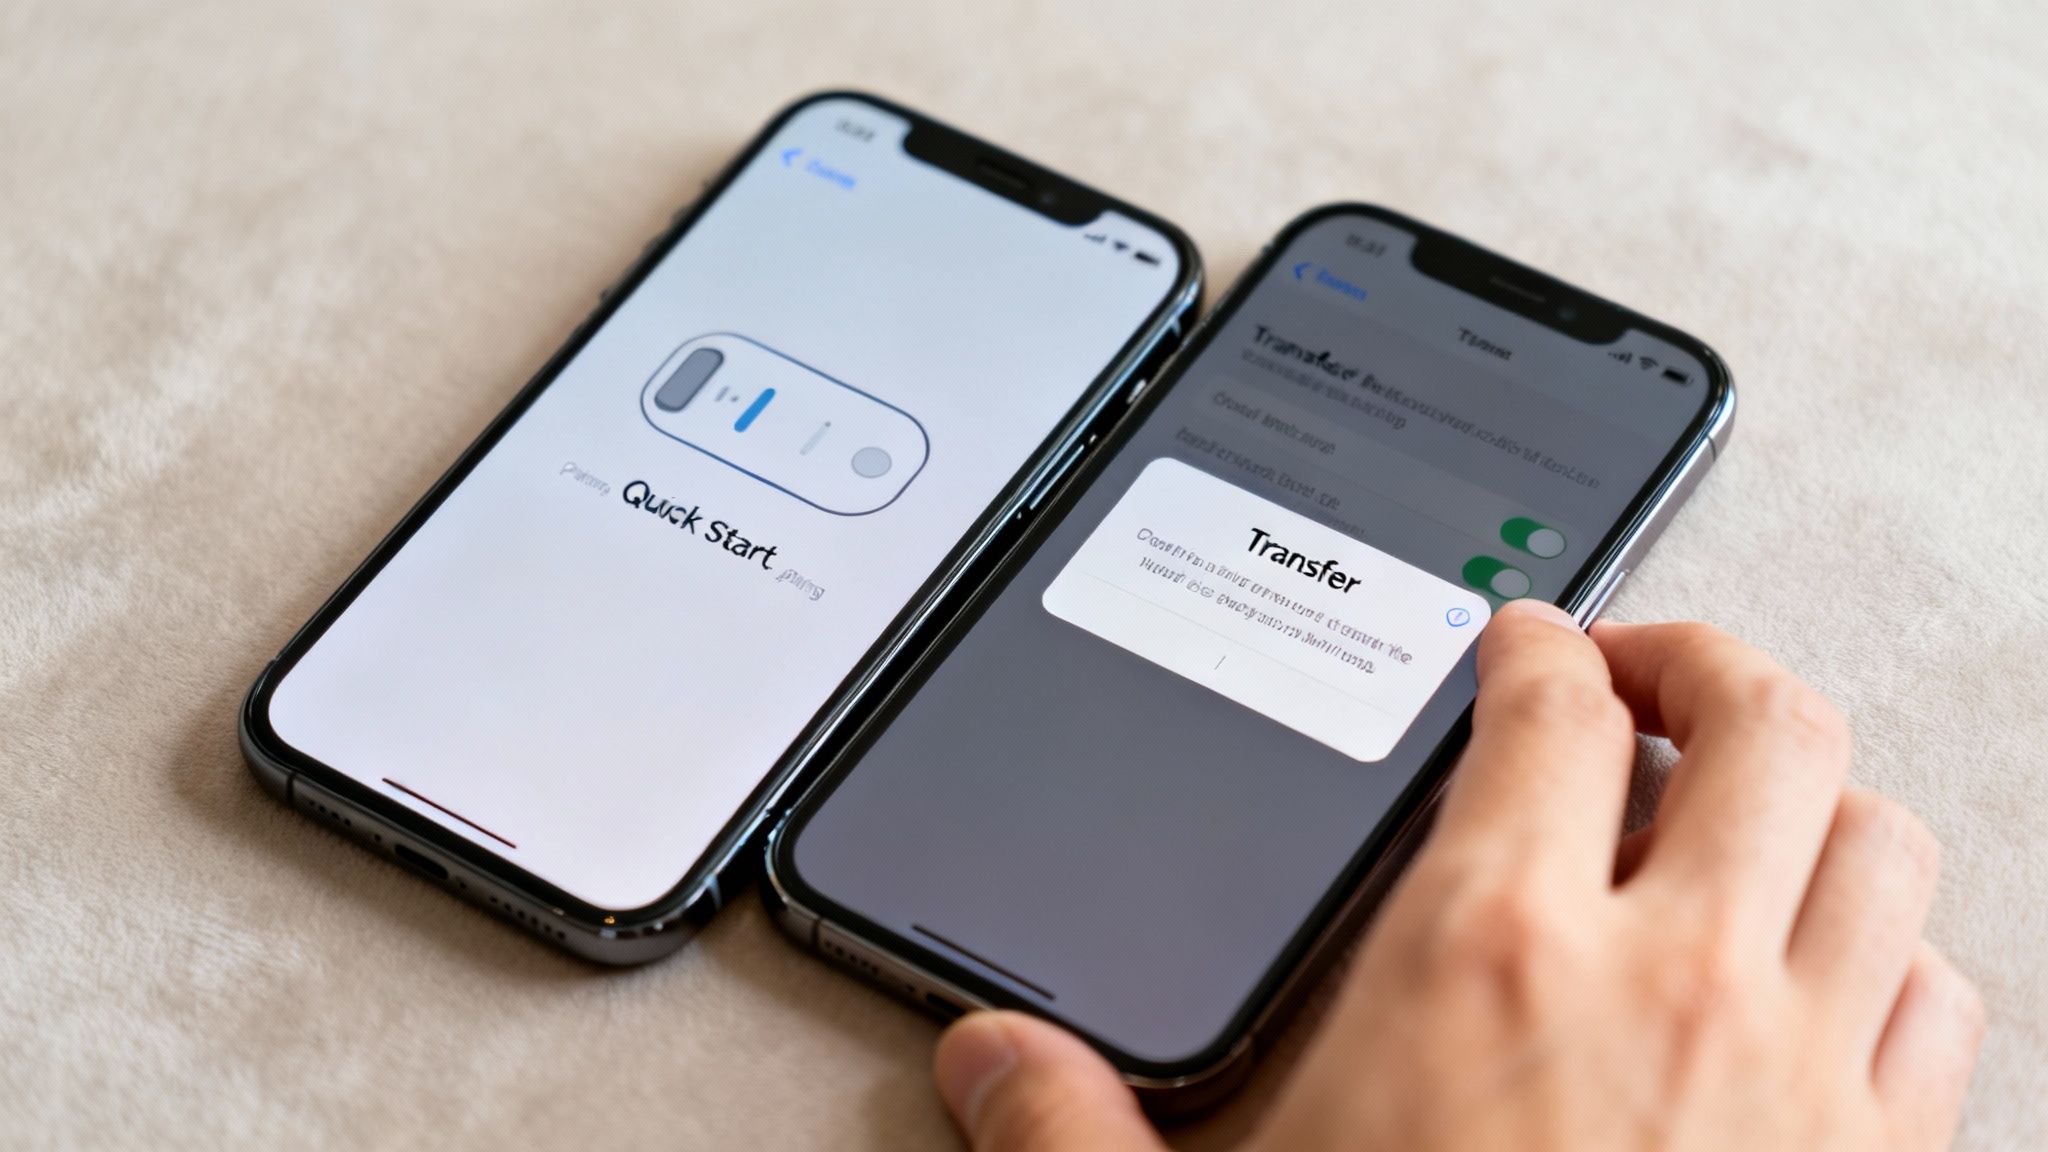
The Magic of Quick Start
If you want the fastest, most direct route, Quick Start is your best friend. It creates a temporary, private connection directly between your two iPhones to shuttle all your data across. Because it’s a direct link, it often blows cloud-based methods out of the water on speed, especially if you're hoarding thousands of photos and videos.
Getting it started is almost comically simple. Just turn on your new iPhone and set it down next to your old one.
A "Set Up New iPhone" card will pop up on your old phone's screen. From there, you just follow the prompts:
- Confirm your Apple ID on your current iPhone.
- A swirling blue animation will appear on the new phone; use your old phone's camera to scan it.
- Punch in your old phone's passcode on the new device.
- Follow the on-screen steps to set up Face ID or Touch ID.
Finally, the crucial step: when asked how you want to transfer your data, choose "Transfer Directly from iPhone." This kicks off the device-to-device migration. Just keep both phones close together and plugged into power until the progress bar completes. It’s that simple.
Restoring from an iCloud Backup
Sometimes a direct transfer isn't practical. Maybe you traded in your old phone already, or you just prefer the set-it-and-forget-it convenience of downloading from the cloud. That’s where restoring from an iCloud backup shines. This method pulls a recent snapshot of your old phone from Apple's servers.
First things first, make sure you have a fresh backup. On your old iPhone, go to Settings > [Your Name] > iCloud > iCloud Backup and hit "Back Up Now."
With that done, you can start setting up your new iPhone. Follow the initial steps until you land on the "Apps & Data" screen. Here, you'll tap "Restore from iCloud Backup" and sign in with your Apple ID. Pick the most recent backup from the list, and your new iPhone will start pulling everything down from the cloud. The whole process relies on the fundamentals of cloud computing, and you can learn more about how cloud storage works to really understand what's happening behind the scenes.
One of Apple's best-kept secrets is its temporary iCloud storage for upgrades. If you don't pay for enough iCloud space to make a full backup, Apple will give you free, unlimited storage for 21 days just so you can transfer to a new device. This is a game-changer, ensuring nobody gets left behind because of a storage limit.
Making Sure Everything Actually Transfers
A truly complete transfer is about more than just your apps and photos. It’s about the invisible data that makes your phone yours—things like saved Wi-Fi passwords, Health app data, and website logins from your iCloud Keychain.
A standard, unencrypted backup might not bring this sensitive information over. To get a true mirror of your old phone, you absolutely need to use an encrypted backup.
Luckily, Apple has made this the default in most cases:
- iCloud Backups: As long as two-factor authentication is on for your Apple ID (which it almost certainly is), your iCloud backups are encrypted by default. All your Health and Keychain data is safe and sound.
- Computer Backups: If you use a Mac or PC, you have to be more deliberate. When backing up with Finder or iTunes, you must check the box that says "Encrypt local backup." This isn't optional if you want a seamless transfer.
Making sure your backup is encrypted is the secret sauce. It’s what makes your new iPhone feel like you never even switched. Your passwords will be waiting for you, your fitness history will be intact, and you can pick up right where you left off.
Navigating the Android to iPhone Transition
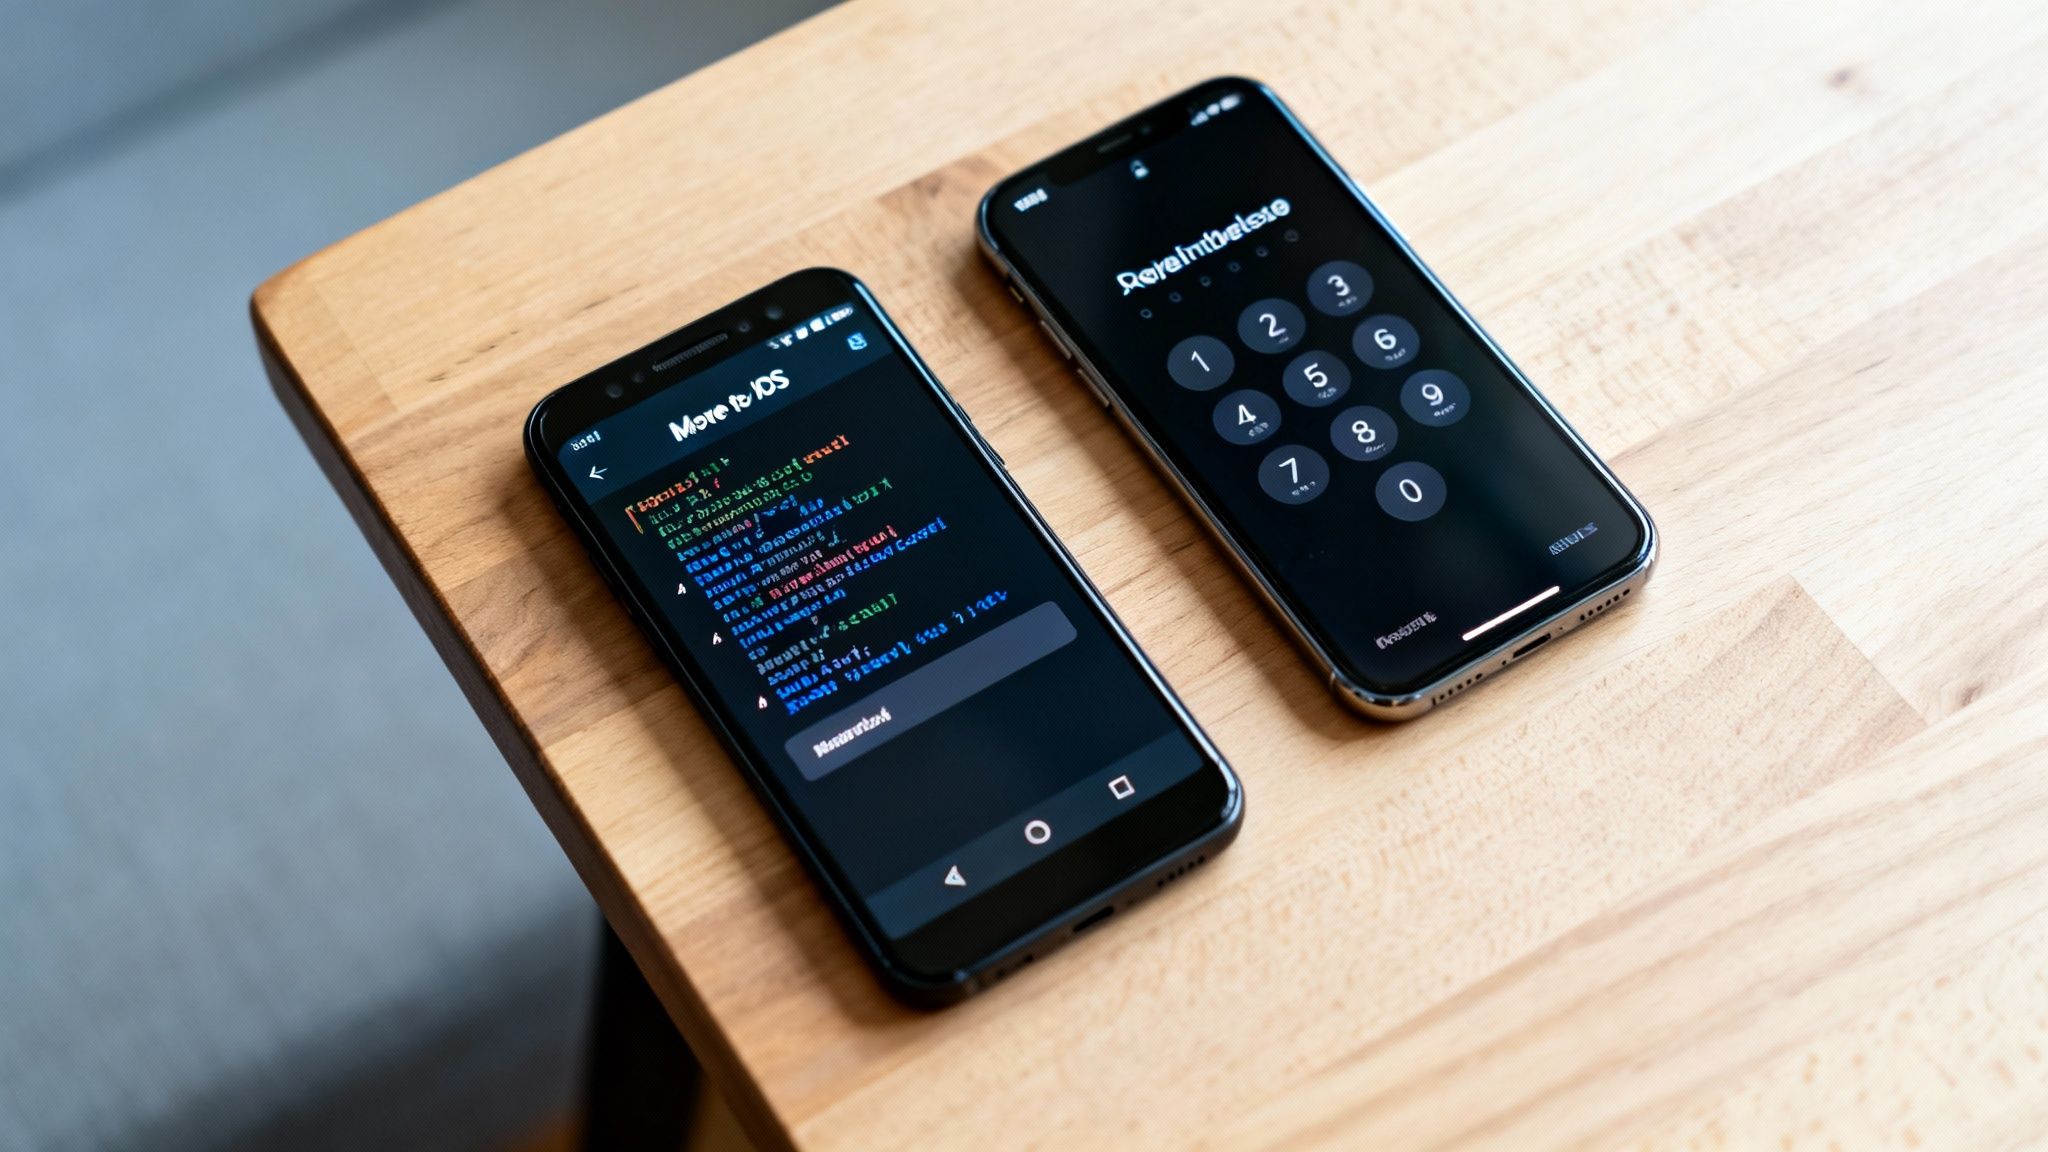
Making the jump from Android to iPhone can feel a little daunting, like you're moving into a whole new digital world. The good news is Apple has a tool specifically for this: the Move to iOS app. Think of it as your personal moving assistant, built to bridge the gap between the two operating systems and make your switch a lot less painful.
Before you even power on your new iPhone, head over to the Google Play Store on your old Android phone and download the Move to iOS app. The trick is to do this first, as the app is designed to work during the initial iPhone setup. It works by creating a private, temporary Wi-Fi connection directly between the two phones, allowing them to talk to each other securely.
Kicking Off the Transfer Process
The real magic happens when you turn on your shiny new iPhone. As you walk through the first few setup screens, you'll eventually land on one called "Apps & Data." This is your moment.
Look for the option that says "Move Data from Android." Go ahead and tap that. Your iPhone will then generate a one-time six or ten-digit code. Now, pick up your Android phone, open the Move to iOS app, and punch in that code when it asks. This is the digital handshake that links the two devices.
Once they're connected, your Android will present a list of everything you can bring over. You get to pick and choose what comes with you.
- Contacts: Your entire address book.
- Message History: All of your SMS texts.
- Photos and Videos: Your complete camera roll, from old vacation photos to recent video clips.
- Mail Accounts & Calendars: It'll move over your email account settings and calendar appointments.
- Bookmarks: Your Chrome bookmarks will be waiting for you in Safari.
After you've checked all the boxes for what you want, just tap "Continue" and let the phones do the heavy lifting. This can take a while, so it’s the perfect excuse to go make a cup of coffee.
Understanding What Gets Left Behind
As great as the Move to iOS app is, it's not all-powerful. It's really important to know what won't transfer automatically, so you're not caught off guard. This is where a little bit of manual cleanup comes in after the main transfer is done.
The biggest thing that gets left behind is your apps. Since Android and iOS have completely separate app stores, the tool can't just copy them over. What it can do is identify your free apps and add them to an App Store wish list so you can easily download them again. For any paid apps, you’ll unfortunately have to repurchase them on the App Store.
Moving your life from one phone to another is a big deal, and it's a good time to think about security. Using official tools is a great start, but keeping your information safe is an ongoing process. To get a better handle on this, you can learn more about how to protect privacy online in our detailed guide.
Tips for a Smooth Crossover
Even when you do everything right, you can still hit a snag, especially if you have a ton of data. The most common problem I see is the transfer freezing or failing midway through, often because of a massive photo library.
To head this off, make sure both phones are plugged into a charger and are sitting right next to each other. Whatever you do, don't start using either phone while the transfer is in progress—taking a call or even just opening another app can sever the connection. Patience is your best friend here; a transfer of 64 GB of data could easily take an hour or more.
Finally, don't forget about services tied to your phone number, like WhatsApp. You'll need to back up your chat history to Google Drive from within the WhatsApp app on your Android first. Then, when you install WhatsApp on your new iPhone, you can restore it. It's an extra step, but it’s the only way to make sure you don't lose years of conversations.
Switching From iPhone to Android: Here’s How to Move Your Data
Making the jump from Apple's walled garden to the wide-open world of Android is a big move. It’s exciting, but it definitely requires a bit more planning than, say, an iPhone-to-iPhone upgrade. The secret weapon here is your Google Account—if you set it up right, your new Android phone will feel familiar the moment you turn it on.
The smartest way to go about this is to get your iPhone syncing with Google's services before you even unbox your new Android. That way, your contacts, calendar events, and photos are already in the cloud, just waiting for you.
Let Your Google Account Do the Heavy Lifting
Think of your Google Account as the bridge between your old iPhone and your new Android. By getting your iPhone to sync its most important data with Google, you’re basically pre-loading your new phone with all your essential stuff.
It's a straightforward process that saves a ton of headaches later. On your iPhone:
- Head into Settings > Mail > Accounts > Add Account.
- Choose Google and sign in with your credentials.
- Most importantly, make sure the toggles for Mail, Contacts, and Calendars are switched on.
Once that's done, your address book and schedule are safely tucked away in Google's cloud. For photos and videos, the Google Photos app is a must-have. Just download it from the App Store on your iPhone, sign in, and let it back up your camera roll.
The real beauty of this method is its reliability. Instead of a one-shot transfer that could fail halfway through, you're creating a continuous sync. Your data isn't just being copied over; it's living in a central hub that your new phone can access instantly.
Google's "Switch to Android" App for Everything Else
While syncing your Google Account covers the basics, Google also has an official Switch to Android app to handle the rest. You can grab it from the Apple App Store, and it’s designed to walk you through moving things like local photos, videos, and even some settings.
The app creates a direct link between your phones, either with a cable or over Wi-Fi, to move your files. It’s a great, hand-holding experience that takes care of the bulkier files that you haven't already backed up to the cloud.
Don't Skip This: Deactivate iMessage
This is, without a doubt, the single most important step people forget. You absolutely must turn off iMessage on your old iPhone before you pop the SIM card out. If you don't, text messages from your friends who use iPhones will vanish into Apple's ecosystem, never to be seen on your new Android.
It’s an easy fix, but you have to do it deliberately.
- On your iPhone, navigate to Settings > Messages.
- Find the iMessage toggle and flip it to the off position.
- While you're at it, I'd recommend going to Settings > FaceTime and turning that off, too.
Doing this tells Apple's servers to stop routing messages through their proprietary service and to send them as standard SMS texts instead. This little step ensures you won't be left out of the loop after you switch. A smooth transition also means a secure one; for more tips on protecting your accounts, check out our guide on how to use two-factor authentication.
Troubleshooting Common Data Transfer Problems
Even when you've done everything right, moving your life from one phone to another can hit a snag. Seeing a progress bar stall out or realizing your photos are missing is incredibly frustrating, but don't panic. Most of these issues are surprisingly common and have pretty simple fixes.
Let's get your transfer back on track.
The most classic problem? The dreaded transfer that freezes, often sitting at 99% for what feels like an eternity. Nine times out of ten, this is a connection issue. If you're going the wireless route, a spotty Wi-Fi signal is the likely culprit. The first thing I always try is moving both phones closer to the Wi-Fi router and simply starting over.
If that doesn't kickstart things, ditch the Wi-Fi and go wired. A direct cable connection is almost always faster and far more reliable, taking network interference completely out of the equation.
Addressing Specific Transfer Failures
Sometimes the main transfer seems to finish, but then you realize important bits of your digital life didn't make the journey. This calls for a more focused approach.
- My apps are missing! This is a common point of confusion. The transfer tools don't actually move the apps themselves; they just send a list of your installed apps to the new phone, which then re-downloads them from the app store. If they're stuck in a "pending" state, double-check your Wi-Fi and make sure you’re properly signed into your Google or Apple account.
- Contacts or calendar events didn't show up. This is almost certainly a cloud sync issue. On your old phone, dive into your account settings for Google or iCloud and find the option to manually sync your contacts and calendar. This pushes the very latest version to the cloud so your new phone can pull it down correctly.
- The transfer keeps failing, no matter what. If you've tried both Wi-Fi and a cable and it just won't complete, you might be dealing with a minor software glitch. The oldest trick in the IT book usually works here: restart both phones. A full reboot can clear out temporary conflicts that were tripping up the process.
Here's a pro tip that's saved me from headaches more times than I can count: battery life matters. A big data transfer can take a while, and if one of the phones dies in the middle, the transfer will fail—and you risk corrupting data. I never start a transfer unless both phones are plugged in or have at least 80% charge.
Finally, give it time. Shifting tens of gigabytes of data isn't instant. A transfer can easily take over an hour, especially with lots of high-resolution photos and videos. What looks like a frozen screen might just be the phone chugging through a massive video file. Before you assume it's broken, give it a bit more time to work its magic.
Frequently Asked Questions About Phone Transfers
Even when a data transfer goes smoothly, it’s completely normal to have a few questions afterward. Let's tackle some of the most common things people wonder about once they've got their new phone in hand.
Running through these common questions isn't just about troubleshooting; it's about giving you peace of mind that everything is right where it should be. Knowing what to expect with certain apps or how long the process should take can save you a lot of unnecessary stress.
How Long Does It Take to Transfer Data to a New Phone?
This is a classic "it depends" situation. I've seen transfers wrap up in 15 minutes and others stretch for well over an hour. The two biggest things that impact the timing are how much data you have and the method you're using. A direct cable connection will almost always beat a wireless transfer for speed.
As a rough benchmark, I'd set aside about 30-45 minutes to move around 64GB of data. If you have a ton of 4K videos and thousands of photos, get comfortable and be prepared for it to take a bit longer. My best advice? Start the transfer when you know you won't need either phone for a while.
Will My WhatsApp Chats Transfer to My New Phone?
Yes, but you have to handle this one yourself. Your standard phone-to-phone transfer tools usually skip over WhatsApp chat history. You need to back it up separately right from inside the app.
- On your old phone, open WhatsApp and head into its settings.
- Look for the Chat Backup option.
- Run a fresh backup to Google Drive (for Android) or iCloud (for iPhone).
Once you install WhatsApp on the new phone and verify your number, it will find that cloud backup and ask if you want to restore it. Say yes, and all your conversations and media will come right over.
The key thing to remember is that transfer tools move your phone's data, but apps like WhatsApp manage their own data. It's on you to use their built-in backup features.
What Happens to My Apps and Their Data?
Most transfer wizards are smart enough to bring over your list of installed apps and prompt your new phone to re-download them from the app store. For any service that lives in the cloud—think Spotify, Netflix, or your email—everything will be there as soon as you log back in.
Where you need to be careful is with apps that store data locally. This is common with offline games where your progress is saved only on the device. Before you wipe your old phone, double-check if your most important apps have their own cloud sync or export feature to avoid losing anything.
At Simply Tech Today, our goal is to publish clear, practical guides that help you get the most out of your devices. For more straightforward tech advice and easy-to-follow tutorials, feel free to explore our other articles at https://www.simplytechtoday.com.

Member discussion