
A Practical Guide to Linux Restore Deleted Files

That gut-wrenching moment you realize a file is gone? We've all been there. But what you do in the next few minutes is absolutely critical if you want any hope of getting it back. The single most important rule is to stop writing new data to the drive immediately.
This one action dramatically improves your chances because, on Linux, deleting a file doesn't instantly erase it. It's more like hiding it.
What To Do The Instant You Delete A File
When a file is "deleted" on Linux, the system simply removes the signpost pointing to it—the reference in the filesystem's index, or inode table. The space the file occupies is then marked as "available." The actual ones and zeros of your data are still sitting there on the disk, completely intact, until a new file comes along and gets written over them.
This is why you have to act fast. Stop everything. Don't save that document, don't download a file, don't even browse the web. Any of these actions could be the one that permanently overwrites your lost data. It's a race against the clock.
Freeze The Crime Scene
The best way to stop the clock is to prevent the system from writing anything else to that filesystem. You can do this by switching it to read-only mode. Think of it as putting up police tape around a crime scene—you're preserving the evidence exactly as it is.
First, you need to figure out which partition held the file. A quick df -h command will usually tell you what you need to know. Let's say your file was on /dev/sda1. You would immediately run this command:
sudo mount -o remount,ro /dev/sda1
Just swap in your actual partition for /dev/sda1. This command locks the filesystem down tight, ensuring those digital breadcrumbs leading back to your file don't get swept away.
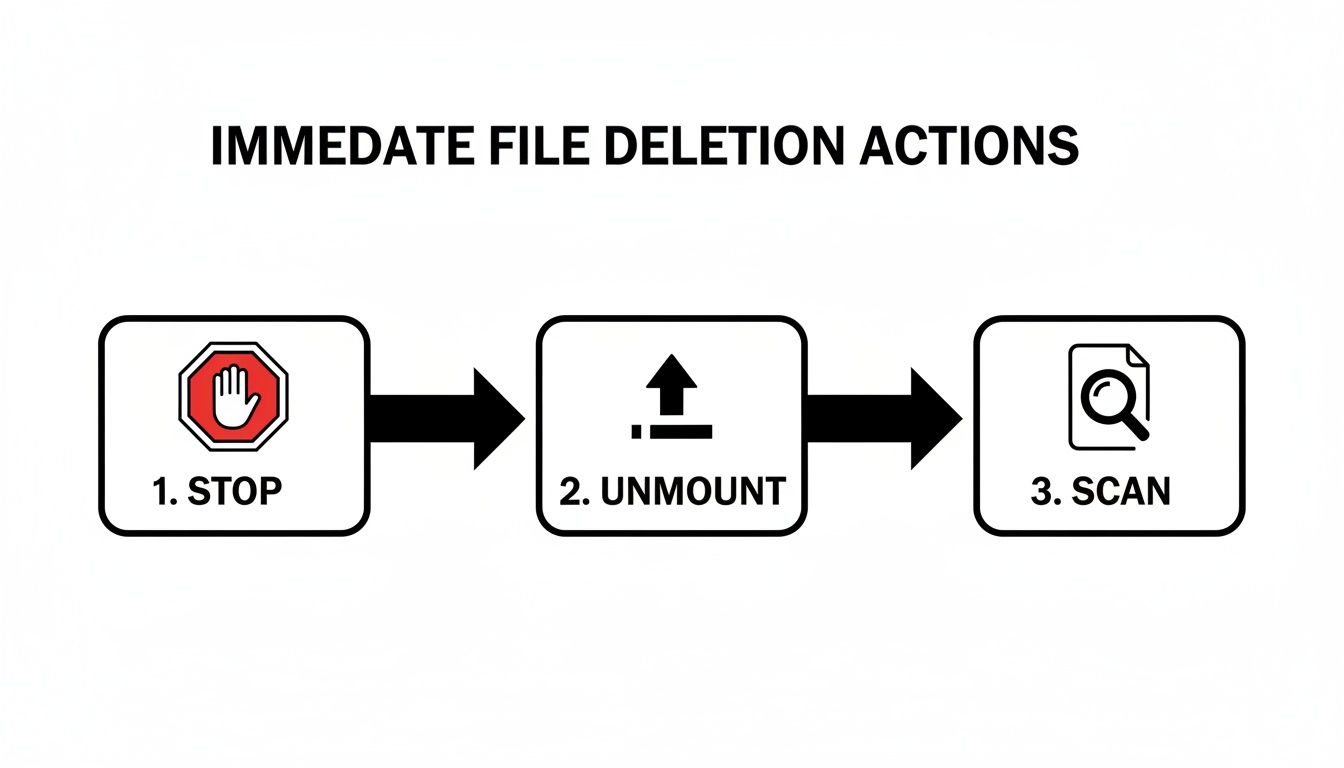
This simple flow—Stop, Unmount, Scan—is your mantra. The "Stop" part is non-negotiable and has to happen first.
The moment you realize a file is gone, don't panic—act. The table below breaks down the immediate, essential steps to take. Following this plan can mean the difference between a successful recovery and permanent data loss.
Your Immediate Action Plan for File Recovery
Follow these essential first steps immediately after deleting a file to prevent permanent data loss and maximize your chances of success.
| Action | Why It's Critical | Example Command (If Applicable) |
|---|---|---|
| Stop All Activity | Prevents new data from overwriting the deleted file's physical location on the disk. Even background processes can cause writes. | N/A - Just stop using the computer. |
| Identify the Partition | You need to know which filesystem to target for read-only mode and for recovery tools. | df -h or lsblk |
| Remount as Read-Only | This "freezes" the filesystem, offering the strongest protection against accidental overwrites. | sudo mount -o remount,ro /dev/partition |
Once you've secured the filesystem, you can start thinking about which recovery tools to use. Your success from here often depends on the type of filesystem you're working with.
How Your Filesystem Impacts Recovery
Not all filesystems are created equal when it comes to data recovery. Your chances can vary quite a bit.
For instance, the incredibly popular Ext3 and Ext4 filesystems are often quite forgiving. They keep a journal of metadata, which can be a huge help in not only finding the file data but also recovering its original name and location. On the other hand, some modern filesystems like XFS and Btrfs have built-in features that can also lead to very high recovery rates. For a deeper dive, Raisedr.com offers a great resource on how different filesystems affect recovery chances.
I can't stress this enough: the absolute golden rule of data recovery is to stop using the affected drive the second you realize something is wrong. Every moment the system is running, it's a gamble.
Of course, the best recovery method is not needing one in the first place. Regular, automated backups are your ultimate safety net. If you're looking to set up a solid backup plan, our guide on how to use cloud storage is a great place to start building that peace of mind.
Choosing the Right Recovery Tool for the Job

Alright, you’ve locked down your filesystem in read-only mode. Now the real work begins. The Linux world is packed with powerful, open-source recovery utilities, but your success depends entirely on picking the right one for your specific disaster. It’s like a toolbox—you wouldn't use a sledgehammer to fix a watch.
Each tool has its own personality and purpose. Some are surgical scalpels designed for specific filesystems, while others are powerful but blunt instruments that just brute-force their way through raw disk data. Choosing poorly can cost you hours and, even worse, might actually lower your chances of getting your files back.
Understanding the Key Players
Your first question should be, "What exactly happened?" Did you just delete a single file? Did you accidentally format an entire partition? Is the filesystem itself corrupted? Let's break down the most common tools and where they shine.
TestDisk: This is your hero for partition-level disasters. If you've lost an entire partition or your drive's partition table is scrambled, TestDisk can often find the old structure and rebuild it. Think of it as fixing the container your files live in, rather than recovering the files themselves.
PhotoRec: Usually found alongside TestDisk, PhotoRec is what’s known as a file carver. It completely ignores the filesystem and scans the raw, underlying data on your disk, looking for recognizable file signatures—the digital fingerprints that identify a file as a JPEG, MP4, or PDF. This makes it incredibly effective for recovering files from a severely damaged or formatted drive, but it comes with a huge catch: it almost never recovers original filenames or directory structures.
extundelete: As the name implies, this tool is a specialist built for the common Ext3 and Ext4 filesystems. Its biggest advantage is its ability to use the filesystem's journal to find not just the file's data but also its original name and path. For recovering a specific, known file on a standard Linux setup, this is your top choice.
Scalpel: Another file carver like PhotoRec, Scalpel is known for being a bit leaner and more configurable. You can tell it exactly which file types to look for, which can dramatically speed up the process on massive hard drives.
The most critical distinction to understand is between filesystem-aware tools (like extundelete) and file carvers (like PhotoRec). The first type uses the filesystem's own records to find lost files, often with names intact. The second ignores the broken filesystem and just hunts for raw data, resulting in a pile of generically named files you'll have to sort through later.
Linux Data Recovery Tool Comparison
Making a snap decision can be tough, so here’s a table to quickly compare the heavy hitters for a typical "linux restore deleted files" situation. This should help you pick the right tool for the job at a glance.
| Tool | Primary Use Case | Supported Filesystems | Recovers Filenames? |
|---|---|---|---|
| TestDisk | Recovering lost partitions, fixing boot sectors | Wide range (Ext2/3/4, NTFS, FAT, XFS) | N/A (recovers partitions, not individual files) |
| PhotoRec | Recovering files from formatted or corrupt drives | Filesystem-agnostic (works on raw data) | No, assigns generic names like f12345.jpg |
| extundelete | Undeleting specific files/directories on Ext3/4 | Ext3, Ext4 | Yes, this is its main strength |
| Scalpel | Efficient, configurable file carving | Filesystem-agnostic | No, it recovers raw file data |
As you can see, the "best" tool really depends on the specific mess you're in. There's no one-size-fits-all solution here.
Making the Right Call
Let's walk through a real-world scenario. You just accidentally nuked your entire ~/Pictures directory from your home partition, which is formatted as Ext4. Your best first move is extundelete. Why? It’s designed for this exact problem and gives you the best shot at restoring your photos with their original names (vacation-photo-01.jpg) and putting them back where they belong.
Now, picture a different disaster: you mistakenly formatted the SD card from your camera. The filesystem is wiped clean. In this case, extundelete is useless. Here, you’d turn to PhotoRec or Scalpel. They’ll scan the raw device, find the signatures for your JPEGs and videos, and pull them back from the brink, even if you have to rename them all later.
The recovery landscape is always shifting. In fact, community assessments in 2025 show that when the right tool is used quickly, recovery rates can often exceed 80% under ideal conditions. You can see more about these tool comparisons and their effectiveness in this 2025 data recovery overview.
Ultimately, you should have a few of these tools in your back pocket. Knowing when to use extundelete and when to switch to photorec is the key to turning a crisis into a mere inconvenience. And remember, data recovery is a last resort—it’s no substitute for a solid backup plan. Speaking of which, good security is part of any data strategy; you can brush up on the fundamentals with our guide on the best practices for password security.
Getting Your Files Back with TestDisk and PhotoRec
When disaster strikes and your files go missing on Linux, two of the most trusted names in the data recovery world are TestDisk and PhotoRec. These free, open-source tools from CGSecurity are absolute lifesavers. Don't let their text-based interfaces fool you; they are incredibly powerful and, once you get the hang of them, more straightforward than they look.
I like to think of them as a two-person recovery team. TestDisk is the structural expert, fantastic at fixing broken partition tables and making drives that suddenly appear empty accessible again. Its partner, PhotoRec, is the forensic specialist. It completely ignores the filesystem and digs through the raw, unprocessed data on your drive, piecing together files based on their digital signatures.
First Things First: The Golden Rule of Recovery
Before you even touch a command line, you need to stop what you're doing. The single most important rule of data recovery is to prevent the system from writing any new data to the affected drive. Every new bit of information could be overwriting the very file you're desperate to get back.
To work safely, you have two solid options:
- Boot from a Live USB: My preferred method. Grab a USB stick and flash it with a Linux distribution like Ubuntu or a dedicated rescue system like GParted Live. This lets you run a clean OS from memory, allowing you to work on the target drive without mounting it or writing to it.
- Use Another Computer: If the lost files are on a secondary drive, or you can physically remove the drive from your machine, connect it to another computer running Linux. This physically isolates the drive, making it the safest route.
Once you have a safe environment set up, you'll need to install the tools. On Ubuntu or other Debian-based distros, it's just one command:
sudo apt-get update && sudo apt-get install testdisk
This package is a two-for-one deal; it includes both TestDisk and PhotoRec.
Using TestDisk for Partition Nightmares
So, you've lost an entire partition, or your drive is showing up as unallocated space. This is TestDisk's time to shine. It's brilliant at finding the "ghost" of a lost partition and rewriting the partition table to bring it back online.
Fire it up from your terminal with root privileges: sudo testdisk. You'll navigate its menus with your arrow keys and the Enter key. It's a guided process.
- Log File: The first prompt asks about creating a log file. It’s always a good idea to say yes. If something goes sideways, that log can be invaluable.
- Select Drive: TestDisk will show you all the drives connected to the system. Double-check and then triple-check that you've selected the correct physical drive (e.g.,
/dev/sda). Choosing the wrong one can lead to more data loss. - Partition Table Type: In most cases, TestDisk is smart enough to auto-detect the correct partition table type, like
[Intel]for older MBR disks or[EFI GPT]for modern ones. Just hit Enter to confirm its suggestion. - Analyze & Search: Choose the
[Analyse]option. From the next screen, select[Quick Search]. This is TestDisk's first pass at finding lost partition headers. - Review and Restore: If Quick Search finds your missing partition, it will show up highlighted. You can press
Pto get a file listing, which is a great way to confirm it’s the right one. If it all checks out, select[Write]to restore the partition table.
A Quick Search is often all it takes to resurrect a lost partition. But if it comes up empty, don't despair. TestDisk offers a
[Deeper Search]that performs a much more thorough, sector-by-sector scan of the disk. It takes longer, but it can find partitions that the initial search misses.
When All Else Fails, PhotoRec Carves Out Files
What if the partition is fine, but you've just deleted some important files? Or worse, the filesystem is so scrambled that even TestDisk can't fix it? It's time to call in PhotoRec. This tool is your last, best hope for file recovery.
Launch it from the terminal, again with root privileges: sudo photorec.
PhotoRec’s menu-driven interface will feel familiar if you've just used TestDisk. You'll select the drive and the specific partition you want to scan. When it asks for the filesystem type, just choose [ext2/ext3]—this option works perfectly for modern Ext4 filesystems, too.
Now for the most important step: choosing where to save the recovered files.
CRITICAL: The destination directory must be on a different physical drive. Do not try to recover files to the same disk you are scanning. This is the fastest way to permanently overwrite the data you're trying to save.
Once you kick off the scan, PhotoRec gets to work. It will create directories like recup_dir.1, recup_dir.2, etc., in the destination you chose and start filling them with recovered data.
The catch? PhotoRec is a "file carver," meaning it ignores filenames and directory structures because that metadata is often gone. You'll end up with a huge pile of generically named files like f12345.jpg or f67890.pdf. It means you'll have a lot of sorting to do afterward, but that's a small price to pay for getting your data back from the brink.
For a fantastic real-world example of this process in action, check out Jeff Geerling's experience recovering deleted videos from his camera. His story highlights both the power and the manual effort involved. When you need to Linux restore deleted files, PhotoRec is the tool that can pull off a miracle.
Using Advanced Tools for Ext4 File Recovery
When a broad-spectrum tool like PhotoRec casts too wide a net, you need a more surgical approach. This is where we get our hands dirty with the filesystem’s internals. For Ext4, which is the default for most modern Linux distros, this means firing up some powerful command-line utilities that can directly read and manipulate its structure.
These aren't your typical point-and-click apps; they're power tools for when precision is everything. This is for those who are comfortable in a terminal and want to recover a file with its original name and structure intact, not just the raw data.
Wielding Extundelete for Targeted Recovery
Think of extundelete as a specialist built for one job: pulling deleted files from Ext3 and Ext4 filesystems. Its killer feature is its ability to read the filesystem’s journal—a running log of recent changes. This journal often holds the key to finding information about deleted files, including their names and original locations.
Before starting, make sure the target partition is unmounted or, at the very least, mounted as read-only. Let's say the partition is /dev/sdb1. A broad recovery attempt would look like this:
sudo extundelete /dev/sdb1 --restore-all
This command tries to grab everything it can find and dumps it into a RECOVERED_FILES directory. But where extundelete really shines is in its specificity. If you just nuked your ~/Documents/project-files folder, you can point it right there:
sudo extundelete /dev/sdb1 --restore-directory 'home/your-user/Documents/project-files'
That single command can save you hours of sifting through thousands of unrelated recovered files. It’s the difference between dragging a giant magnet through a haystack and knowing exactly which corner to check for the needle.
Diving Deep with Debugfs
For the ultimate level of control, we turn to debugfs. This interactive tool is less of a recovery utility and more of a filesystem debugger for engineers. It lets you manually walk through the Ext4 filesystem structure, inspect inodes, and dump raw data blocks. It’s complex, no doubt about it, but it’s incredibly powerful when all else fails.
Using it is a multi-step process that feels a bit like digital archaeology.
- Launch
debugfs: Open the tool in read-only mode, pointing it at your partition. For/dev/sdb1, you'd runsudo debugfs -R "" /dev/sdb1. - Find the Inode: Use the
lsdelcommand to list recently deleted inodes. An inode is the file’s metadata address—this gives you the map to your lost data. - Dump the File: Once you have the inode number (it'll look something like
<12345>), use thedumpcommand to write its contents to a new file:dump <12345> /path/to/safe/location/recovered_file.txt.
The entire concept here revolves around the inode, which is a data structure holding all information about a file except its name and the data itself. When you delete a file, its inode is simply marked as "unused," but the pointers to its data blocks often hang around for a short while.
debugfslets you get in there and grab that lingering information directly.
These advanced tools aren't for the faint of heart. They demand patience and a careful read of the documentation, but they offer unparalleled control for recovering data from Ext4 partitions. Of course, recovery is always a gamble. A proactive approach is always better. If you're looking to build a more robust data protection strategy, it’s worth learning about how cloud storage works as a key part of any modern backup plan.
Why SSDs and Modern Storage Change Everything
If you're trying to recover files from a modern Solid State Drive (SSD), you need to throw out everything you thought you knew about data recovery. It’s a completely different ballgame.
Think of a classic Hard Disk Drive (HDD) like a chalkboard. When you "delete" something, you're just erasing it lightly. The faint outline of the data is still there, waiting to be written over. SSDs, on the other hand, are more like self-cleaning whiteboards. This one difference is what sets your expectations for getting a file back.
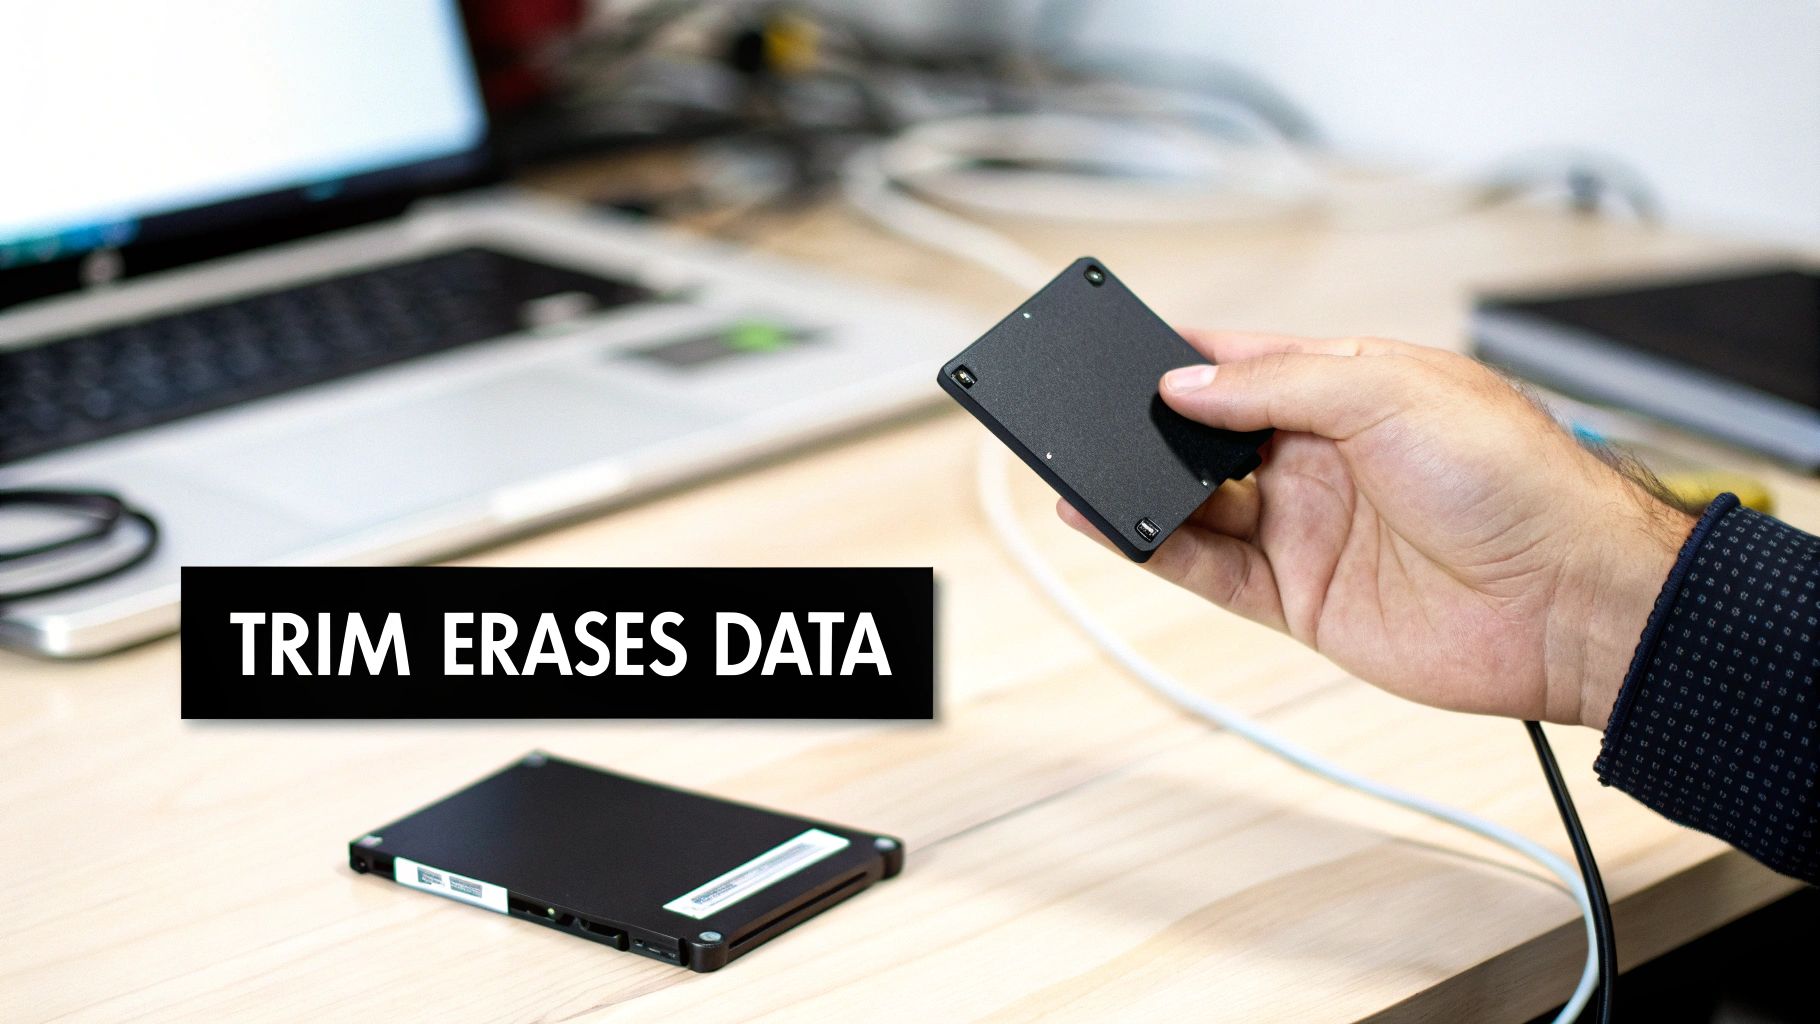
The Problem with TRIM
The game-changer here is a command called TRIM. It’s not a villain; its job is to keep your SSD performing at top speed. When you delete a file on a system with TRIM enabled (which is most of them these days), the OS doesn't just mark the space as "available." It sends a direct message to the SSD's controller saying, "Hey, we're done with these blocks. You can wipe them clean."
The SSD then gets to work in the background, erasing those blocks for good so it can write new data quickly later. This isn't a slow process—it can happen in minutes, or even seconds. Once TRIM has worked its magic, the data is gone. Vanished. No standard recovery tool can bring it back.
The reality is harsh but simple: on an SSD with TRIM, the window to recover a deleted file is vanishingly small, if it even exists at all. By the time you realize what happened, the drive has likely already cleaned house.
Recent data paints a pretty clear picture. An early 2025 analysis of over three million external drives revealed that while 57% of data loss incidents happened on SSDs between 64 GB and 512 GB, their recovery success rate was abysmal. Why? The widespread use of TRIM makes it nearly impossible. For comparison, external HDDs of the same size had an 86% recovery success rate. You can dig into the full numbers yourself in this external drive data recovery report.
Curious if TRIM is running on your system? Pop open a terminal and run this:
systemctl status fstrim.timer
If you see it's active and enabled, your system is regularly tidying up your SSD, wiping away those deleted files for good.
What About RAID and LVM?
The situation gets even trickier when you're dealing with more advanced storage setups like RAID (Redundant Array of Independent Disks) or LVM (Logical Volume Management).
- RAID: Here, your data isn't in one neat place; it's striped across multiple physical disks. To recover a single file, you'd have to find and reassemble fragments from several different drives. Most off-the-shelf recovery tools just aren't built for that kind of puzzle.
- LVM: This technology adds a layer of abstraction, which is fantastic for managing storage but a headache for recovery. It hides the direct physical location of your data, making a scavenger hunt even harder.
With these setups, you're not just looking for a file on a disk. You're hunting for pieces of it across a virtualized, and sometimes distributed, storage landscape.
This all leads to one inescapable conclusion: for any modern storage, and especially for SSDs, your best recovery tool isn't software you run after a disaster. It’s the robust, automated backup system you set up beforehand.
Building a Bulletproof Data Protection Strategy
We've walked through the digital forensics of file recovery, but let's be honest—it's stressful. The real pro move is to make file recovery a relic of the past. A solid, proactive protection strategy turns an "oh no" moment into a minor inconvenience.
The cornerstone of any good plan is the tried-and-true 3-2-1 backup rule. I’ve seen this simple principle save people from every disaster imaginable, and it’s non-negotiable for anyone with data they can't afford to lose.
- Three Copies: Always have at least three copies of your data—the original file you're working on, plus two backups.
- Two Media Types: Store those backups on two different kinds of media. Think of an external SSD and a cloud storage account, for example.
- One Offsite Copy: Keep at least one of those backup copies in a completely different physical location.
This layered approach means you’re covered whether you accidentally fat-finger a delete command, your main drive dies, or something worse happens to your primary machine.
Powerful Linux Backup Tools
The great thing about Linux is the sheer power of its open-source toolset. You don't need fancy, expensive software to automate your backups.
A simple rsync script scheduled with a cron job can reliably mirror your critical directories to a network-attached storage (NAS) or an external drive. If you need something more comprehensive, tools like Timeshift are fantastic for creating full system snapshots, while Restic is a modern powerhouse for sending encrypted backups to various cloud providers.
Here's a tip from experience: use a modern filesystem like Btrfs or ZFS if you can. Their built-in snapshot features are a game-changer. You can roll back a directory—or your entire system—to the exact state it was in before you deleted a file. It’s the closest thing to a data time machine I’ve ever used.
By layering automated backups on top of filesystem-level protection, you create a robust defense. This strategy not only makes it easier to linux restore deleted files but also strengthens your overall data security. For a complete digital safety plan, it's also a good idea to learn how to protect your privacy online.
Frequently Asked Questions
Losing a file can be a stressful moment, and it's easy to feel a bit lost about what to do next. Let's tackle some of the most common questions that come up when you're trying to get your data back on a Linux system.
Can I Get a File Back After Emptying the Trash?
Yes, in many cases, you absolutely can. When you empty the trash on Linux, the system doesn't immediately scrub the file's data from your hard drive. It simply removes the pointer to that file and marks the space it occupies as "available." As long as new data hasn't been written over that exact spot, recovery is often possible.
The clock starts ticking the second you hit delete. Your best move is to stop all activity on that drive immediately. This prevents the operating system from overwriting the very data you’re trying to save.
Think of it like this: emptying the trash is like erasing a chapter title from a book's table of contents. The chapter is still there, you just don't have an easy way to find it. But if you write a new chapter over the old one, it's gone for good.
Is It Possible to Restore the Original Filenames?
This really comes down to the filesystem you're using and the recovery tool you pick.
- Some tools, like
extundelete, are built specifically for filesystems like Ext3 and Ext4. They can often read the filesystem journal to piece together not just the file, but its original name and location. - On the other hand, file carvers such as
PhotoRecwork differently. They scan the raw disk for file signatures, ignoring the filesystem structure entirely. While incredibly effective at finding data, they can't recover metadata, so you'll end up with generic names likef12345.jpg.
If keeping the original filename and directory structure is important, your best chance is to use a tool that's aware of your specific filesystem.
Why Is It So Hard to Recover Files From an SSD?
The challenge with SSDs comes down to one key feature: TRIM. When you delete a file on a modern solid-state drive, the operating system sends a TRIM command. This tells the drive's internal controller to completely erase the data blocks where the file was stored, getting them ready for new data.
This process is great for keeping your SSD fast and healthy, but it's a nightmare for data recovery. Once those blocks are zeroed out by the controller, the data is permanently gone. This is exactly why having a solid, regular backup routine is non-negotiable if you're working with SSDs. Good security habits are also a key part of data protection; our guide on how to use two-factor authentication can help you lock down your accounts.
At Simply Tech Today, we break down complex topics into clear, practical advice. For more straightforward guides and tech insights, visit us at https://www.simplytechtoday.com.
Member discussion