
How to Erase a Laptop Hard Drive Securely
You've found a buyer for your laptop, or you're about to donate it, but your photos, saved passwords, and old documents are still on the drive. Emptying the Recycle Bin or deleting your account can make those files disappear from view without making them unrecoverable.
The safe method depends on what's inside the laptop and what you're handing it over for. A spinning hard drive and a solid-state drive need different approaches, and a drive that's dead or holding data you can't risk may be better destroyed than erased.
Pick the Wipe That Matches Your Drive
Before opening a settings menu, identify the drive type and choose the method that fits it. Deleting files, removing a user account, and quick formatting generally change how the operating system keeps track of data. They don't reliably remove the underlying contents, so recovery software may still find files.
If you're not sure whether the laptop has an SSD or an HDD, check its model specifications or look up the drive model in the operating system. An SSD uses flash memory and has no spinning platters. An HDD, or hard disk drive, stores data on magnetic platters. If you can't identify the drive confidently, don't guess at a wipe command. Use the computer maker's instructions or get help identifying the internal drive first.
| Situation | Drive | Method to use | Enough when |
|---|---|---|---|
| Selling or donating Windows | SSD | Reset this PC with Clean the drive, or use the maker's Secure Erase or NVMe Sanitize tool | Encryption was already on, or a sanitize command reports success |
| Selling or donating Windows | HDD | Reset this PC with Clean the drive, or run one full overwrite from a bootable tool | The tool reports every sector overwritten |
| Mac handoff | SSD with FileVault already on | Erase All Content and Settings, or erase the APFS volume in Recovery | FileVault covered the data the whole time |
| Mac handoff | HDD, or SSD never encrypted | Erase the volume in Disk Utility, then reinstall macOS; use Security Options overwrite if it's available for an HDD | The volume is erased and the operating system is reinstalled |
| Linux handoff | SSD | Run ATA Secure Erase or NVMe Sanitize from a live USB | The command completes without error |
| Linux or any OS | HDD | Run one full overwrite with shred, nwipe, or dd |
The pass finishes across the whole disk |
| Laptop will not boot | SSD or HDD | Use the manufacturer's bootable erase tool or a live USB with the matching command above | You can verify the result outside the broken operating system |
| Drive is dead or data is high risk | Either | Make any backup you can still make, then physically destroy the drive | The drive can't be confirmed erased with software |
An SSD isn't a hard drive with a different name. Its controller moves data among flash cells to manage wear, and it may keep spare cells out of the operating system's reach. That's why repeatedly overwriting an SSD with a general-purpose tool isn't a dependable substitute for a drive-level sanitize command. Use the maker's erase utility, ATA Secure Erase, or NVMe Sanitize when supported.
A conventional HDD is different: a complete overwrite can address the disk's data areas. For an ordinary personal laptop being sold or donated, one full pass is the practical choice. Repeating the pass over and over takes longer without adding a useful privacy benefit for typical personal files.
Encryption only helps if it was already protecting the files. BitLocker on Windows and FileVault on macOS can make key destruction a valid way to render encrypted data unreadable, but encryption turned on just before a sale doesn't prove older files were protected. If you use an external disk to keep a backup, choose a suitable external drive for that backup.
Carry just one choice forward: the row matching your handoff, operating system, and drive type. If the laptop won't boot, use its recovery route instead of trying to run the built-in reset. If the drive is dead, or you can't take the chance that data remains, the honest choice is destruction.
Save What You Need Before the Wipe
Treat an erase as final. Before you start, check that your important files exist somewhere other than the laptop and that you can open them. A backup that hasn't been tested is only a guess.
Copy personal files. Move documents, photos, downloads, and other files you need to an external drive or a cloud folder you control. Then use another device to open a selection of the copied files. If you're moving everything to a new computer, this guide to transferring files to a new computer can help you plan the move.
Save access details. Export browser passwords using the browser's password manager, and keep authenticator backup codes somewhere secure that isn't on the laptop. Save Wi-Fi details you'll need later, too. Don't leave an unprotected password export sitting on a USB drive that's going to the buyer.
Disconnect your accounts. Sign out of services such as your Apple Account or Microsoft account, Google, Adobe, and subscription apps. Turn off Find My on a Mac and remove the laptop from any device-management or account page you use. This helps prevent an activation lock or account link from complicating the next owner's setup.
Release app activations. Some music, video, and creative applications count a computer toward a device limit. Deauthorize the laptop inside those apps before wiping it, so you can use your subscription on another machine.
Keep the recovery key if you may need it. Store the BitLocker or FileVault recovery key somewhere off the laptop if you might need to access an old backup image. Don't expect to retrieve it from the machine after the erase.
Unplug other storage. Disconnect external hard drives, USB sticks, and memory cards before using a bootable erase tool. That leaves fewer chances to select the wrong device.
A local wipe doesn't erase copies held by an online service. Files in email, chat, and cloud storage may remain there even when the laptop is clean. Download what you want to keep, and delete any online copies separately if your goal is to leave those services as well.
Before proceeding, do a quick pre-flight: the charger is connected, the backup opens on another device, you've signed out of accounts, and you can identify the drive you intend to erase. If any of those checks fails, pause rather than hoping you can fix it afterward.
Erase the Drive From Windows Mac or Linux
Follow only the operating-system instructions that match the row you chose. Keep the laptop connected to power, and don't interrupt an erase once it's underway.
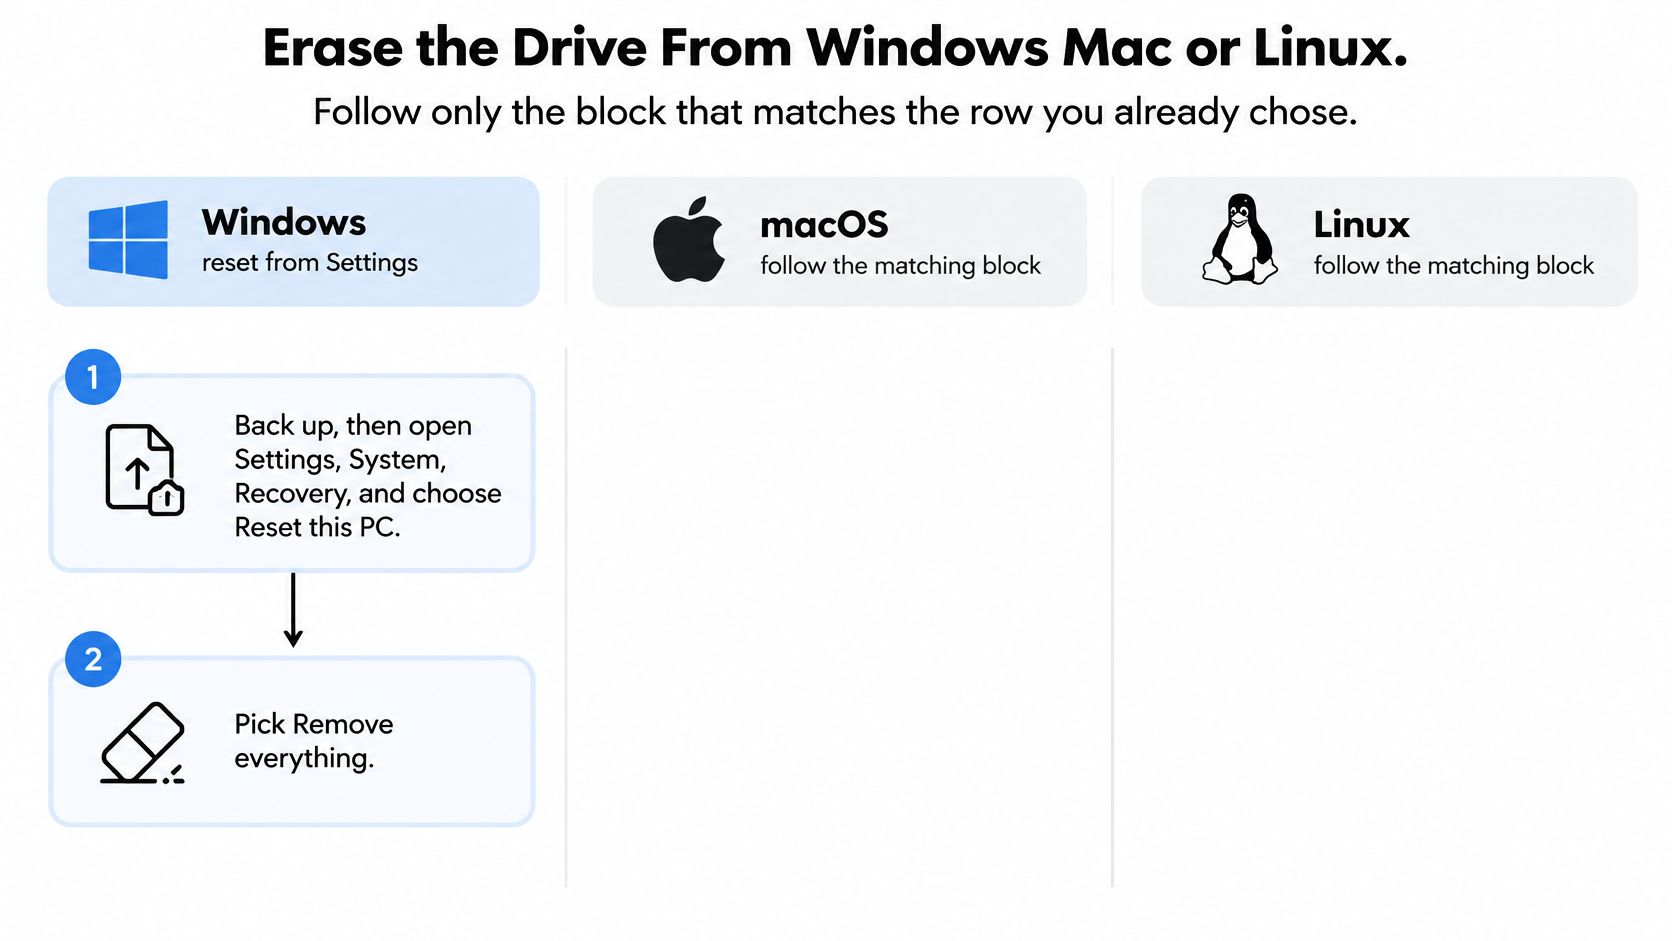
Windows
- Back up your files, then open Settings, choose System, open Recovery, and select Reset this PC.
- Choose Remove everything.
- When Windows offers a faster removal option or a drive-cleaning option, choose Clean the drive if the laptop is leaving your household. That takes longer but is the appropriate reset choice for a handoff.
- Let the reset finish and stop when Windows reaches the initial setup screen. Don't enter your personal account again.
On an SSD that was already protected by BitLocker, the reset may remove the encryption key that makes leftover flash pages unreadable. That only helps if the files were encrypted before they were saved. If you're using a manufacturer utility, such as a tool from Samsung or Dell, select Secure Erase or Sanitize for the internal drive only. Read the warning carefully; the operation can't be undone.
macOS
- Sign out of your Apple Account and turn off Find My before erasing.
- If the Mac offers Erase All Content and Settings and FileVault already protected the data, use that option and follow its prompts. When it finishes, leave the Mac at its setup screen.
- Otherwise, start macOS Recovery. Open Disk Utility, select the internal volume, erase it using APFS where appropriate, then quit Disk Utility and reinstall macOS.
- If the Mac has a traditional spinning hard drive and Disk Utility offers Security Options, use a single overwrite for the handoff. Don't expect that control to be available for modern SSD-based Macs.
Linux
- Boot the installed system only if you can confidently identify the internal drive. Run
lsblkto list drives and their sizes and names. - For an SSD, use the drive's supported ATA Secure Erase or NVMe Sanitize method. Don't use
shredas a substitute for a flash-aware sanitize command. - For an HDD, use a full-disk overwrite with a suitable tool such as
nwipe,shred, ordd. Wait for the operation to finish cleanly.
Linux device names can look like nvme0n1 or sda. Those names are examples, not instructions about which device to select. Confirm the model and capacity before running an erase command; selecting a USB backup drive by mistake can destroy the wrong data. For a Chromebook or another ChromeOS device, the process differs from a standard Linux installation, so see this explanation of ChromeOS on an old laptop.
Stop when the computer shows a fresh setup or login screen and no old user account. Don't sign in just to make the laptop look ready; the next owner should be able to complete setup with their own account.
Boot a Wipe Tool When the Laptop Will Not Start
Use an external bootable tool if the operating system won't load, a built-in reset refuses to clean the drive, or you don't trust the installed system. The erase still needs to match the drive type. A bootable tool isn't automatically safer just because it runs outside Windows, macOS, or Linux.
Prepare the USB on another computer
Download a bootable erase utility from the laptop or drive manufacturer if one is available for your model. Otherwise, use a reputable live Linux environment that includes the tools needed for your drive, such as nvme-cli and hdparm. Write the downloaded image to a USB stick using a trusted USB-writing tool, then disconnect the USB safely.
Leave other external storage unplugged. If you've got a backup disk connected, it can appear beside the laptop's internal drive in the erase tool. Removing it makes an accidental selection less likely.
Identify the internal drive before erasing
Start the laptop's boot menu and choose the USB. The key varies by computer; it's often Esc or F12 on a PC, while a Mac uses its startup options. If the menu doesn't appear, check the manufacturer's boot instructions rather than trying erase commands from memory.
Once the live environment starts, list the available disks and match the internal drive by model and capacity. Don't assume the largest drive or the first item in a list is the correct target. A USB stick can appear alongside the internal drive, and a mistaken selection can erase the backup you meant to protect.
Make drive identification your stop sign. If you can't tell which listed device is the laptop's internal drive, don't run an erase command.
Run the method that matches the drive
For an SSD, use the manufacturer's bootable utility, NVMe Sanitize, or ATA Secure Erase if the drive supports it. For a conventional HDD, run one complete overwrite and wait for the tool to finish. Don't use old hard-drive-only wiping software as the default for a modern laptop. It may overwrite an HDD but can't properly sanitize flash storage.
Some SATA SSDs report that their security state is frozen and won't start Secure Erase. A sleep-and-wake cycle may release the frozen state; follow the drive maker's procedure before retrying. Don't keep issuing commands if you still can't identify the disk or the tool reports an error.
A work or school laptop may prevent USB boot with a firmware password. That control belongs to the device owner or administrator, so return the laptop to the employer or school rather than trying to bypass it.
Before shutting down, read the tool's completion message. Remove the USB and power off the laptop when the erase reports success. You'll still need to check the result from outside the operating system.
Confirm the Wipe and Recover From a Failed Erase
A progress bar tells you a process ran. It doesn't, by itself, show that the right drive was erased or that the old files are gone. Use a separate bootable environment or the computer's setup screen for the check, so you're not relying on the operating system you just wiped.
Check the drive from outside the old system
Look for these signs:
- Old personal files aren't visible. The previous username, photos, and documents shouldn't appear in the fresh setup environment.
- The internal disk looks as expected. A disk utility may show it as empty, unallocated, or containing a fresh installer or operating-system volume. Its reported capacity should be close to the size specified for the drive.
- A recovery scan finds no old personal files. If you know how to run recovery software from an external environment, point it only at the internal drive. Don't write recovered files onto that same drive.
A recovery scan can identify a failed wipe, but an empty scan isn't proof that every drive was securely sanitized. For a handoff, rely on the erase method's completion result as well as the checks you can make afterward. If you're trying to understand what recovery tools can surface, this plain-language guide to recovering deleted files can clarify why ordinary deletion isn't enough.
Match the fix to the failure
If old files appear, consider what went wrong before repeating the erase. A quick format or ordinary file deletion may have changed file records without clearing the data. An overwrite tool aimed at an SSD may also miss flash pages the drive controller keeps out of reach.
For an SSD, retry with the manufacturer's sanitize tool, NVMe Sanitize, or ATA Secure Erase, as supported by the model. If you're relying on encryption, confirm it protected the data before the files were saved and that the relevant key is gone. For an HDD, run one complete overwrite and wait for the tool to finish without read errors.
If Secure Erase reports that the drive is frozen, use the sleep-and-wake procedure described by the laptop or drive maker and retry. Don't treat repeated errors as a reason to keep experimenting. Stop if the command fails, the drive's capacity looks wrong, or the disk clicks and drops offline. Those are reasons to move from a software wipe to physical destruction.
Reset It for the Next Owner or Destroy the Drive
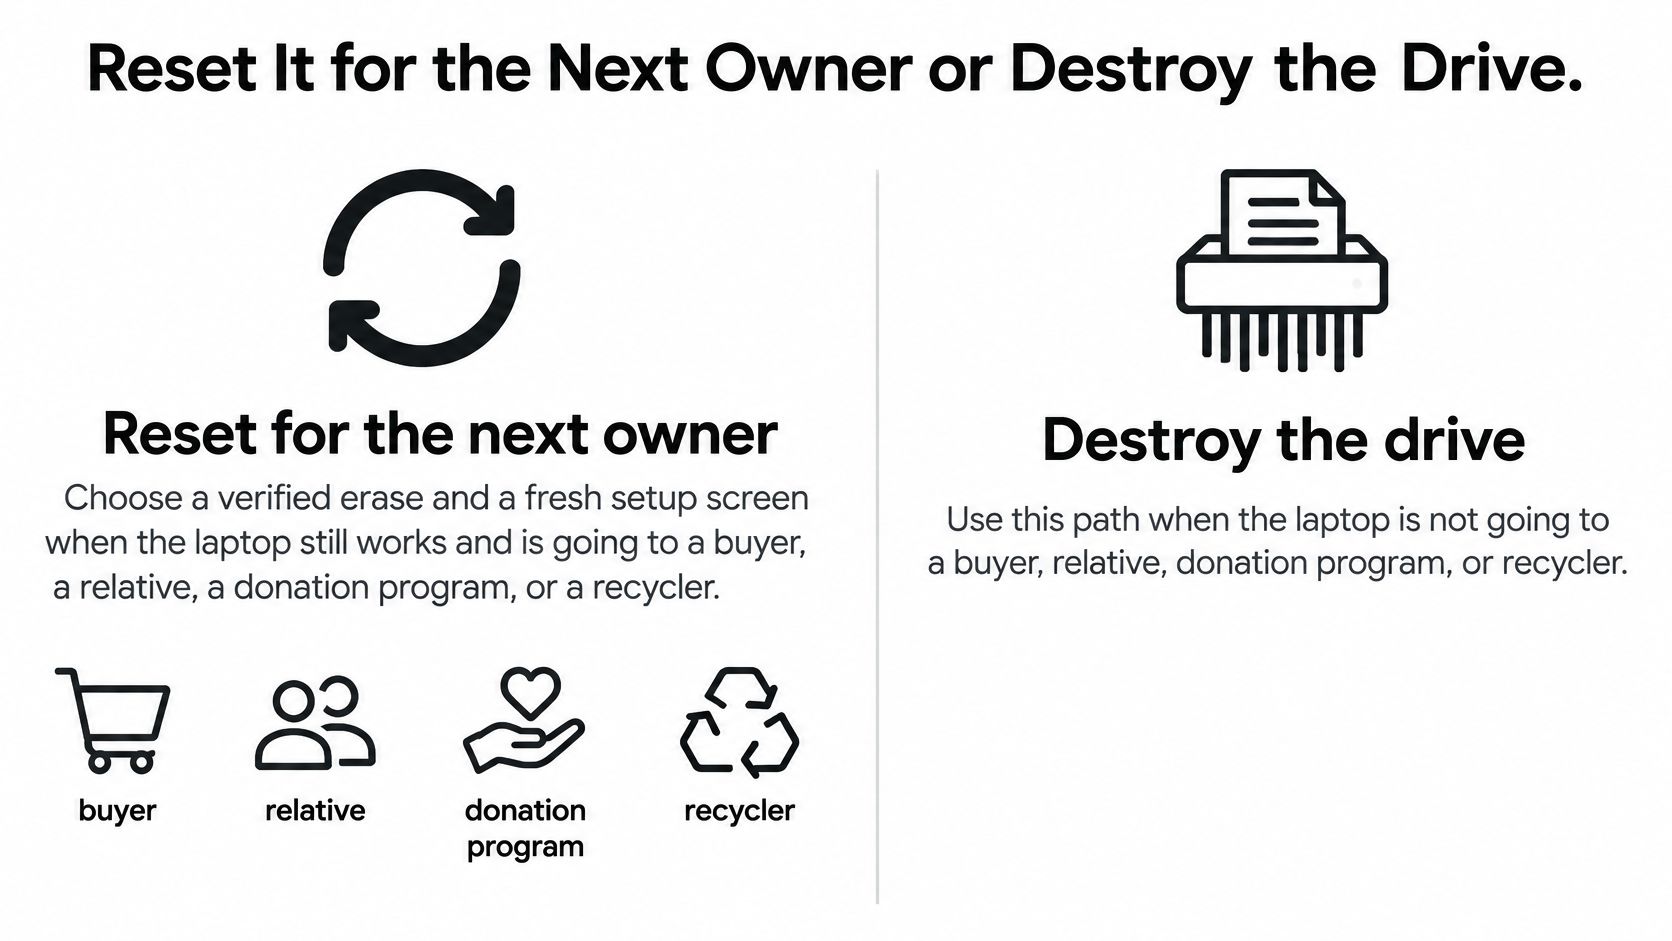
Choose a verified erase if the laptop still works and is going to someone who'll use it. Choose destruction if the drive failed mid-erase, the firmware blocked every supported sanitize command, or the files are too sensitive for you to accept a lingering recovery risk.
A buyer, relative, donation program, or recycler can receive a usable laptop after a successful erase and a clean setup screen. A factory reset is suitable only if you selected the drive-cleaning or erase option and the checks found no old personal files. A reset that merely removes apps or restores settings isn't a secure handoff.
Keep the laptop when the erase is verified
For a working laptop, a completed drive-appropriate erase and a fresh setup screen are practical signs that it's ready to hand off. Keep any proof you'll need, such as the tool's success message and your recovery-check result, until the laptop has reached its new owner. If you're weighing a sale against another route, this guide on where to sell used electronics can help you compare options. For a sale, it can also help to understand what condition and presentation may mean for getting more cash for your laptop.
A recycler may accept a wiped laptop for reuse, but don't assume that every drop-off service erases a drive for you. If you can't confirm how the data will be handled, erase the drive yourself before the handoff or remove it and keep it.
Destroy a drive that can't be trusted
If the drive won't complete a supported erase, don't ship it with your data intact. You can preserve the rest of the laptop's value by removing the internal drive and arranging proper destruction rather than destroying the whole computer.
For an HDD, destruction needs to damage the platters so the drive can't be reinstalled and read. For an SSD, damage needs to reach the memory chips that store the data. Use a qualified electronics recycler or a service that shreds storage media if you can't safely arrange that yourself. Don't rely on dropping the laptop, drilling a convenient hole, or damaging only its outer casing to make the data unrecoverable.
Once the laptop is ready, complete the handoff and keep your backup separate. Restore your files onto the next computer from the copy you already tested.
Tech Today offers clear, practical explanations of technology and help with everyday device decisions. If you're preparing another computer or sorting out its privacy settings, visit Simply Tech Today for straightforward guidance.


Member discussion