
Data Transfer Between iPhones Made Simple and Fast

You've just opened a new iPhone, the setup screen is waiting, and your old phone is still full of photos, messages, passwords, and apps you can't afford to lose. The good news is that data transfer between iPhones is no longer a complicated cable-and-computer ritual. Apple's Quick Start guides the move wirelessly, while iCloud, computer backups, and AirDrop give you practical alternatives when the usual path doesn't fit.
The right method depends on your situation. A new phone on launch day calls for a complete migration. A cracked screen may make a backup restore safer. If you only need a few work files or vacation photos, AirDrop is faster and less disruptive than moving an entire phone. The key is preparing both devices first, then switching methods when the circumstances call for it.
Before You Move Anything Get Both iPhones Ready
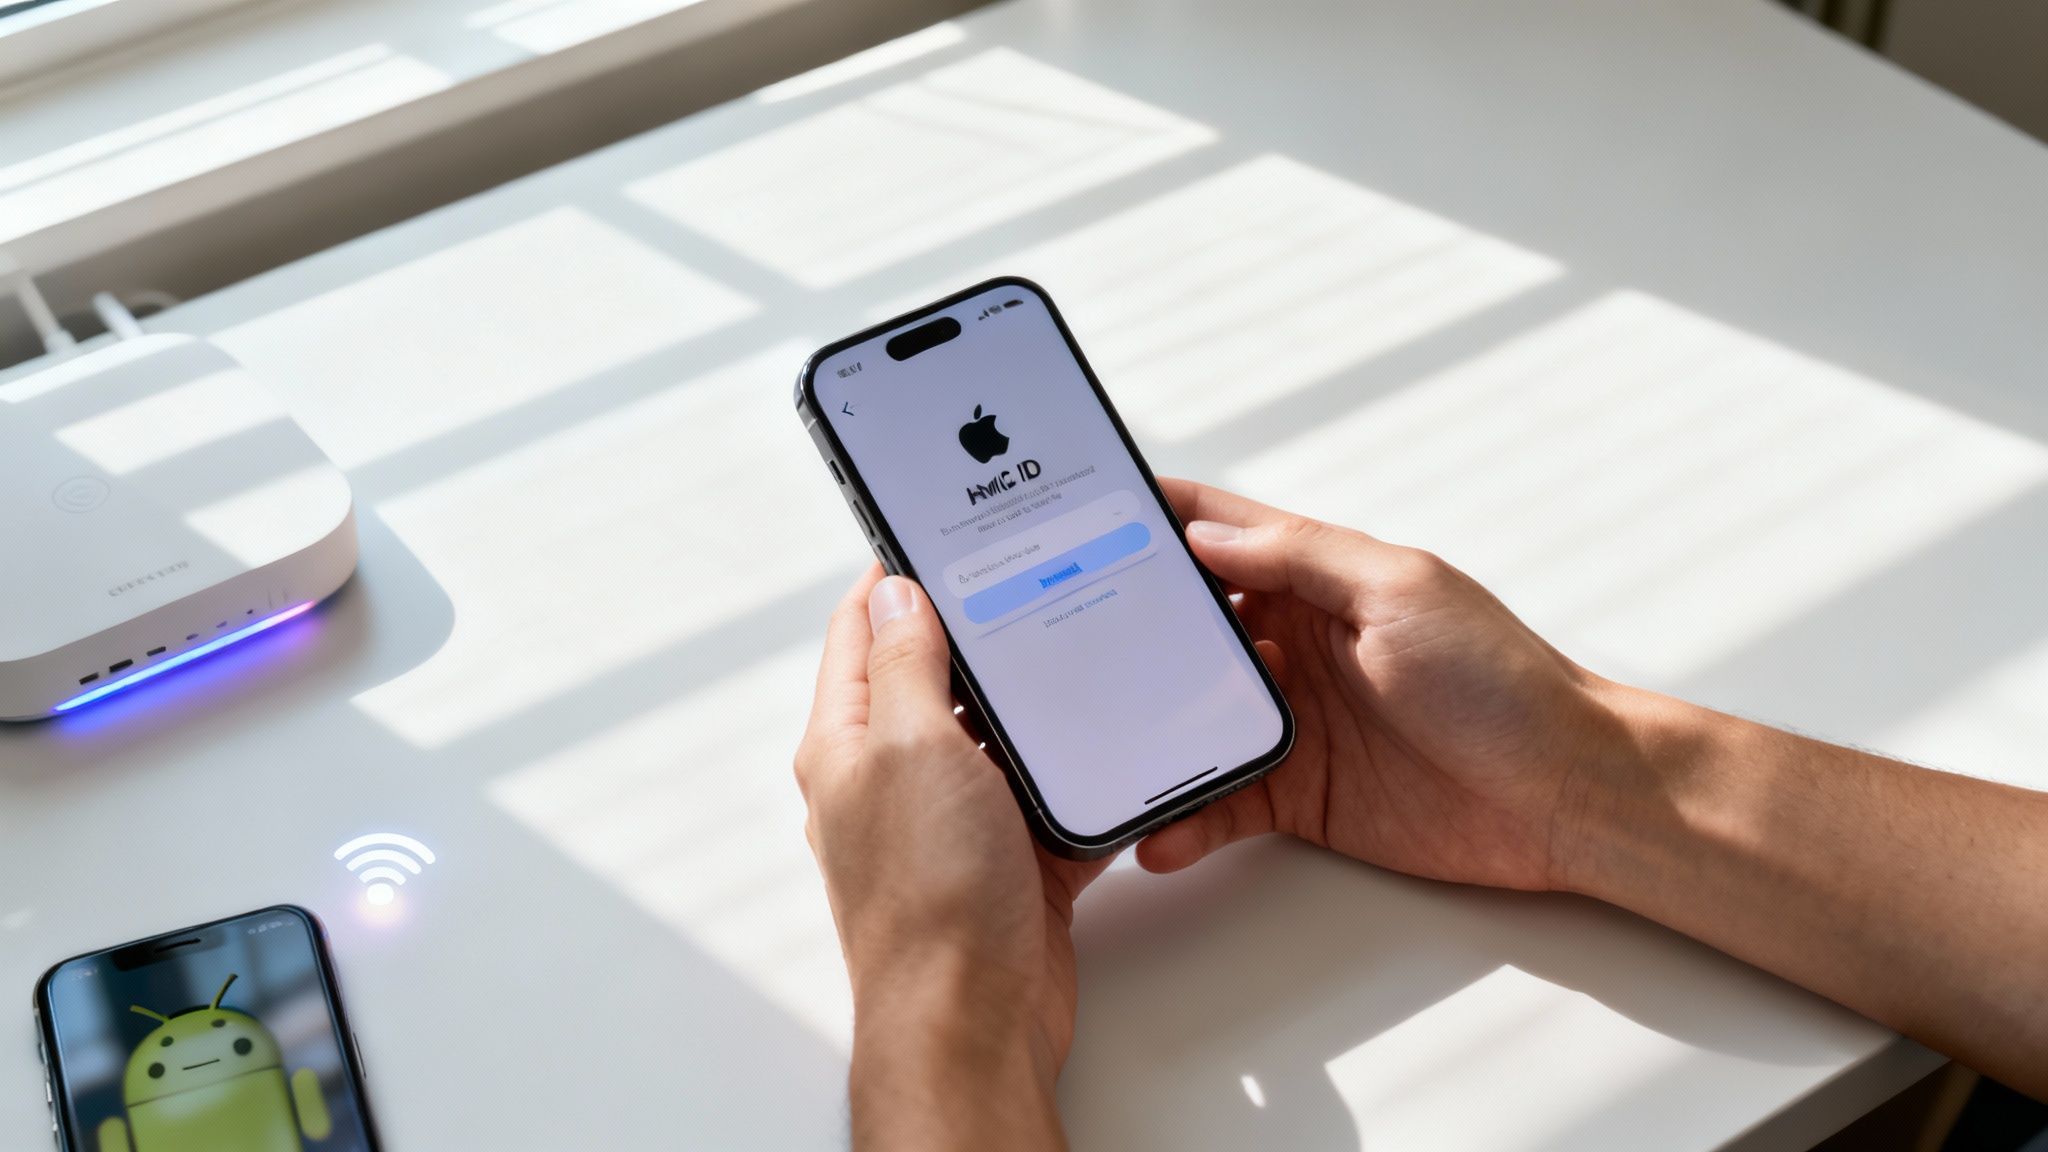
The easiest transfer usually begins before you turn on the new iPhone. Suppose you've brought home a new device and the old one still works. Don't rush through setup. Put both phones on a table, connect them to power, and give yourself time to check the conditions that let them communicate properly.
Apple's Quick Start guidance says the old iPhone needs Wi-Fi and Bluetooth enabled, while the new iPhone should be placed nearby during setup. The old phone also needs a Wi-Fi or cellular connection, and the new phone must be activated as part of the setup process. Those requirements explain why a transfer can fail even when both phones appear to be working normally.

The preparation that prevents trouble
Start by checking the iOS version on each phone in Settings > General > Software Update. Update the old iPhone before beginning if an update is available. A newer iPhone may expect transfer components that an older, unpatched device can't provide, especially when the phones have a large iOS version gap.
Next, confirm your Apple Account details. Make sure you know the password used for iCloud, App Store purchases, and services such as Messages in iCloud. If you're setting up an account from scratch and need guidance around account creation options, this resource on creating an Apple ID without a phone number may help you understand the setup process.
Use this quick readiness check:
- Power: Charge both phones and keep them connected to power throughout a direct transfer.
- Connectivity: Turn on Wi-Fi and Bluetooth on the old iPhone, then connect it to a reliable network.
- Storage: Check the new iPhone's available capacity in Settings > General > iPhone Storage. Remove unnecessary downloads or large apps if the incoming data may not fit.
- Backup: Create a fresh iCloud backup or computer backup before starting. A backup gives you a recovery route if the direct move stops.
- Physical condition: If the old iPhone has a damaged screen, unstable battery, or unreliable buttons, choose a backup-based method instead of depending on it for a long interactive setup.
Practical rule: Never erase the old iPhone just because the new one reaches the Home Screen. Keep the old device available until you've checked the information that matters.
Apple's setup options include iCloud backup restoration, computer backup restoration, Android migration, and a choice to transfer no apps or data. The company also supports wired migration separately from wireless Quick Start, so you aren't limited to one route if the first choice doesn't suit your devices. For broader setup guidance, see this new phone setup walkthrough.
Quick Start Device to Device Transfer Walkthrough
Quick Start is Apple's guided phone-to-phone setup flow. It's the natural choice when the old iPhone is nearby, responsive, and able to stay connected until the move finishes.
Begin with the new iPhone at its Hello screen. Turn on the old iPhone and place it next to the new one. Confirm that Wi-Fi and Bluetooth are enabled on the old device, and keep both phones connected to power.

Follow the prompts in order
A Quick Start card should appear on the old iPhone asking whether you want to set up the new device. Tap Continue. The new iPhone will display a moving pattern. Use the old iPhone's camera to scan that animation when prompted. This pairs the devices and confirms that the person starting the migration has access to the old phone.
The new iPhone then asks for the old phone's passcode. Enter it carefully. You may also be asked to sign in with your Apple Account, configure Face ID or Touch ID, and review cellular setup choices. These steps aren't separate from the migration. Apple builds them into the new-device activation process.
When the transfer choices appear, you'll generally choose between downloading from iCloud and transferring directly from the old iPhone. The direct option copies information from one device to the other, while the iCloud option prepares the new phone from a cloud backup and lets some content continue downloading afterward.
Choose Transfer from iPhone when both devices are dependable and you want the new phone to mirror the old one as closely as possible. Keep the phones near each other and plugged in until the process ends. Apple says the duration varies according to network conditions and the amount of data being moved, so an estimate can change while the transfer is underway.
Avoid the common interruptions
Keep the phones on a stable surface rather than carrying them around. Don't turn off Bluetooth, switch Wi-Fi networks, restart either device, or separate the phones during the direct transfer. A progress message may remain unchanged for a while, especially when the phone is processing a large collection of photos, videos, or apps.
Some information may still require attention after the Home Screen appears. Apps can continue downloading, and individual services may ask you to sign in again. Payment cards, banking apps, authenticator tools, and other security-sensitive services often require fresh verification because their credentials aren't transferred like ordinary files.
If you're moving only applications rather than an entire phone, this guide on transferring apps to a new iPhone covers that narrower situation. For a complete migration, however, don't judge success until you've completed the checks in the final section.
When Quick Start Is Not an Option Using iCloud or Computer Backup
Quick Start depends on two phones that can interact throughout setup. That makes it a poor fit when the old iPhone has a broken display, keeps shutting down, can't remain near the new device, or isn't available at all. In those situations, restore from a backup instead.
An iCloud restore is useful when the old phone can still create a current backup and you don't want to depend on a direct connection. A computer restore is more suitable when you have a Mac or Windows PC, a reliable cable, and enough local storage for the backup. Apple's setup materials describe both routes, along with direct migration and Android transfer, as part of the broader iPhone onboarding system at Apple's transfer and setup options.
Choose the method that matches the problem
Before relying on either backup route, create a new backup if the old phone still responds. On the old iPhone, open Settings, tap your Apple Account, choose iCloud, then open iCloud Backup and start a backup. If you use a Mac, Finder can create a device backup. On Windows, Apple's device-management software can perform the equivalent computer backup.
During new iPhone setup, select the option to restore from iCloud or from a computer when prompted. If the new device is already configured, you may need to erase it and return to the setup assistant before choosing a backup restore. Only do that after confirming that you have the correct backup available.
| Method | Best For | What You Need | Watch Out For |
|---|---|---|---|
| iCloud restore | A damaged or unavailable old iPhone, or a setup away from your computer | A current iCloud backup, Apple Account access, and a dependable connection | Content may continue downloading after setup, and the backup must be current enough |
| Computer restore | Limited cloud capacity, a local workflow, or a more controlled wired process | A Mac or Windows PC, the correct cable, and a usable computer backup | You must have access to the computer and select the correct backup |
| Quick Start | Two working iPhones sitting together during setup | Nearby devices, Wi-Fi, Bluetooth, power, and Apple Account access | The old phone must remain responsive until the transfer completes |
Choose based on risk, not habit. A working old phone gives you more options. A damaged phone makes a verified backup the safer foundation.
The choice between cloud and local storage also depends on how much control you want over copies and access. This overview of how to choose cloud or local storage can help clarify that broader decision. If you're working specifically with an iCloud copy, use this guide to download a backup from iCloud.
Moving Select Files Quickly With AirDrop
A full migration is unnecessary when you only need a handful of items. If your partner's new iPhone needs a shared album, or you want to send several work documents without changing the rest of the device, AirDrop is the more focused tool.
Open Control Center on both iPhones and confirm that Wi-Fi and Bluetooth are on. Press and hold the connectivity panel, tap AirDrop, then choose an appropriate receiving setting. For a temporary transfer between people who aren't in your contacts, you can select the option that allows nearby devices to discover the recipient, then change it back afterward.
Send the item from the old iPhone
For photos, open the Photos app, select the images or videos, tap the Share button, and choose the recipient's iPhone under AirDrop. For a document, open the Files app, press and hold the file, select Share, and choose AirDrop. Contacts can be shared from the Contacts app using the same Share control.
The receiving iPhone displays an acceptance prompt. Tap Accept on that device, and wait for the transfer to complete. Photos and videos generally appear in Photos, while documents may open in Files or offer an app-specific destination.
AirDrop is selective by design. It doesn't recreate the old phone's app data, settings, messages, Health records, or account configuration. It also depends on proximity and a stable wireless connection, so a very large collection may be less convenient than a full restore.
Use AirDrop when the new iPhone is already set up, when you want to keep its existing content, or when the old phone is being shared with another person. If you're unsure whether an internet connection is required for your particular situation, this explanation of Wi-Fi and AirDrop requirements provides useful context.
Why Transfers Fail and How to Fix Them Fast
Most failed transfers give you a recognizable symptom. Diagnose that symptom instead of restarting the entire process repeatedly.
If Quick Start doesn't appear, wake the old iPhone, place it beside the new one, and toggle Bluetooth off and back on. Restarting both phones can clear a temporary pairing problem. Also confirm that the old phone is connected to Wi-Fi or cellular service, since Quick Start is part of the activation flow rather than an isolated copy utility.
If the transfer remains on an estimate or appears stuck, keep both phones plugged in and close together. Move them to a stable Wi-Fi connection if the current network is weak or crowded. Don't assume that an unchanged message means nothing is happening, especially while the phones process a large amount of content.

Match the fix to the failure
- Storage warning: Check the new iPhone's available space and remove large downloads or apps you don't need. If the old phone contains more data than the new device can hold, a complete migration cannot finish until you reduce the incoming set or use selective sharing.
- Battery interruption: Reconnect both phones to power and restart only when the transfer has clearly failed. A direct transfer is vulnerable to an unexpected shutdown, so don't begin with a nearly empty battery.
- Repeated disconnection: Keep the devices on the same stable surface and avoid moving between networks. If wireless communication remains unreliable, switch to iCloud or a computer backup rather than repeating the same failed route.
- Cellular setup problem: Treat eSIM activation as a separate issue from file migration. If the new phone has no service after setup, follow a focused iPhone eSIM troubleshooting guide instead of erasing the new device immediately.
Check the iOS version gap
Older hardware can become more than slow during migration. Recent troubleshooting coverage identifies large jumps such as iOS 15 to iOS 18 and iOS 16.7 to iOS 18.3 as situations where the older phone may need an update before the transfer completes, as described in this Quick Start troubleshooting guidance.
That makes updating the old iPhone a decisive first fix. Install the available iOS update, restart both devices, and try Quick Start again. If the old phone can't update, can't stay powered, or can't be controlled reliably, stop using direct transfer and restore from a verified backup.
Final Checks to Confirm Everything Moved Correctly
Reaching the new iPhone's Home Screen means setup completed. It doesn't prove that every important item is available yet. Give the phone a practical audit before you erase or trade in the old one.
Start with the information you use every day. Open Photos and check recent images, older albums, and a few videos. Open Messages and look for important conversations. Launch several essential apps, then check whether they retained their expected content or asked you to sign in again.
Use a short post-transfer audit
- Photos and videos: Confirm that albums open and that recently captured media appears.
- Messages: Check both recent conversations and an older thread.
- Contacts and calendars: Open each app and verify that your familiar entries are present.
- Health data: Open Health and look for the records you rely on.
- Apps: Let downloads finish, then open financial, travel, work, and authentication apps individually.
- Apple Pay: Review Wallet and add or verify payment cards again if the bank requests confirmation.
- Cloud status: Check iCloud settings for services that are still syncing or waiting for account authentication.
Keep the old iPhone powered on for a few days if it's still usable. That gives you a source for checking a missing photo, confirming a forgotten note, or approving a login. Don't erase it until the new phone has passed this audit and you know where your backup is stored.
Once you're confident, enable automatic iCloud Backup on the new iPhone, update apps, review notification and privacy settings, and sign back into services that need fresh authentication. Then use Settings > General > Transfer or Reset iPhone > Erase All Content and Settings on the old device before handing it to someone else, returning it, or selling it.
A successful transfer isn't just a finished progress bar. It's a new iPhone that contains the information you actually need and a backup you can still recover from.
Tech Today publishes clear guides for iPhone setup, transfers, app management, and everyday troubleshooting. Visit Simply Tech Today for practical explanations that help you handle your next device change with confidence.

Member discussion