
New iPhone Setup Stuck on Software Update
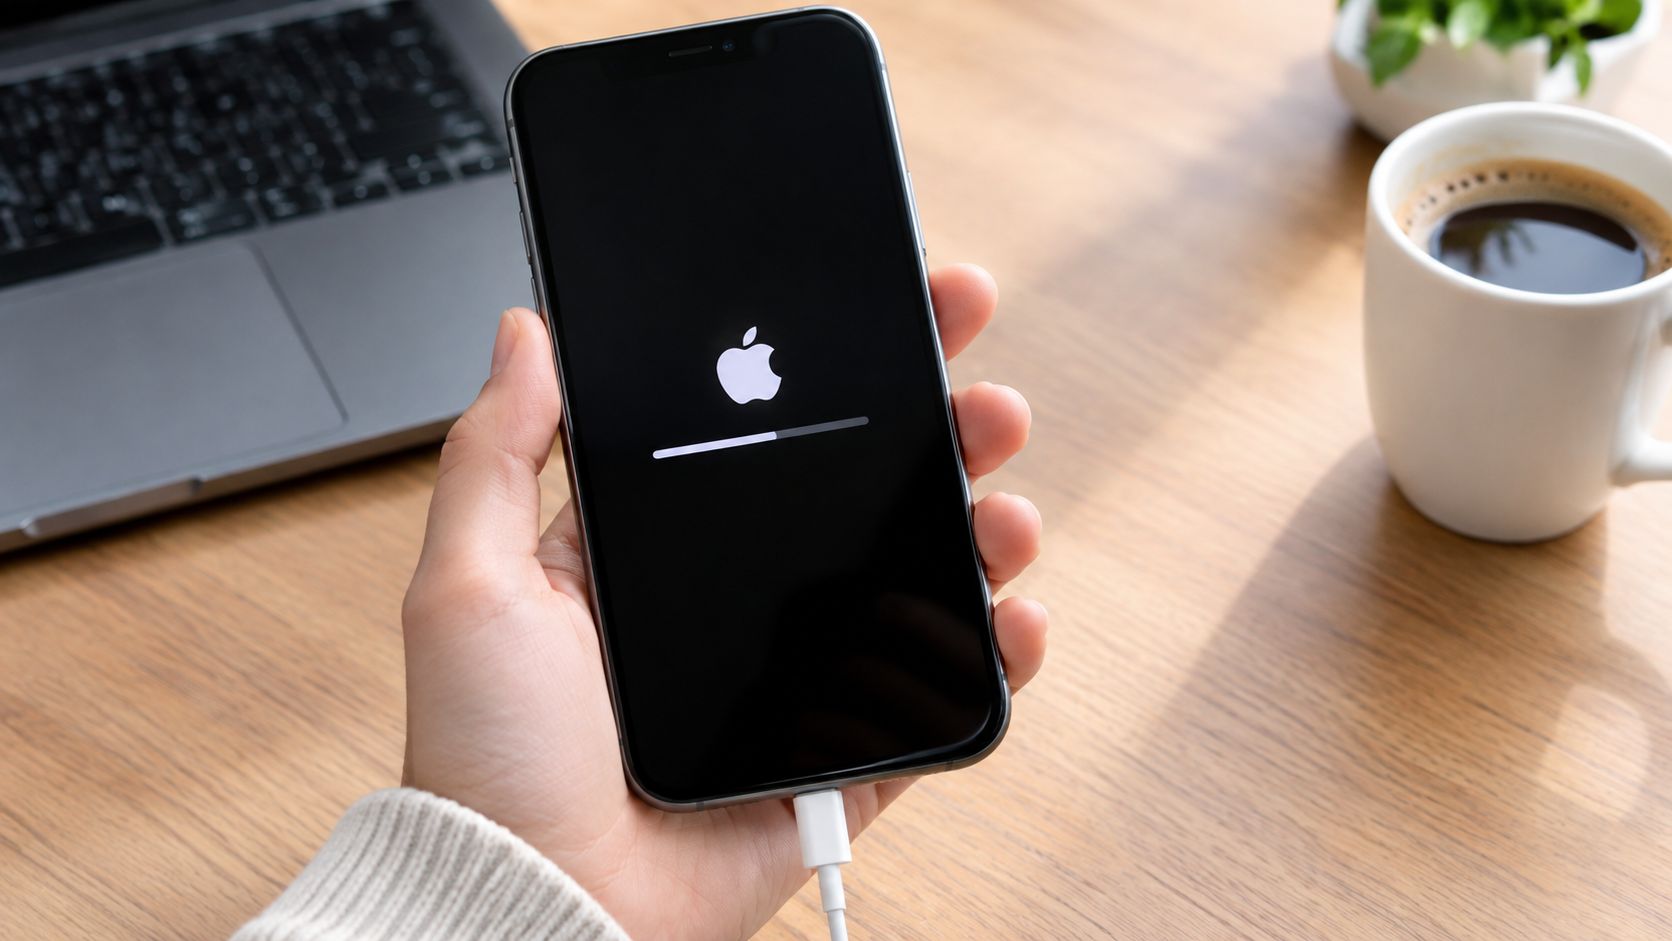
You've just unboxed a new iPhone, connected it to Wi-Fi, and expected to reach the Home Screen within minutes. Instead, the software update sits there, the progress bar stops moving, or the Apple logo keeps returning. Before you assume the phone is defective, treat this as an environment and setup failure first. Battery level, Wi-Fi, storage, transfer activity, and software conditions can all block the first update.
Work through the fixes in order. Start with the simple preconditions, then try one force restart, then complete setup without transferring data. Only move to computer recovery when those options fail.
Why Your New iPhone Gets Stuck on a Software Update
A new iPhone can arrive with an older version of iOS installed. During activation, Apple may require the phone to download and verify newer software before setup can finish. That creates a frustrating situation where the device appears frozen before you ever reach the Home Screen.
The important point is that a stuck update doesn't automatically mean the iPhone is damaged. Apple's official recovery guidance treats update loops as a software problem that can be addressed through an Update or Restore process on a Mac or PC, rather than as proof that the hardware has failed. You can also review this practical guide to updating phone software for the normal update process and common verification problems.
The three conditions that usually cause trouble
First, the phone needs a reliable connection to download the iOS package and contact Apple's activation services. A weak Wi-Fi signal, a captive hotel network, a hotspot, or a VPN can interfere with that exchange. Cellular data isn't the right foundation for completing initial iPhone setup.
Second, the update needs enough power and working space. Apple's support material identifies device compatibility, available storage, and a valid downloaded update package as important update requirements. Apple also explains that a stalled update may need to be deleted and downloaded again through Settings. The practical thresholds frequently mentioned in Apple Community troubleshooting include battery above 50% and at least 6 GB of free storage in one support-thread example. Apple's update requirements provide the relevant background.
Third, setup may be doing too much at once. If the phone is downloading iOS while also pulling photos, messages, apps, and settings from iCloud or another device, the update can appear to stop even though several processes are competing for the same connection and storage.
Practical rule: Assume the setup conditions are wrong before assuming the iPhone itself is bad.
That mindset keeps you from repeatedly pressing buttons, wiping the phone unnecessarily, or returning a perfectly usable device. Check the environment first. If the phone still can't complete setup after those conditions are corrected, the next fixes become more targeted.
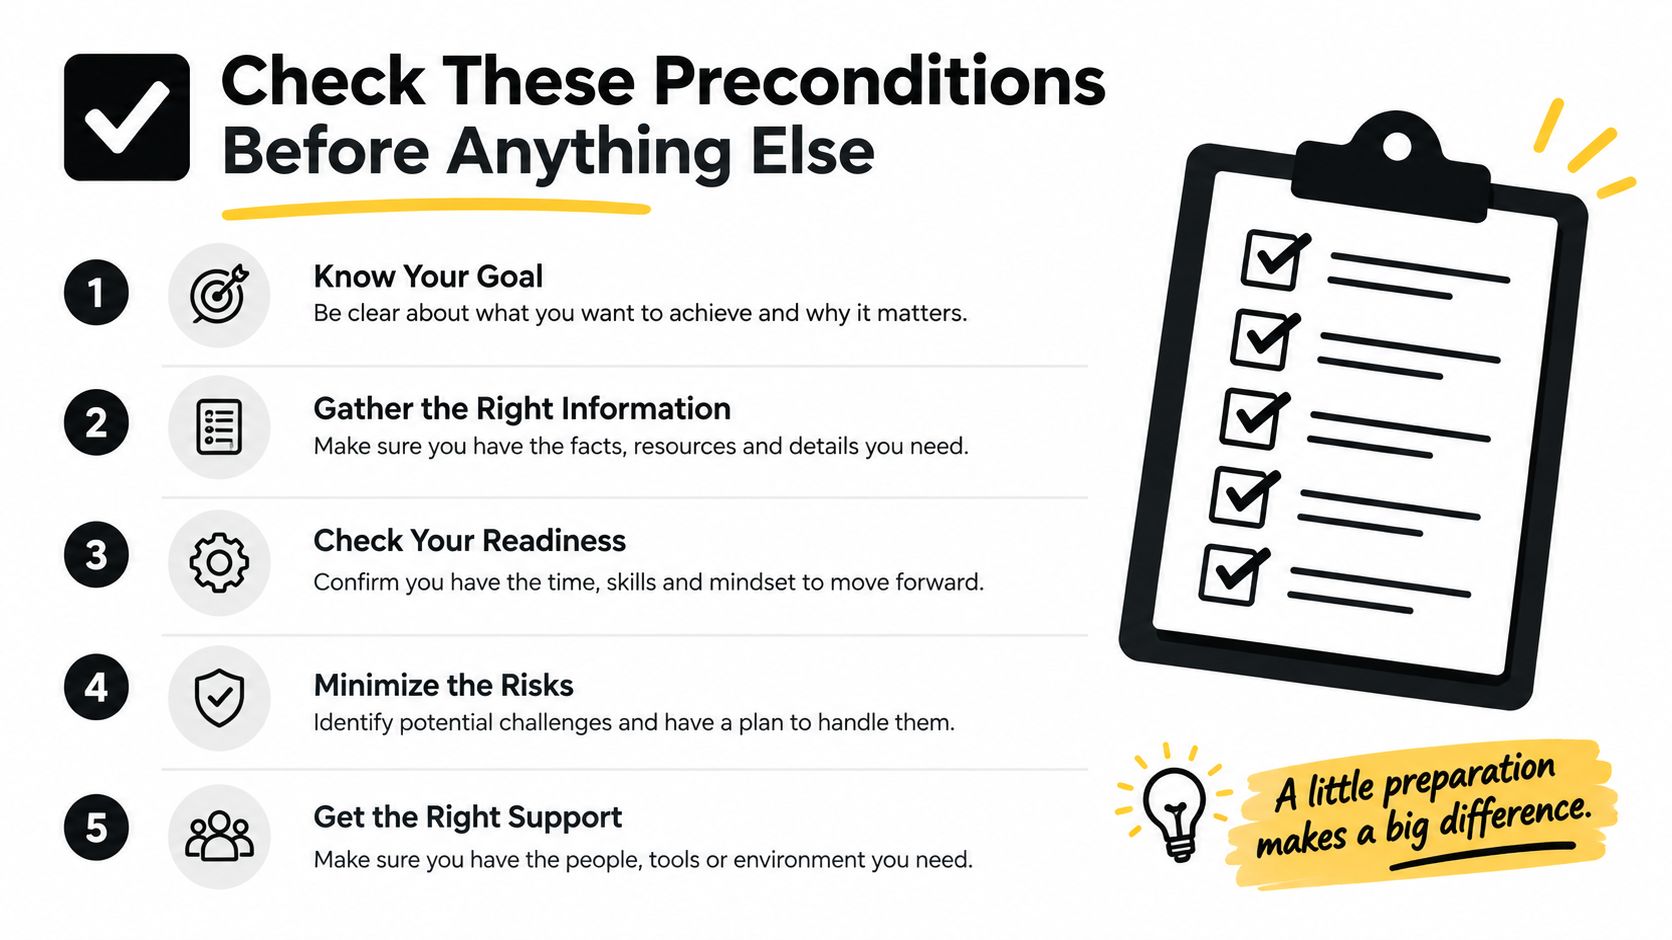
Check These Preconditions Before Anything Else
Don't force-restart the iPhone immediately. First, remove the conditions that can interrupt the update. Do these checks in this order.
Start with power
Connect the iPhone to a wall outlet, not a laptop or a loose power bank. Use a reliable Apple cable or a known-good replacement, and leave it connected while the update runs. Aim for more than 50% battery, a threshold repeatedly cited in Apple Community troubleshooting for update stalls, including this Apple Community setup discussion.
Low power can stop an installation before the phone clearly explains what happened. Keeping the device plugged in removes that uncertainty and prevents the update from draining the battery during verification or installation.
Fix the Wi-Fi connection
Wi-Fi is required for this setup path. Forget the current network, rejoin it, and enter the password again. If possible, move close to the router and avoid a hotspot, public network, or connection that requires a browser sign-in.
A network can look connected while still blocking Apple's update or activation traffic. Turn off any VPN temporarily, because it can route or filter the connection in a way that prevents the update from completing.
Confirm available storage
Check that the iPhone has at least 6 GB of free storage, the operational threshold cited in one Apple Community report. The update needs room for the downloaded package, temporary files, and the extracted installation files. A phone that technically has space for your apps may still lack enough working room for iOS.
If setup gives you access to storage settings, remove large downloads or unnecessary files. Don't start installing extra apps until the update is complete.
Disable the settings that interfere
Turn off Low Power Mode so iOS isn't restricting background activity while the update runs. Disable VPN profiles and pause content filters or Screen Time restrictions that might block Apple services.
Once you've corrected power, Wi-Fi, storage, and restrictions, leave the phone connected for a while. If the progress begins moving again, let it finish without tapping around or disconnecting the charger. For broader setup guidance, use this new iPhone setup walkthrough.
Force Restart Your iPhone the Right Way
If the preconditions are sound and the update remains frozen, try one force restart. This isn't a factory reset. It cuts the current software session and starts the iPhone again without intentionally erasing your data.
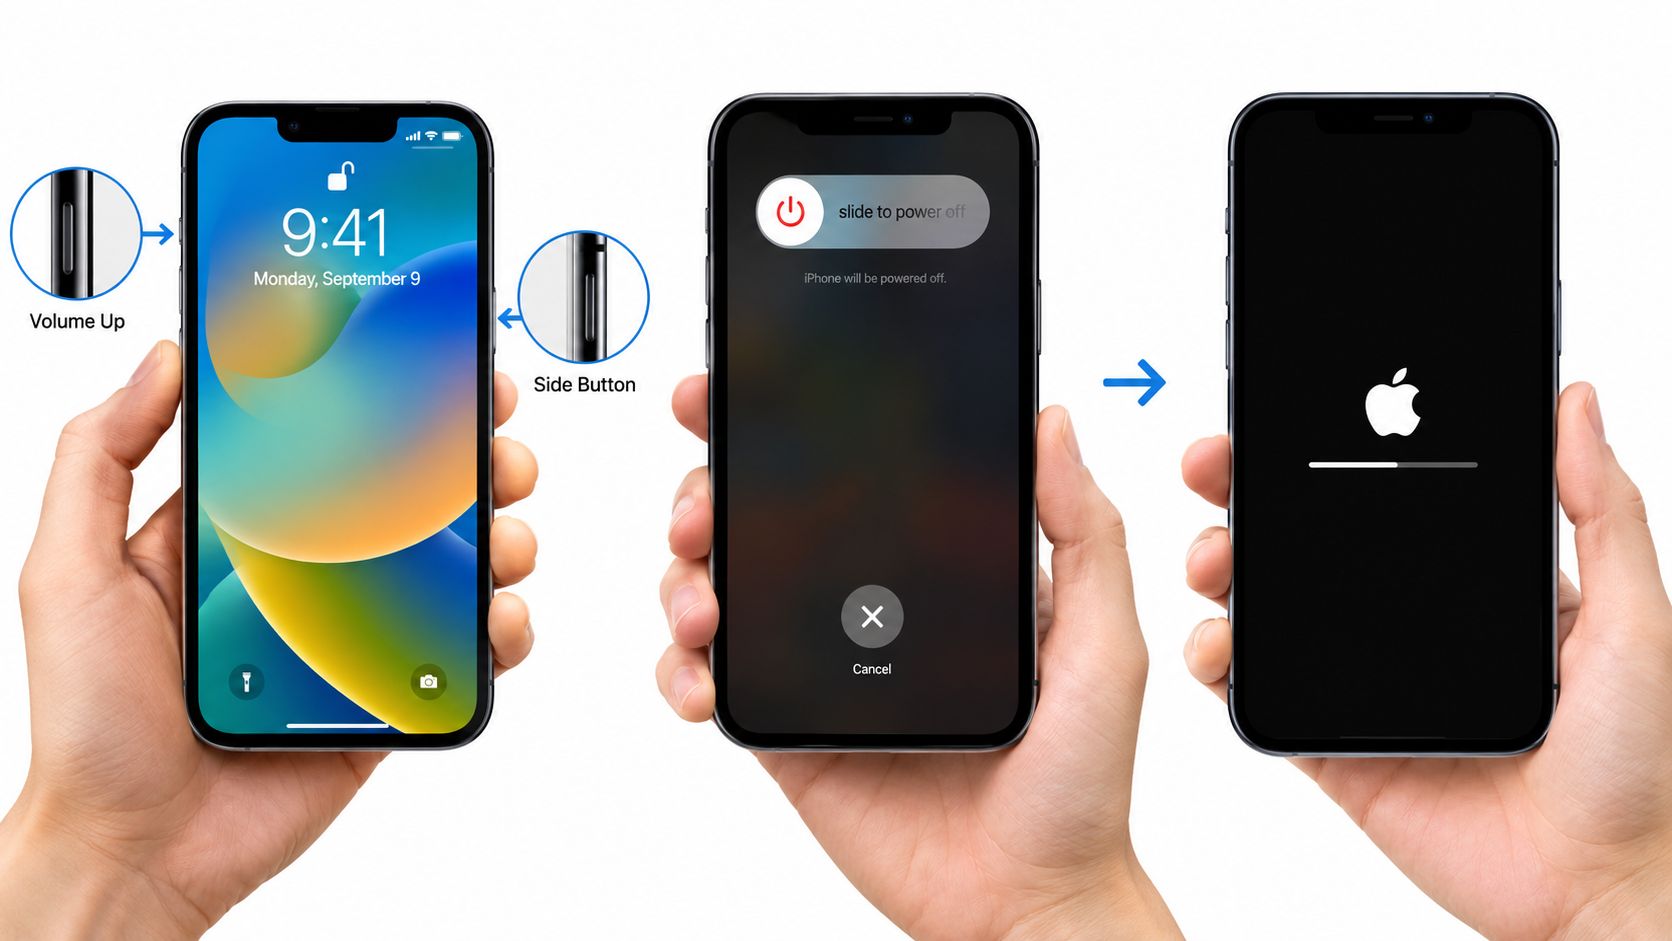
For iPhone 8 or later, including current models, use this sequence:
- Press and quickly release the Volume Up button.
- Press and quickly release the Volume Down button.
- Press and hold the Side button.
- Keep holding while the screen goes black and the Apple logo appears again.
- Release the Side button when the Apple logo returns.
The timing matters. Don't hold the volume buttons, and don't press them slowly as a combination. The two quick presses tell the phone to prepare for the restart, while holding the Side button completes it.
For iPhone 7, press and hold the Volume Down and Side buttons together until the Apple logo appears. Older models use different combinations, so don't apply the iPhone 8 sequence to every device.
Give the restart time
After you release the button, the phone may stay on the Apple logo before the update screen or progress bar returns. Don't interrupt it just because the screen looks unchanged. Keep it connected to power and wait for the operating system to finish restarting.
A force restart can clear a temporary setup process that stopped responding, but it won't repair a missing update package, bad Wi-Fi connection, or insufficient storage. That's why it belongs after the precondition check, not before it.
Try the sequence once. If the iPhone returns to the same stuck update screen, repeating the buttons usually won't solve the underlying problem. Move to the data-transfer workaround instead of repeatedly draining the battery during restarts.
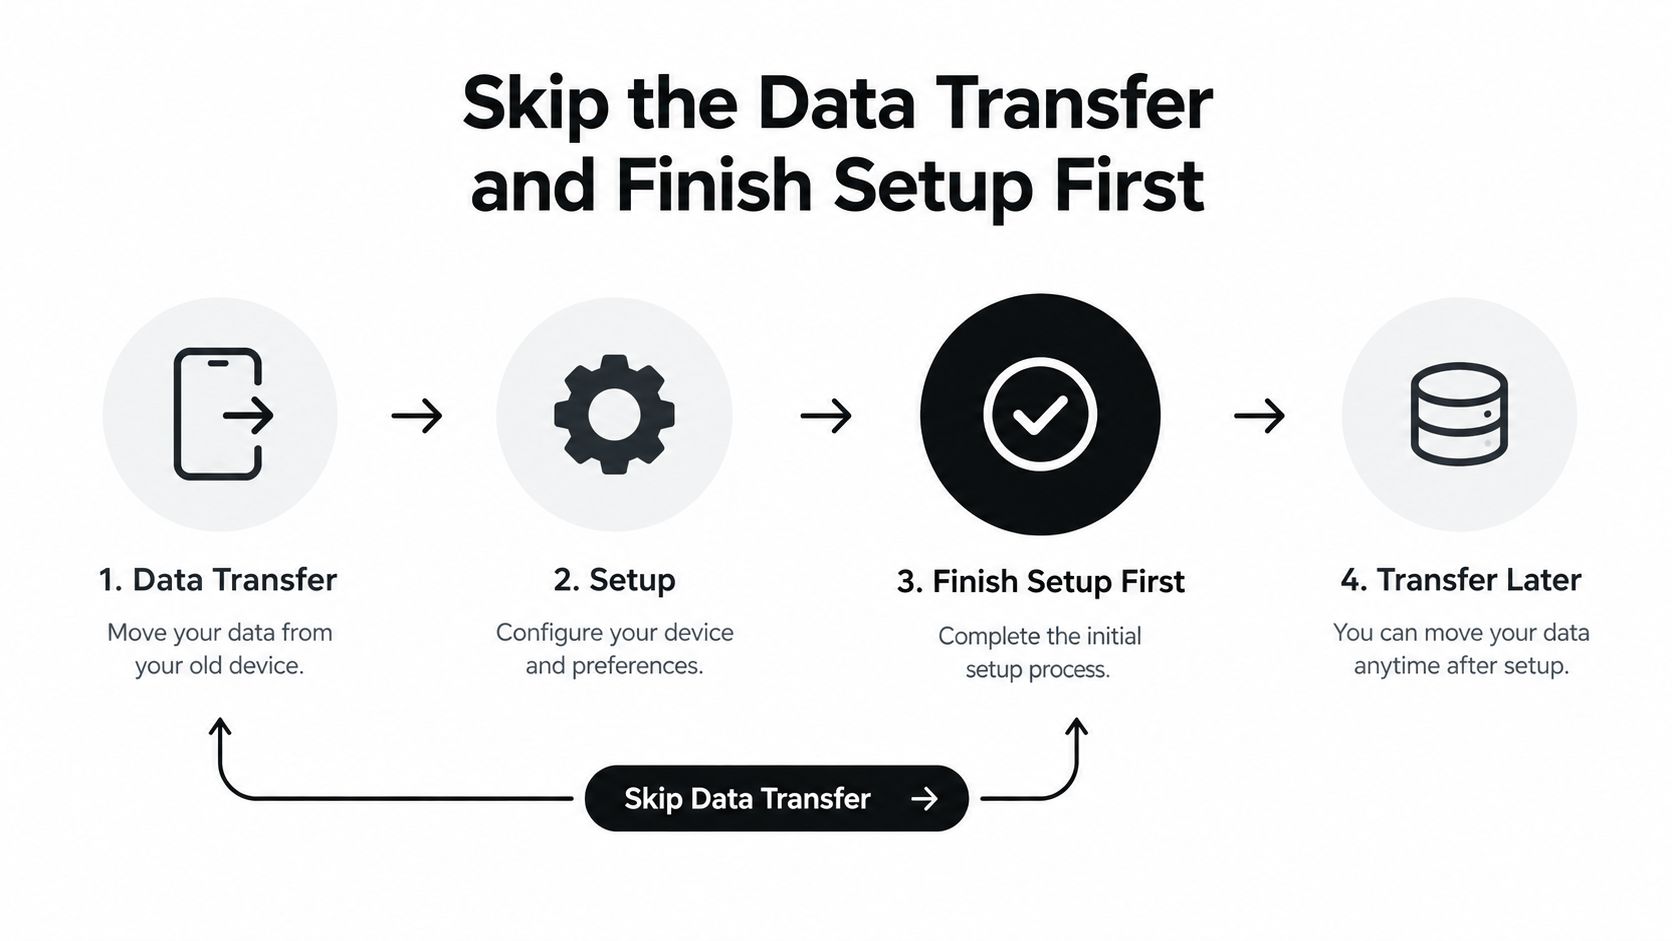
Skip the Data Transfer and Finish Setup First
The most useful fix is also the one many setup guides bury: don't transfer your data during the initial update.
Quick Start, iCloud restoration, and Android migration can all add work while iOS is trying to download and install itself. The iPhone may be handling software verification, app preparation, account setup, photo indexing, and message syncing at the same time. When the phone has to manage all of that over a limited connection, the update screen can look frozen.
Choose the clean setup route
At the Quick Start screen, or at the Android migration step, look for an option such as Set Up Without Another Device or Don't Transfer Apps & Data. The wording can vary, but the choice is the same. Tell the iPhone to complete the initial setup without restoring your content yet.
Continue until the phone reaches the Home Screen. Then open Settings, choose General, and select Software Update. Install the available update from the normal operating system rather than asking the setup assistant to download iOS while it's also moving your personal data.
Restore your content afterward
Once iOS is current, erase the phone only if you need the setup assistant to appear again, then restore from iCloud or use a wired transfer from a Mac or PC. If the phone lets you restore content after the update, follow that route instead.
This approach reduces the number of jobs the iPhone must complete at once. It also gives you a clear test. If the device reaches the Home Screen and updates normally without your data transfer running, the phone was likely overwhelmed by the combined setup workload rather than suffering from a hardware defect.
Use a trusted data-transfer guide between iPhones when you're ready to move your content. Keep the old iPhone available until accounts, authentication apps, messages, photos, and other important data are confirmed on the new device.
Recover Your iPhone Using Finder or iTunes
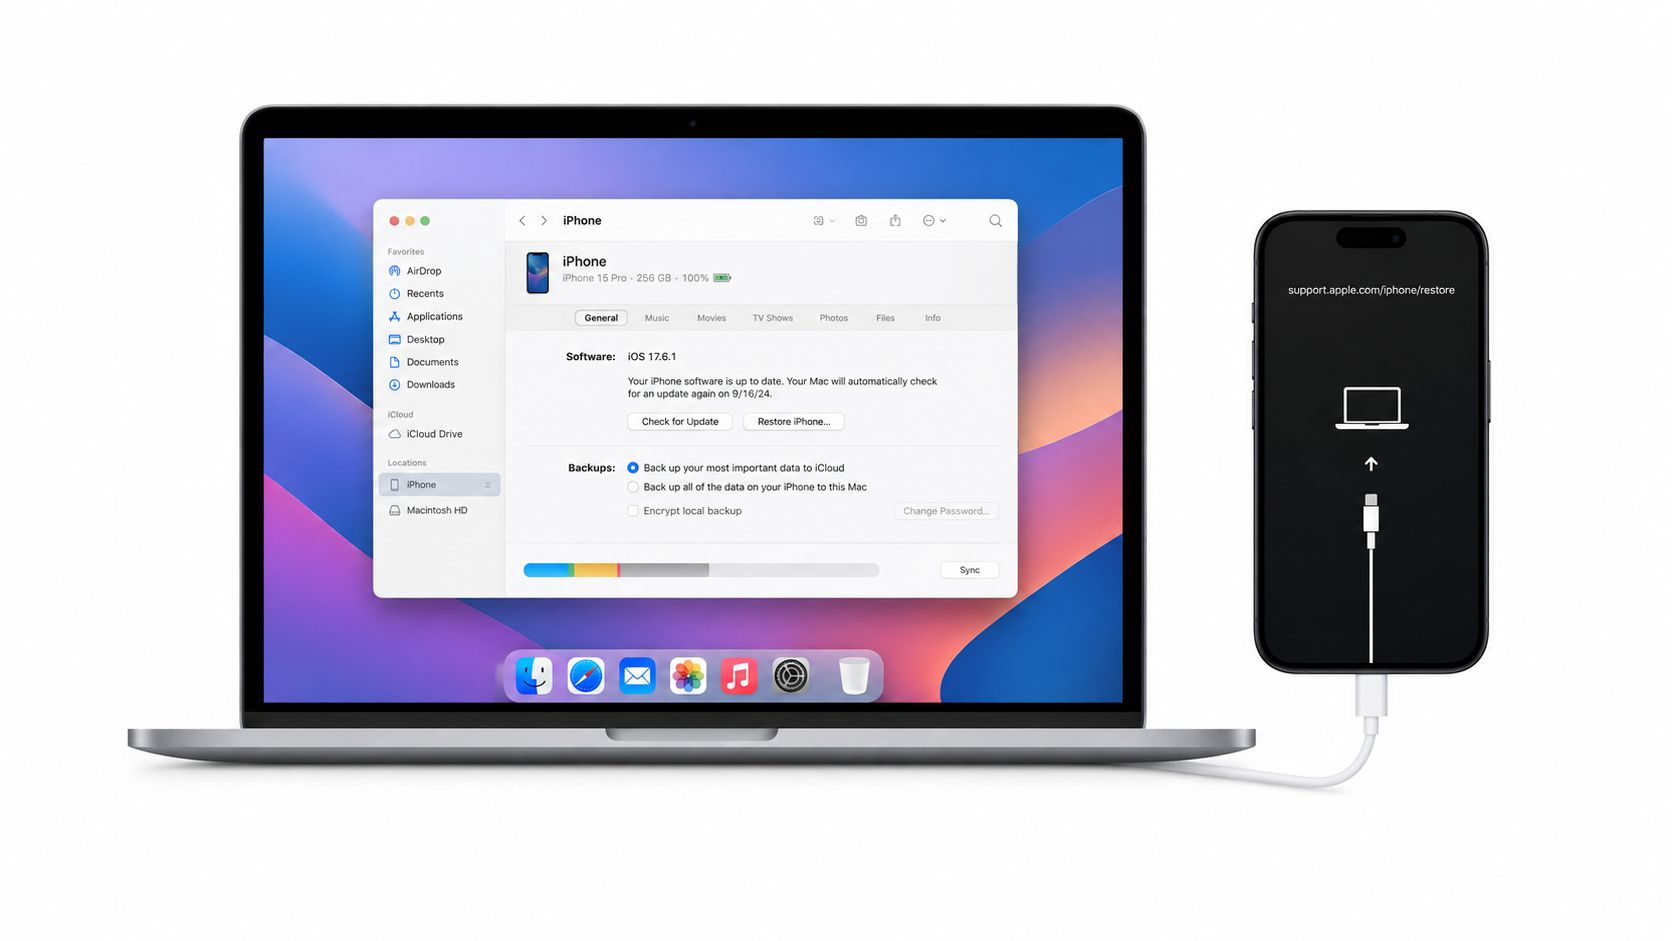
If one force restart and the no-transfer setup both fail, use a computer. Apple's official recovery path is built around connecting the iPhone to a Mac or PC, opening Finder, Apple Devices, or iTunes, and choosing Update or Restore. The computer downloads the iPhone software before reinstalling it, so use a stable internet connection and keep the cable attached.
Put the iPhone into recovery mode
On a Mac running a current version of macOS, open Finder. On Windows, open the Apple Devices app if it's installed. On an older Mac or Windows setup using legacy software, open iTunes.
Connect the iPhone with a reliable Lightning or USB-C cable. For iPhone 8 or later, press and quickly release Volume Up, press and quickly release Volume Down, then hold the Side button until the recovery-mode screen appears. Apple uses that button sequence for this device class in its official recovery instructions.
The recovery screen shows a cable pointing toward a computer. Finder, Apple Devices, or iTunes should then detect the phone and offer recovery choices.
Choose Update before Restore
Select Update first. This reinstalls iOS while aiming to preserve the information on the device. The computer may need time to download the software, and the iPhone can restart during the process. Leave everything connected until the computer reports that the operation has finished.
Choose Restore only if Update fails or the phone continues looping. Restore erases the iPhone and installs iOS from scratch. Afterward, you can recover your data from an iCloud or computer backup. If you need to retrieve information from iCloud, use this guide to download a backup from iCloud.
Do not unplug the cable during recovery. Interrupting the installation can leave the phone in recovery mode or create another failed boot cycle.
If the computer can't complete the download, try a different cable, USB port, or computer before assuming the iPhone has failed. Once the recovery process succeeds, configure the phone as new long enough to install the latest iOS, then restore your content.
When to Stop Troubleshooting and Contact Apple
Stop experimenting when the symptoms point beyond a normal setup stall. Contact Apple Support if the iPhone displays an unknown error code, recovery mode fails repeatedly, the device becomes uncomfortably hot, or the screen develops lines, artifacts, or touch problems after a failed restore.
A brand-new iPhone that still can't complete recovery deserves direct evaluation. Keep your purchase information and serial number ready, and explain that you've checked power, Wi-Fi, storage, force restart, setup without transfer, and computer recovery. That lets the technician move past the basic checklist.
If the device is within the retailer's stated return window, replacement may make more sense than sending a new phone for repair. Don't erase your old iPhone until the replacement or repaired device works and your accounts are accessible. Problems involving activation, eSIM, or mobile service can also overlap with setup trouble, so this guide to eSIM not working on iPhone may help you separate a software-update issue from a carrier problem.
For additional guidance on Apple devices, you can also consult bantuan terkait iOS dan Mac, especially when the computer recovery process raises a separate Mac or iOS question.
If your new iPhone setup is stuck on a software update, start with power, Wi-Fi, storage, and the no-transfer setup option before reaching for Restore. Visit Simply Tech Today for clear setup guides, troubleshooting steps, and practical explanations that help you get new devices working without unnecessary jargon.


Member discussion