
Data Transfer from Old iPhone to New iPhone: How-To Guide
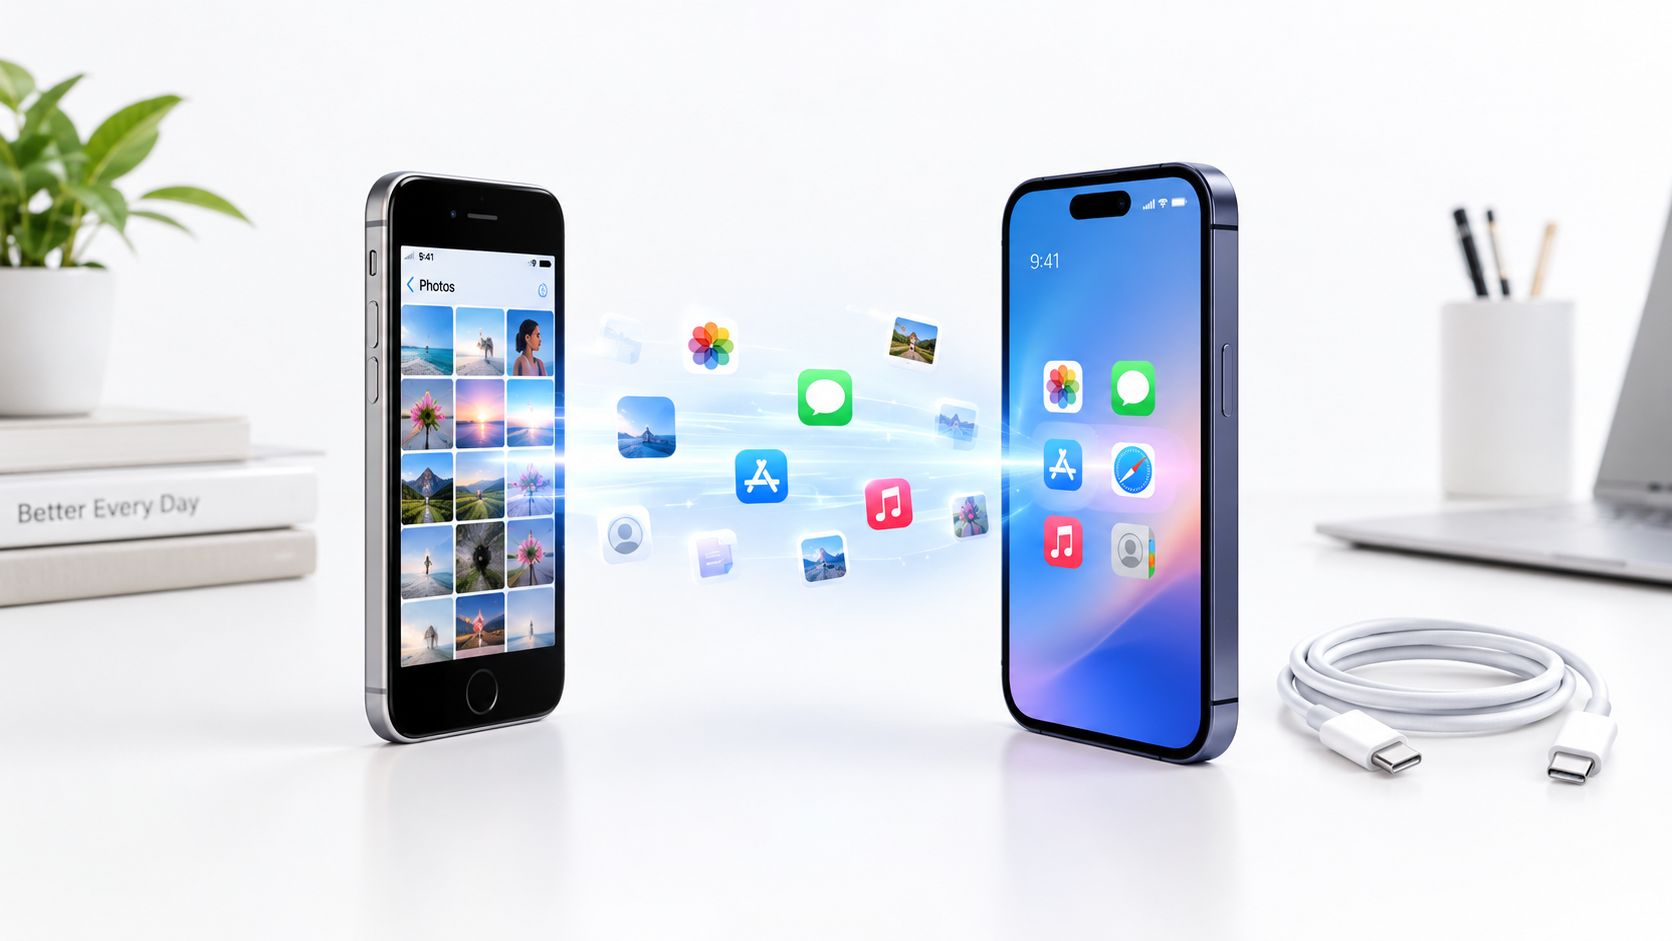
You've just opened a new iPhone, and the first task isn't admiring the camera or setting up Face ID. It's figuring out how to move years of photos, messages, apps, passwords, and settings without leaving something important behind. The process can be smooth, but it can also stall at “Preparing to Transfer,” run into a storage mismatch, or restore everything except data you assumed was included.
Apple supports three main routes for data transfer from an old iPhone to a new iPhone: Quick Start for direct device-to-device setup, iCloud backup restoration, and a wired transfer. The right choice depends on whether your old phone is available, how much space your content uses, how dependable your Wi-Fi is, and whether you need Health and Activity data preserved.
Why iPhone Data Transfer Feels More Complicated Than It Should Be
The expectation is simple. Put the phones together, follow a few prompts, and continue using the new device as if nothing changed. Apple's official iPhone transfer guidance does present that experience as straightforward, but the practical details matter more than the marketing summary.
A direct migration can pause because the phones lose their connection or because the network is unstable. An iCloud restore can appear complete while apps, photos, and other cloud-synced content continue downloading. A computer backup may preserve information that an unencrypted backup leaves out. The transfer itself is only one part of the move.
The storage question most guides skip
The most serious planning mistake is assuming the new iPhone can hold everything on the old one. If the new device has less usable space, you may need to remove or offload content before starting. Comparing the storage used on both phones gives you a practical warning before you spend time waiting for a migration that can't fit.
Health and Activity data create a separate risk. Apple's backup and transfer guidance notes that this information won't transfer from an unencrypted backup. That makes backup type just as important as transfer method.
The safest approach is to decide first, then prepare both phones. Quick Start suits two working iPhones that can stay together. iCloud restore helps when the old phone isn't available but a usable backup exists. Wired transfer is the practical fallback when wireless conditions are poor or the migration contains a large amount of data.
Setting Up Your New iPhone with Quick Start
Quick Start is Apple's automatic setup path when the old and new iPhones are placed near each other. It uses a direct, peer-to-peer Wi-Fi connection between the devices, rather than relying on Bluetooth to carry the migration. Apple explains that Quick Start can move many apps, settings, and content directly between iPhones, although the time depends on network conditions and the amount of data involved in Apple's transfer instructions.
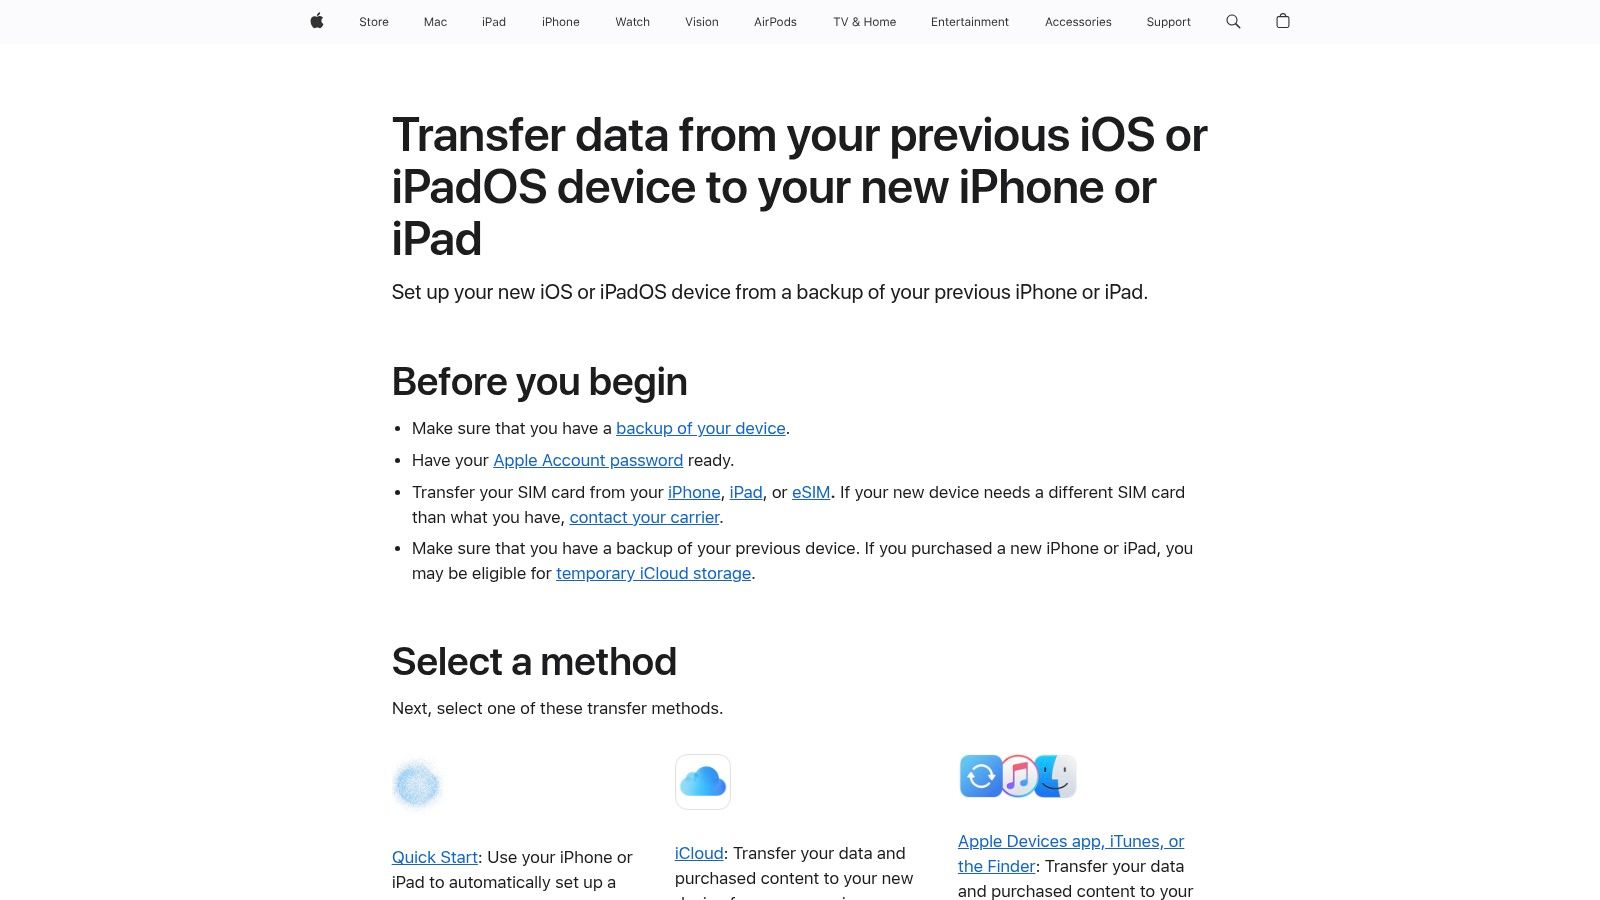
Prepare both phones
Keep the old iPhone powered on. Turn on Wi-Fi and Bluetooth, update the devices if practical, and connect both phones to power. The phones need to remain close together throughout the process, because Quick Start depends on their direct wireless relationship.
Turn on the new iPhone and begin setup. When the Quick Start prompt appears on the old iPhone, follow the instructions rather than dismissing it. The old phone will display an animation that you scan with its camera.
Complete the direct migration
After the animation connects the phones, enter the old iPhone's passcode on the new device when prompted. Choose the option to transfer directly from the old iPhone, then leave both devices together and connected to power. Don't use the old phone for unrelated tasks while the migration runs.
Quick Start can bring across apps, settings, photos, messages, and account information, but some services may still ask you to authenticate again. Keep the old iPhone available until you've checked banking apps, two-factor authentication, Apple Pay, and other security-sensitive services.
If you're also reviewing privacy settings during setup, a guide to hide caller ID on iPhone can help you find the relevant calling option without confusing it with data migration. For a broader walkthrough, use this new iPhone setup guide.
Using iCloud Restore or a Wired Computer Backup
Quick Start isn't the only way to move your information. If the old iPhone is damaged, unavailable, or too far away, Restore from iCloud Backup can rebuild the new device from a backup already associated with your Apple Account.
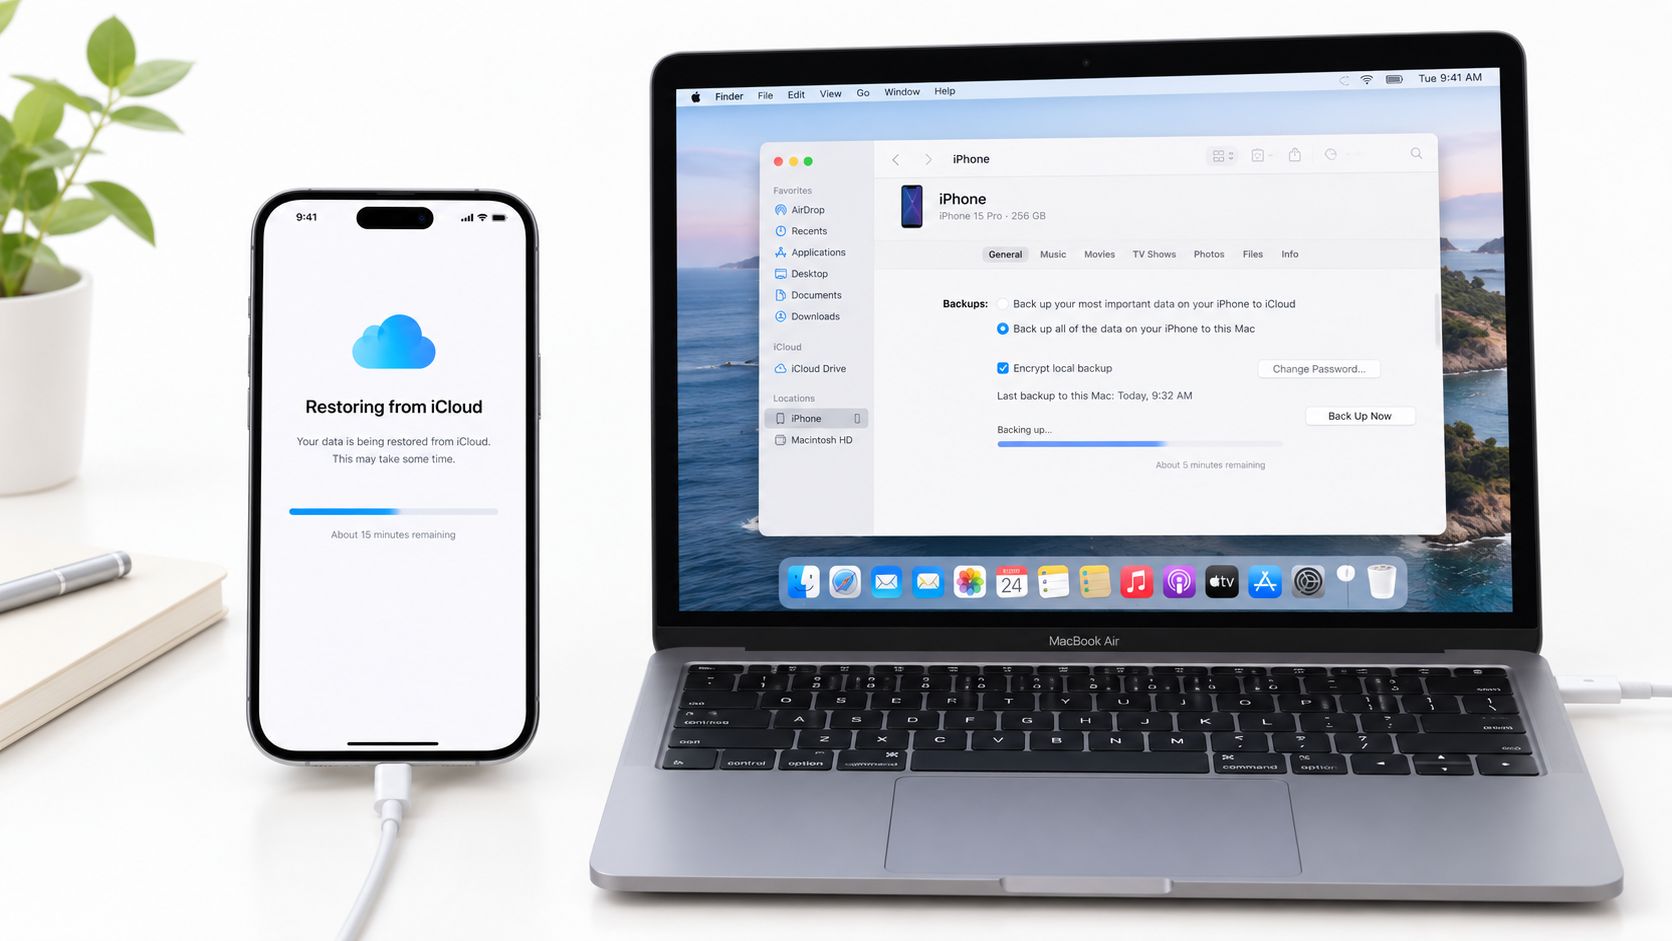
During setup, choose the option to restore from an iCloud backup and sign in with the same Apple Account used on the old iPhone. Select the relevant backup, usually the most recent one you recognize, and leave the new phone connected to reliable Wi-Fi and power while it restores.
When iCloud restore makes sense
iCloud is useful when you can't perform a direct phone-to-phone transfer. It also gives you a recovery route if the old iPhone has already been erased, provided a suitable backup exists. Apple notes that temporary iCloud storage may be available to eligible people buying a new iPhone or iPad, so check Apple's setup guidance before assuming you need to make room immediately.
The trade-off is that the new iPhone must download content from the cloud. A weak or congested internet connection can make the process unpredictable, particularly with a substantial photo library. The initial setup may finish before every app and piece of synced content has returned, so don't erase the old phone just because the Home Screen appears.
For a practical explanation of retrieving content from a backup, see this guide to downloading a backup from iCloud.
When a cable is the better fallback
A wired migration avoids the wireless path between the phones. Apple makes USB-C wired migration available for iPhone 15 or later, and identifies it as the fastest practical option when Wi-Fi is congested or unstable.
Use a compatible USB-C cable to connect the devices during setup, then choose the wired transfer option when it appears. Keep the connection undisturbed until the process completes. This approach is especially sensible for a large migration, a flaky wireless environment, or a setup that has already stalled repeatedly.
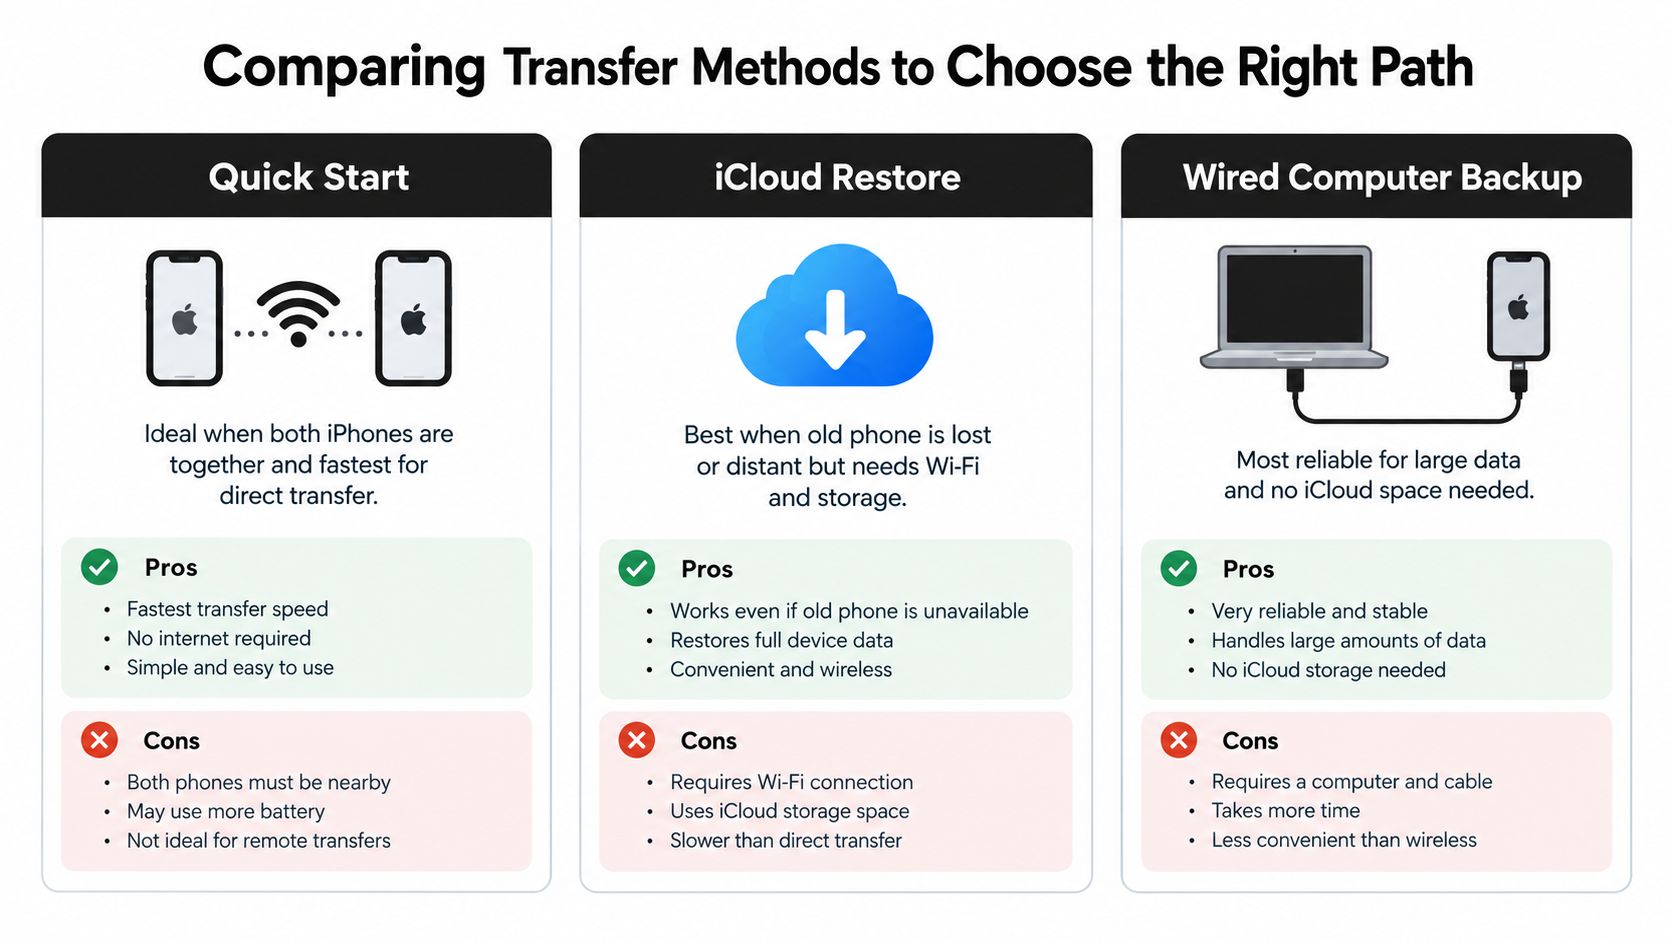
Comparing Transfer Methods to Choose the Right Path
Choosing the method before setup prevents many avoidable failures. The decision isn't about which option sounds most modern. It's about matching the transfer route to the phones, the backup available, the storage situation, and the network.
| Method | Choose it when | Main advantage | Main trade-off |
|---|---|---|---|
| Quick Start | Both iPhones are working and can remain together | Direct device-to-device migration without depending on a cloud download | It can stall if the wireless connection or device conditions are poor |
| iCloud Restore | The old iPhone is unavailable or a backup is already ready | Restores from an existing backup during setup | The new phone must download content over Wi-Fi |
| Wired transfer | The migration is large or wireless conditions are unreliable | Direct, predictable connection, with USB-C support on iPhone 15 or later | You need the right cable and both devices available for a direct migration |
Quick Start is usually the sensible first choice when both phones are present, charged, and close together. It avoids the extra cloud-download stage and keeps the process within the setup flow.
iCloud restore is the recovery option. It's the route to take when the old phone can't participate, but it depends on the quality and recency of the backup. If you're trying to transfer apps to a new iPhone, remember that app downloads and account authentication may continue after the main restore appears finished.
Wired transfer earns priority when Wi-Fi is unreliable or the old phone contains a large amount of content. It won't solve a storage mismatch, and it can't restore information that was never included in the backup or migration, but it removes one major source of wireless uncertainty.
Avoiding Storage Traps and Hidden Data Loss
Before starting, open Settings on both iPhones and compare how much storage is being used. Don't compare only the advertised capacity. The useful question is whether the new device has enough available space for the data you want to keep, along with room for iOS and normal use.
A new iPhone with less usable storage than the old one creates a hard constraint. Photos, videos, downloads, message attachments, and large app data can push the old phone's contents beyond what the new device can accommodate. If the numbers don't fit, remove unwanted media, clear downloads, or offload apps before attempting the migration.
The encrypted backup distinction
An unencrypted computer backup can look successful and still omit important categories. Apple specifically states that Health and Activity data won't transfer from an unencrypted backup. That detail matters for anyone who relies on workout history, health measurements, or other information stored in those apps.
An encrypted backup is the safer choice when you're using a Mac or PC as an intermediate step. It protects more sensitive information than an unencrypted backup, but you must remember the backup password. Losing that password can leave you unable to use the backup as intended.
Practical rule: Check storage before transfer, and choose encryption before backup. A fast migration is still a poor result if the new iPhone can't hold the content or Health data disappears.
If the old device has more data than the new one can hold, decide what stays on the phone and what can remain in cloud storage or on another device. Don't erase the old iPhone until you've checked the information that matters most. A structured phone data backup guide can help you prepare before making that decision.
Fixing Common iPhone Transfer Stalls and Errors
A frozen “Preparing to Transfer” screen doesn't necessarily mean the iPhones are damaged. The common causes include unstable Wi-Fi, outdated iOS versions, insufficient power, Apple Account or network problems, and, in some situations, SIM placement issues. Troubleshooting coverage from iMobie's iPhone migration guide highlights these causes and the importance of switching methods when the current route keeps failing.
Start with the least disruptive checks:
- Improve proximity: Put the phones beside each other, not in separate rooms or at opposite ends of a table.
- Connect power: Keep both phones plugged in so a low battery doesn't interrupt the migration.
- Check software: Install available iOS updates before retrying if the phones can be updated safely.
- Restart both devices: A restart can clear a setup process that has lost its connection.
- Review the network: Move away from an unreliable Wi-Fi signal or network that repeatedly disconnects.
Match the fix to the screen
“Move device closer” usually points to a proximity or connection problem. Keep the phones still and remove anything that separates them from one another.
“Preparing to Transfer” can loop when the devices can't establish or maintain the peer-to-peer Wi-Fi session. Quick Start uses peer-to-peer Wi-Fi, not Bluetooth, so toggling Bluetooth alone won't repair a failed migration. Restart both phones, confirm Wi-Fi is available, and retry with the devices on power.
“1 minute remaining” can mean the transfer is completing final tasks rather than actively copying everything. Give it time if the progress is still changing, but don't let an unchanged screen continue indefinitely without checking the connection, power, and storage conditions.
Change methods instead of repeating the same failure
If Quick Start fails repeatedly, restore from iCloud if you have a recent backup. That removes the direct phone-to-phone session from the equation. If the migration is large or wireless conditions remain poor, use a wired computer backup or a direct wired transfer supported by your iPhone model.
A setup process that remains stuck during software preparation may need a separate fix. Use this guide for an iPhone setup stuck on software update before repeatedly restarting the transfer itself.
Final Steps Before Your New iPhone Is Ready to Use
A transfer is complete only when the new iPhone works in the situations that matter to you. Open Contacts, Messages, Photos, Notes, Calendar, and the apps you use most. Check that recent conversations, important notes, contacts, and calendars are present rather than assuming the Home Screen tells the whole story.
Sign in again where required. Banking apps, authentication tools, Apple Pay, email accounts, and some third-party services may ask for verification on the new device. Keep the old iPhone available until those checks are finished, because it may still be needed to approve access.
Use this final verification pass
- Accounts: Confirm Apple Account, email, messaging, and other essential sign-ins.
- Security: Set up Face ID, review the passcode, and check app permissions.
- Mobile service: Confirm calls, texts, mobile data, and the correct SIM or eSIM arrangement. Apple notes that carrier support may be needed when the new device requires a different SIM or eSIM setup.
- Content: Open photos, messages, notes, contacts, and health-related apps to verify the data you care about.
- Background downloads: If you used iCloud restore, leave the new iPhone connected to Wi-Fi and power while remaining app data and photos download.
Only after this inspection should you erase, trade in, or sell the old iPhone. The most reliable data transfer from an old iPhone to a new iPhone combines the right method with storage planning, an appropriate backup type, and a deliberate final check.
Tech Today offers clear guides for iPhone setup, backups, app transfers, and everyday troubleshooting. Visit Simply Tech Today for practical technology help before you erase your old phone or get stuck during migration.


Member discussion