
How to Transfer Photos to Flash Drive Easily
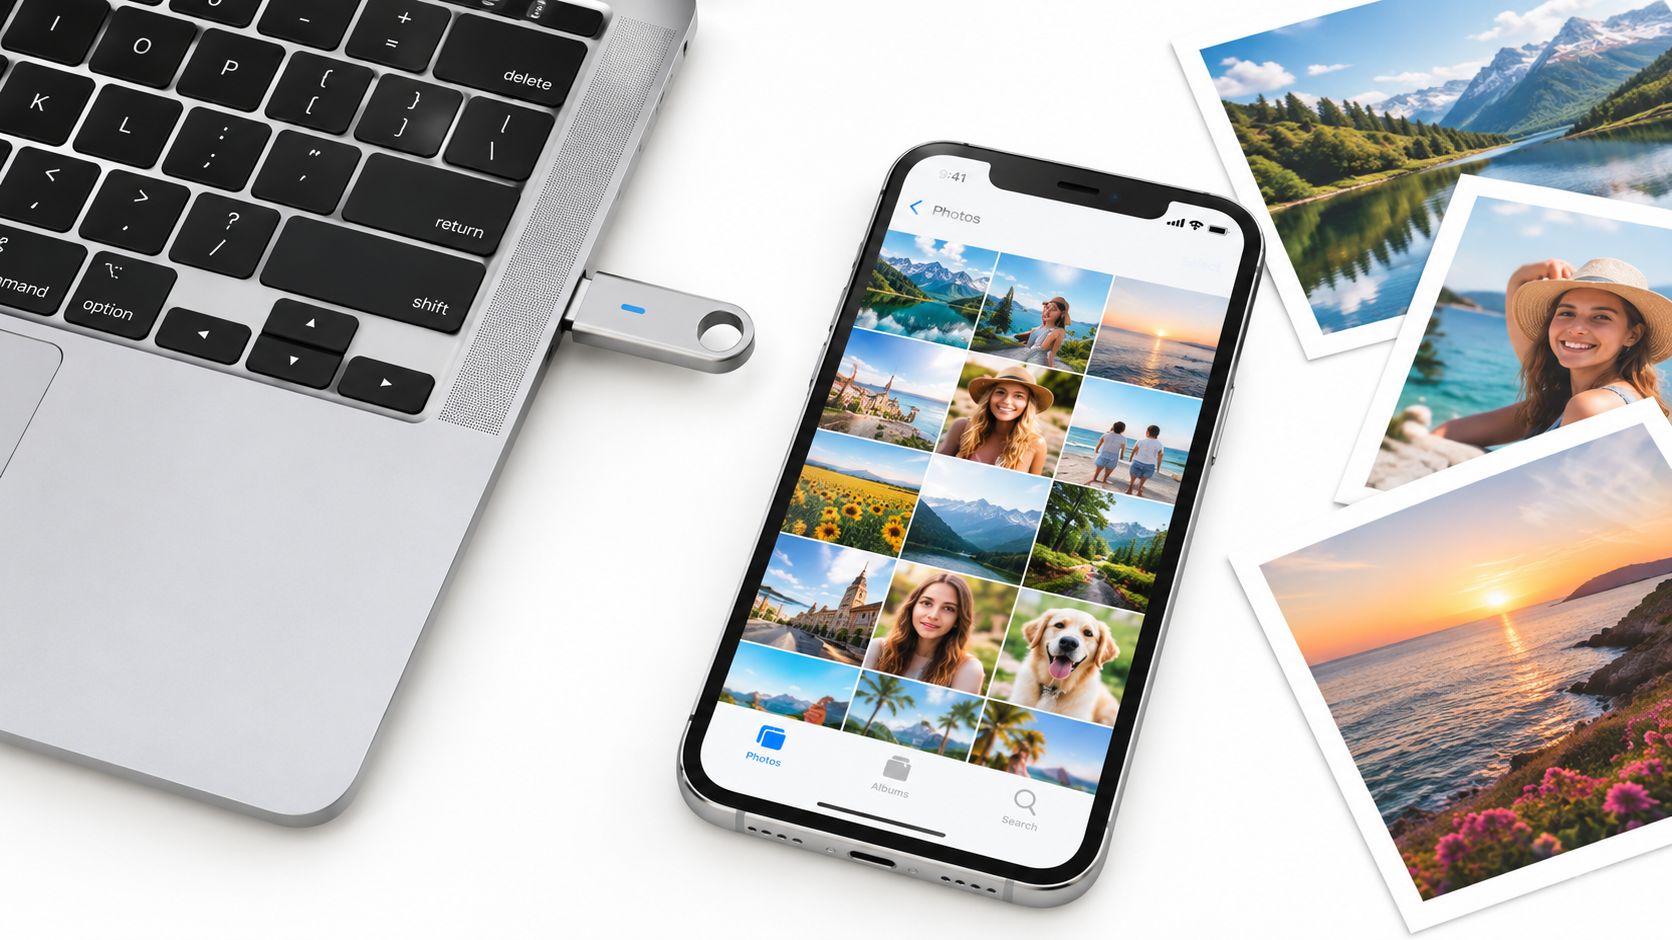
You've just returned from a trip, your phone is nearly full, or you've found a folder of family photos that deserves a proper backup. A flash drive seems like the simplest answer: plug it in, copy the pictures, and remove it. In practice, the file system, USB port, device type, and ejection process can all determine whether the transfer succeeds.
The basic action is easy, but a few hidden limitations cause many failures. FAT32 can reject a large photo file, a phone may need a USB OTG connection before it can see the drive, and unplugging too soon can leave files incomplete. This guide shows how to transfer photos to a flash drive from Windows, Mac, Android, and iPhone, with special attention to the problems that aren't obvious from a simple drag-and-drop instruction.
Preparing Your Flash Drive and Understanding File Systems
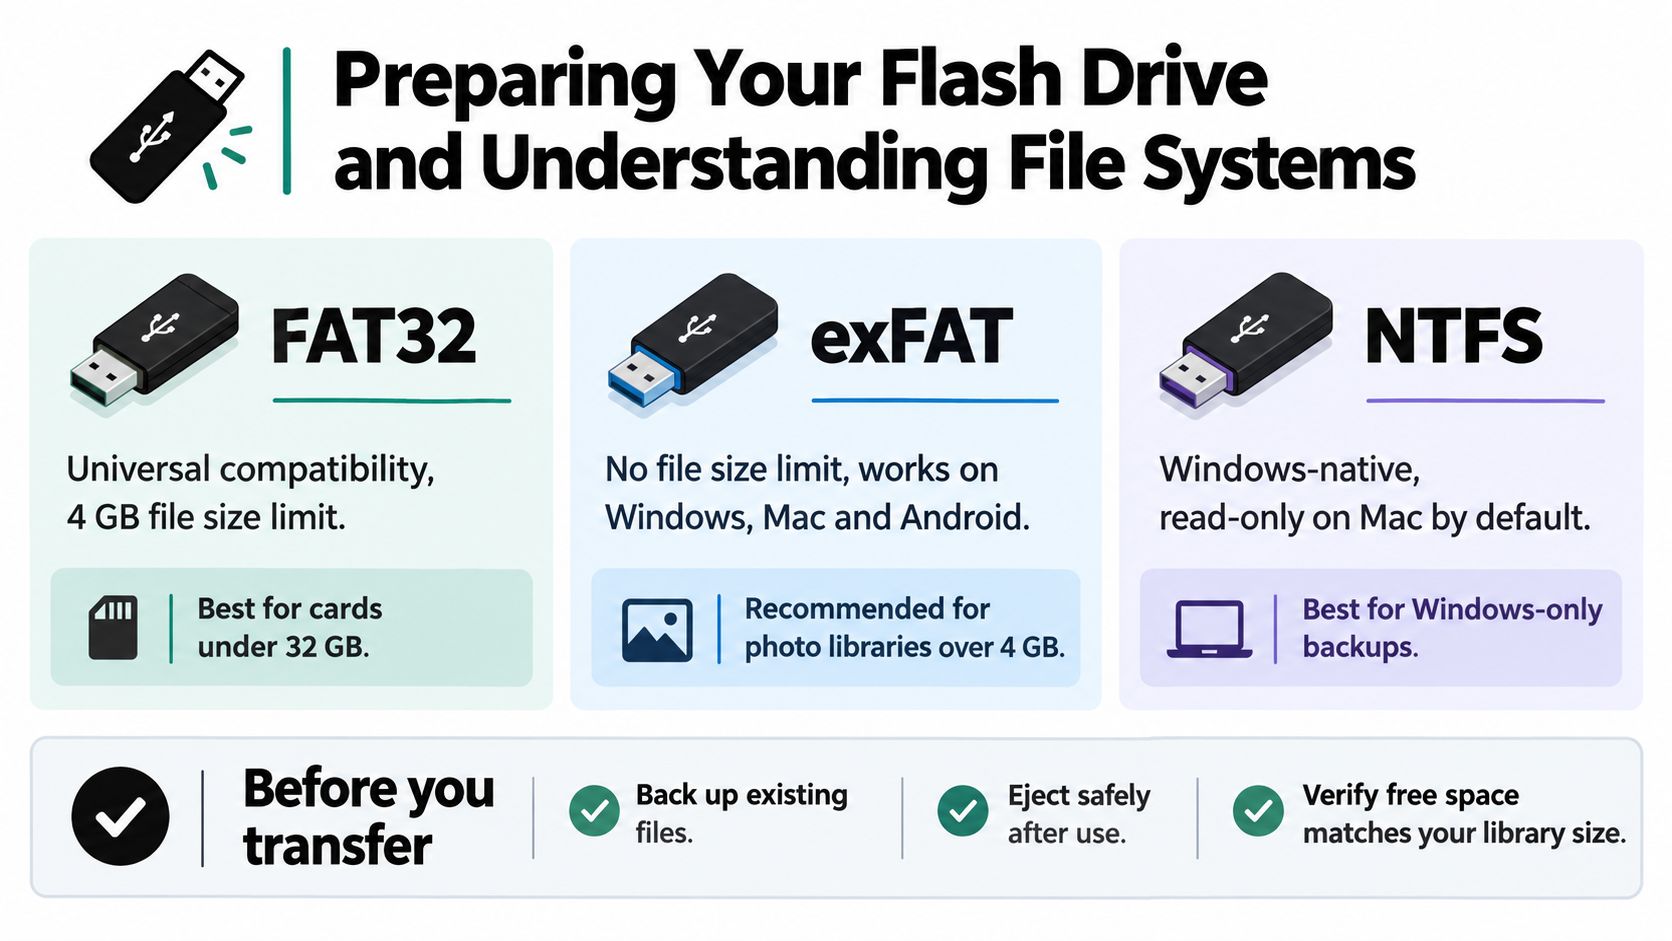
A flash drive may show plenty of free space and still refuse a photo. Before copying anything, check its available capacity and file system, the filing method that tells a device how to name, arrange, and save data. The hidden limit is often more important than the amount of empty storage.
Choosing the right format
FAT32 works with many computers, cameras, and phones, but it limits one file to 4 GB. That can affect large RAW images or a compressed archive of photos. The copy may run normally until it reaches the oversized file, then stop with an error. Nimb's flash-drive transfer guide explains why FAT32 is a poor fit for larger photo files.
exFAT is usually the practical format for a drive shared between Windows and Mac. It supports larger files and works well for RAW images and sizeable photo folders. NTFS suits a Windows-focused setup. A Mac can generally read NTFS, but writing to it may require extra software.
Formatting erases the drive. Copy anything important to another location first, then confirm the drive name before continuing. In Windows, right-click the drive in File Explorer, choose Format, select exFAT when you need cross-platform use, and start the process. On a Mac, open Disk Utility, select the physical flash drive, choose Erase, and select exFAT for a drive shared between systems.
Practical rule: Format the drive before storing important photos, not after a failed transfer has caused confusion.
Checking the USB connection
USB generation affects transfer speed. USB 3.0 was introduced in 2008 and became widely available in consumer devices around 2010. Its theoretical SuperSpeed rate is 5 Gbit/s, compared with 480 Mbit/s for USB 2.0, roughly a tenfold difference according to the USB 3.0 reference. Real-world performance is lower, but a USB 3 connection can still shorten a large photo backup.
Check for a USB 3 port, often marked “SS” or identified by a blue insert. The flash drive must support USB 3 as well. A faster port cannot make a slower drive perform at the higher rate.
Create destination folders before copying, such as folders for trips, dates, or events. This keeps the backup easier to search later. For practical guidance, review organizing files on your computer. If you are deciding whether removable storage fits your routine, these benefits of flash drives provide useful context.
Moving Photos from a Windows Computer
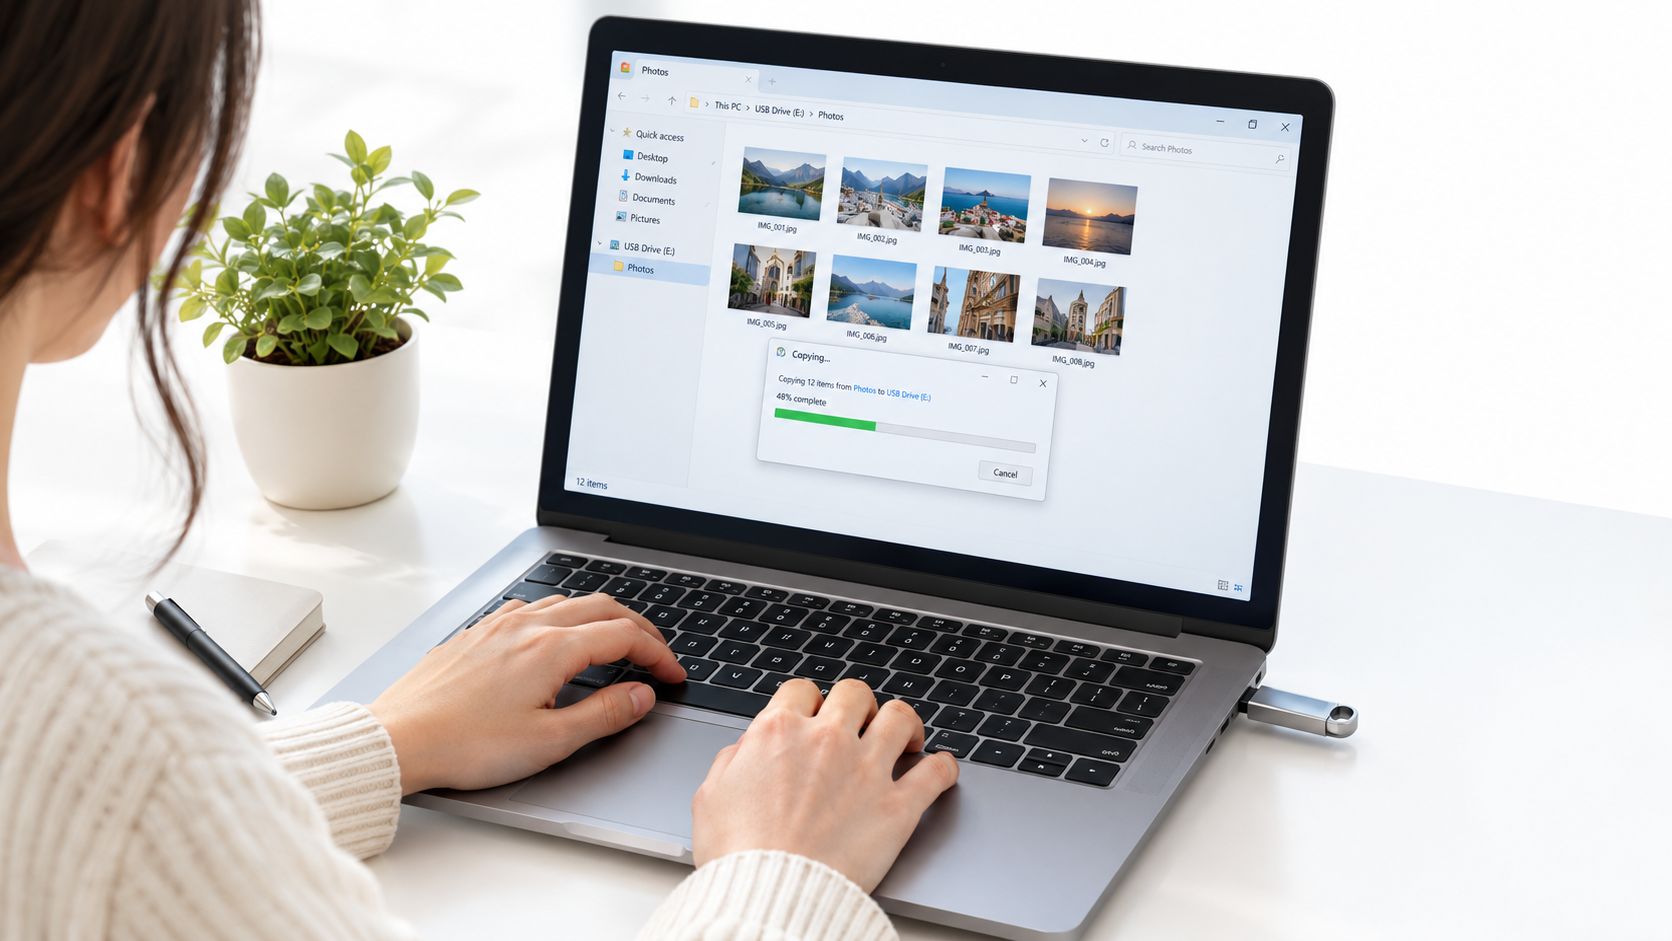
Windows makes photo copying straightforward through File Explorer. Start by inserting the flash drive directly into the computer. Avoid a USB hub when possible, especially if other devices share it, because a direct connection reduces possible power and connection problems during a large write.
A safe File Explorer workflow
- Open File Explorer with the folder icon on the taskbar.
- Select This PC in the left sidebar.
- Open the folder that contains your photos, such as Pictures, or open the SD card if your camera card is connected through a reader.
- Open the flash drive in a second File Explorer window.
- Create a destination folder, such as
Photosor a folder named for the trip or event. - Select the photos you need. Hold Ctrl while clicking individual files, or press Ctrl+A to select everything in the current folder.
- Right-click the selection, choose Copy, open the destination folder, right-click an empty area, and choose Paste.
Copying is safer than cutting because the original remains on the computer until you confirm the backup. For a large library, use smaller batches organized by event, month, or camera folder. Smaller groups make it easier to identify a problem file and reduce the chance that one failed item interrupts the whole job.
Before starting, open the flash drive's Properties and compare its available space with the size of the photo folders. Windows shows a progress window during the copy. Don't unplug the drive while that window is active, even if the display seems paused.
Confirming that the copy finished
When Windows reports that the copy is complete, open the destination folder on the flash drive and inspect several images. Check that thumbnails load, open a RAW file if applicable, and compare the folder contents with the original. If you want a broader file-migration checklist, this guide to transferring files to a new computer uses the same principle: copy first, verify second, remove nothing until the new copy is usable.
The step-by-step transfer guidance from iTechGuides also recommends checking free space, connecting directly rather than through a hub, copying smaller batches, and trying another port or computer when a transfer fails.
Copying Images from a Mac
Mac users may keep photos in the Photos app, in ordinary Finder folders, or in both places. The correct method depends on whether you want the edited image you see on screen or the original file from the library.
Exporting from Apple Photos
Open Photos, select the pictures, then choose File, Export. The export options let you decide whether to save the edited version or the unmodified original. Choose the edited version if your adjustments, crops, or filters are part of the backup you want to view elsewhere. Choose unmodified originals when preserving the camera files matters more than preserving edits.
Select the flash drive as the destination and create a clear folder before confirming. If you export a large collection, divide it into recognizable groups, such as 2024-Holiday or Family-Portraits. This makes later browsing easier and prevents one unclear folder from becoming a storage drawer full of unnamed files.
Copying folders through Finder
For photos already stored as files, open Finder, locate the source folder, and open the flash drive in another Finder window. Select individual items with Command-click, or select a continuous group with Shift-click. Press Command+C, select the destination folder, and press Command+V.
An exFAT drive generally works well when you move between Mac and Windows. NTFS is more restrictive on macOS, especially if you expect to write files to the drive. macOS may also place small hidden system files on removable media. These aren't your photographs and can usually be ignored.
Wait until copying ends, then open a few images directly from the flash drive. In Finder, click the eject icon beside the drive name before physically removing it. For a wider Mac backup routine, use this practical guide to backing up a Mac, particularly if the flash drive is only one part of your protection plan.
Transferring Directly from Android and iPhone
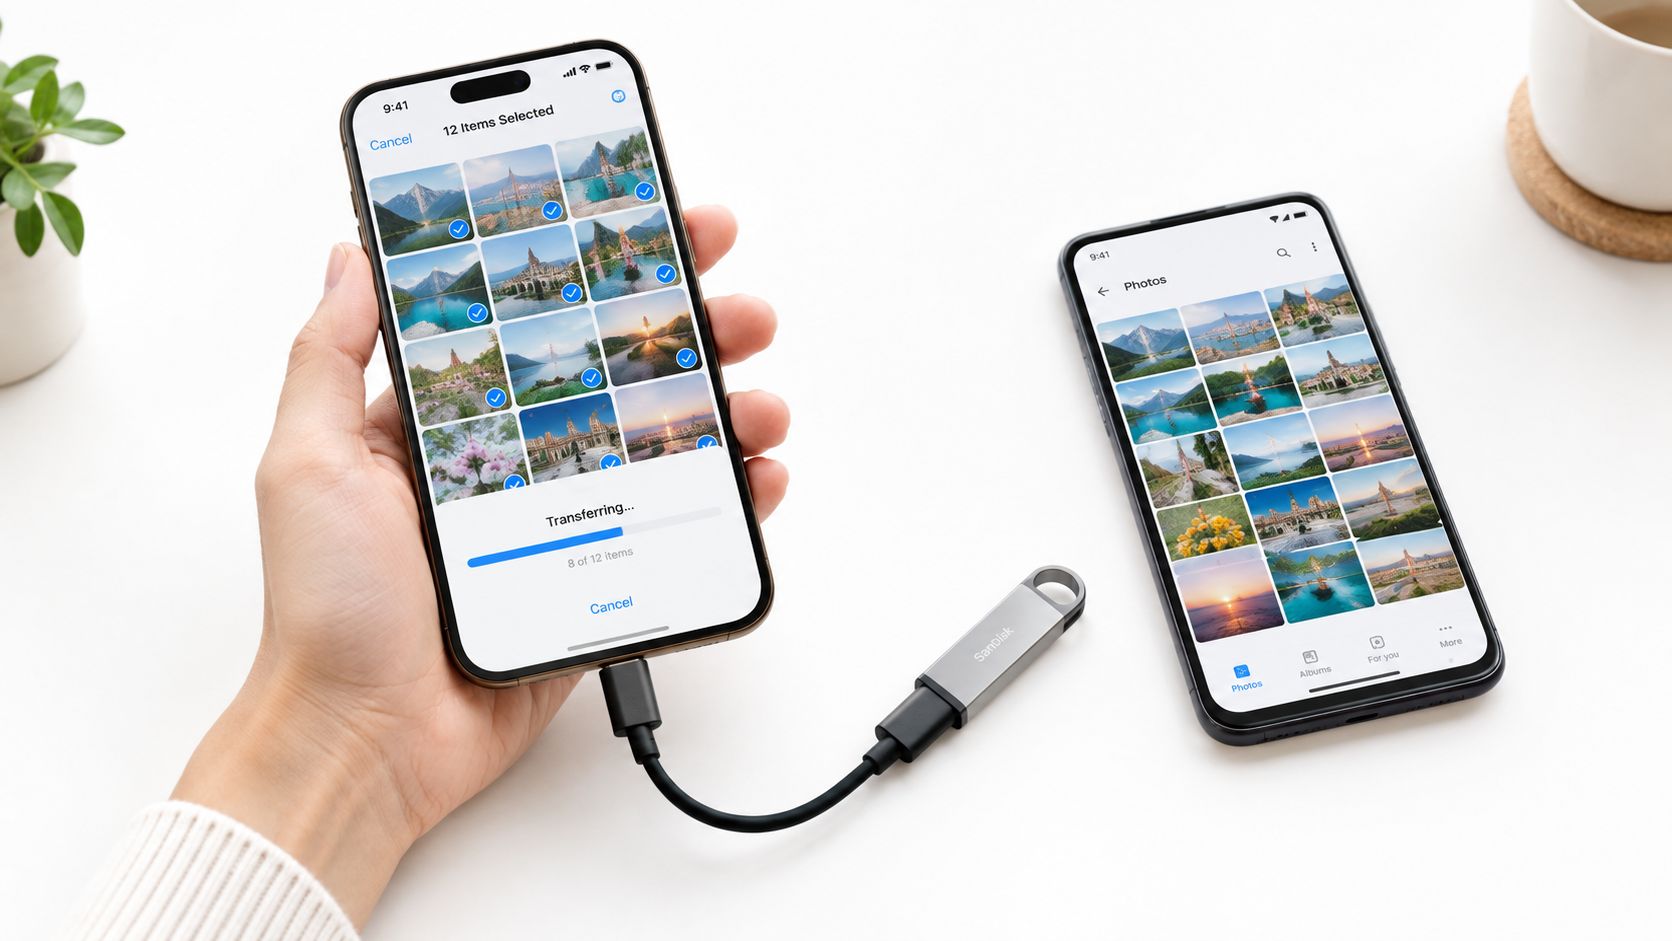
A laptop isn't required for every photo backup. A compatible phone and flash drive can handle the job while you're traveling, at school, or away from reliable internet access. The connection is the important part. A USB-C flash drive can plug directly into many newer phones, while other combinations need a USB OTG adapter.
Android and USB OTG
On many Samsung Galaxy phones, insert the USB OTG flash drive first. Open My Files, then look for the USB storage device in the storage list. Samsung's official Galaxy file-transfer instructions show this mobile-first path rather than requiring a computer.
Open Internal storage, then DCIM, and select the camera folder. Tap the menu or selection control, choose the photos, and select Copy or Move. Choose the USB drive as the destination, then open it afterward to confirm that the images appear.
Use Copy if you want the phone to retain the originals until verification. Use Move only when you need to free space and have already checked the destination files. If the drive doesn't appear, the phone may not support the adapter, the connection may be loose, or the drive may use a file system the phone can't write to.
iPhone and external storage
On an iPhone, connect a compatible Lightning-to-USB adapter or USB-C flash drive, depending on the phone's connector. Open Photos, select the pictures, tap the share button, choose Save to Files, and select the connected external drive as the destination. Create a folder first if you want the backup separated by event.
Open the Files app and browse to the drive after the copy finishes. Tap an image to confirm it opens. Keep the phone connected while the write operation is active, and don't assume the process is complete just because the share menu has closed.
Mobile transfers can feel less familiar because phone file managers hide many desktop-style controls. This phone-to-PC file transfer guide can help if you decide to use a computer as an intermediate step, particularly for a large folder that is difficult to select on a small screen.
Fixing Common Transfer Errors and Drive Issues
Most transfer failures become easier to diagnose when you separate the problem into three questions: Can the device see the drive? Can the drive accept the file? Did the copy finish correctly? Each question points to a different solution.
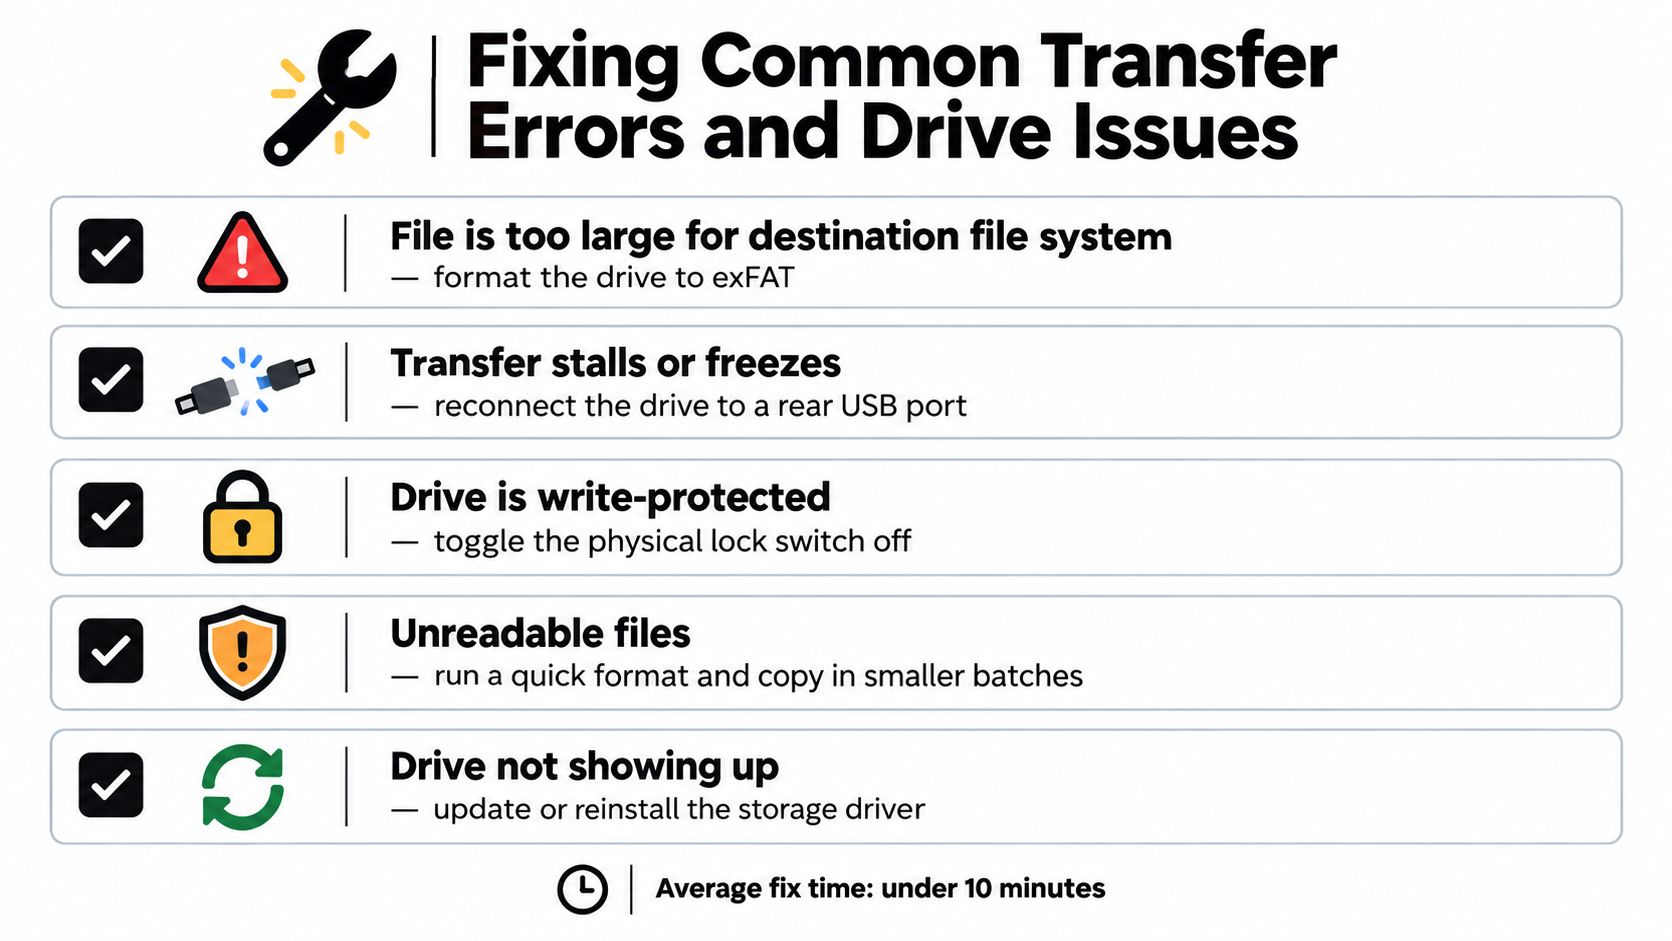
When one file stops the transfer
The message “file is too large for the destination file system” usually points to FAT32. FAT32 limits each individual file to 4 GB, while files larger than that require exFAT or NTFS, as explained in the Integral Memory flash-drive FAQ.
Move any important existing files to another location, then reformat the flash drive as exFAT. Formatting deletes the drive's contents, so don't skip that backup. If reformatting isn't possible, copy only files below the limit, though that won't solve the problem for a large RAW image or archive.
When the drive disappears or freezes
Try the simple physical checks first:
- Change the port: Disconnect the drive and try another USB port, preferably a direct port on the computer rather than a hub.
- Test another device: Connect it to another computer or phone to determine whether the fault follows the drive.
- Inspect the drive: Check for a loose connection, physical damage, or a write-protection switch.
- Reduce the batch: Copy a smaller group to identify whether one file or folder causes the failure.
If the computer doesn't show the drive at all, Windows users can inspect Disk Management to see whether the device needs a drive letter. Mac users can open Disk Utility to check whether the volume is mounted. Don't format the drive from these tools until you're certain it contains no files you still need.
Verifying an interrupted copy
Open the destination folder and test several files from different parts of the transfer. A photo that has a thumbnail but won't open may be incomplete. Delete the damaged copy from the flash drive and repeat the transfer after changing the port or reducing the batch size.
If you accidentally delete originals while troubleshooting, consult this guide to recovering deleted files. Recovery isn't guaranteed, so treat it as a last resort rather than a substitute for keeping the original files until verification is complete.
Safely Ejecting and Storing Your Backed Up Photos
A transfer can look complete while the device is still writing files. Use the system's eject command before removing the flash drive. In Windows, select the USB icon in the taskbar, then choose Eject or Safely Remove Hardware. On a Mac, click the eject icon beside the drive in Finder. On a phone, use the storage or Files controls to disconnect the device when that option appears.
After ejecting, label the drive with its contents and backup date. “Family Photos, edited exports” identifies it more clearly than an unlabeled drive. Store the drive in a cool, dry place, away from drops, moisture, and extreme heat.
USB 3.0 can make large photo transfers faster because its theoretical 5 Gbit/s SuperSpeed rate exceeds USB 2.0's 480 Mbit/s, although real-world speeds vary, as documented in the USB 3.0 overview. Connection speed does not confirm that every file copied correctly. Keep the originals until you open photos from the drive, then maintain another copy on a computer, external drive, or trusted cloud service.
Tech Today publishes guides about device setup, file transfers, backups, and everyday technology troubleshooting. Visit Simply Tech Today for practical help moving photos between phones, computers, and removable storage.

Member discussion