
How to Recover Deleted Photos from Phone: Start with Trash
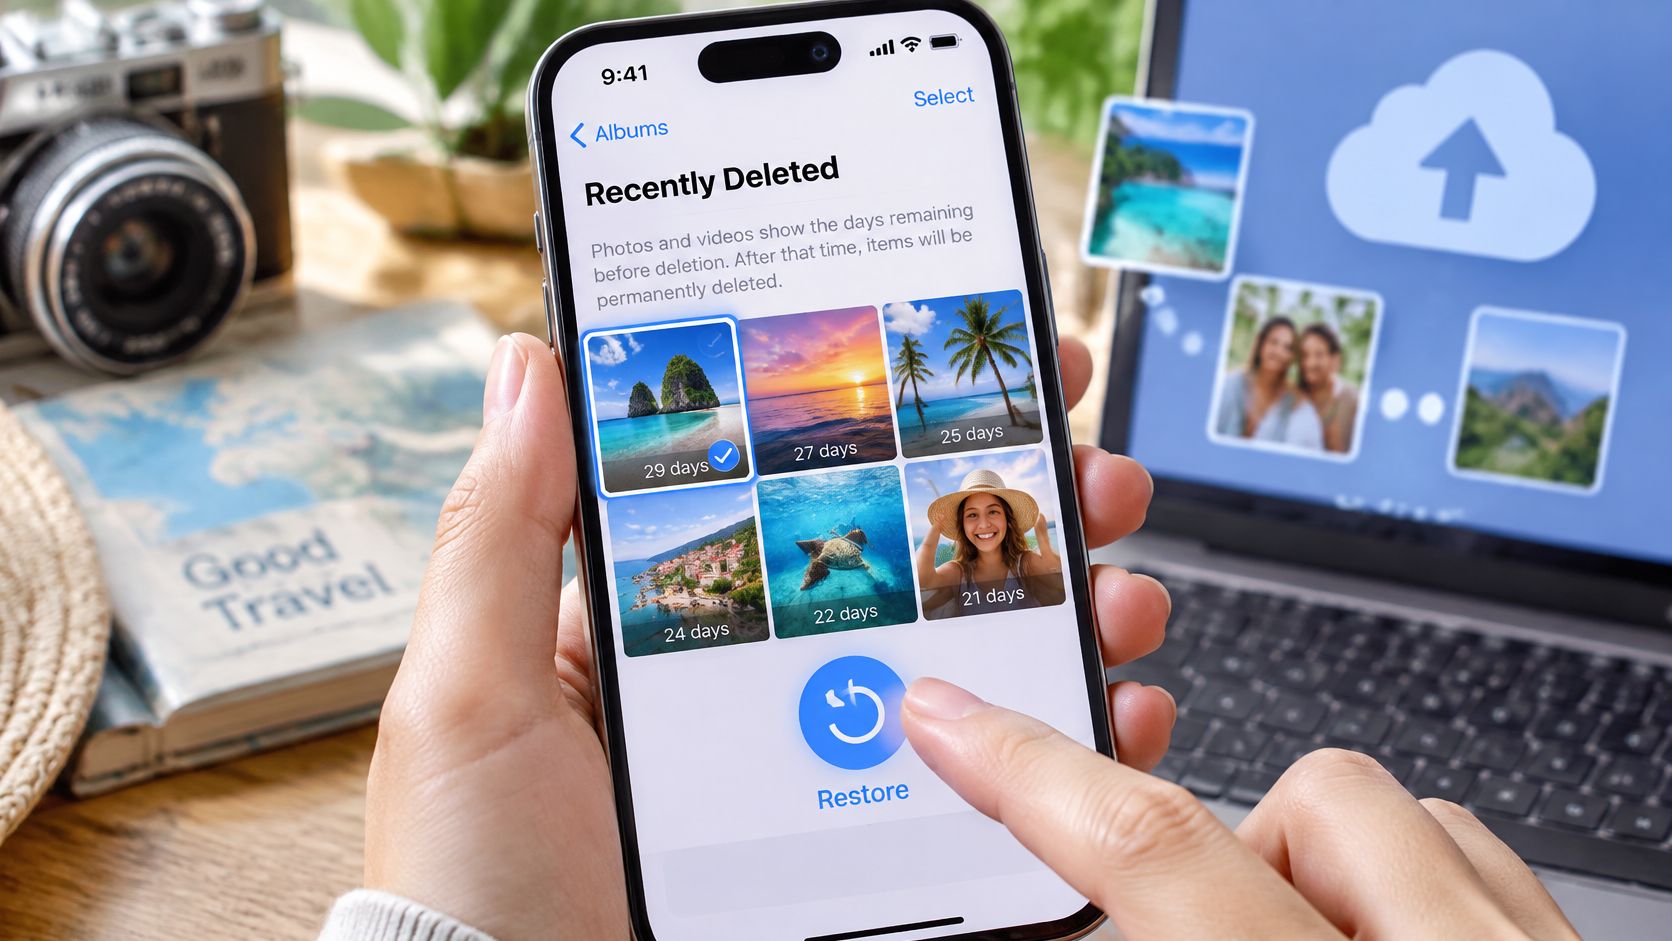
You clear out a few blurry pictures, tap Delete, and then notice the birthday photo or travel album is missing too. Before you install a recovery app, stop and check where you deleted it. The quickest fix is often already inside Photos, Gallery, or the cloud account that held the original.
Learning how to recover deleted photos from phone storage starts with separating a photo waiting in Trash from a permanently deleted file. Those situations need different tools, and paying for a scan won't turn one into the other.
Recovery Windows Decide Your Next Move
Every deleted photo carries a deadline, and the deadline depends on two questions: where the photo lived and whether backup was on. Count the days since deletion, then match the app that removed it to the right holding area. The Android Gallery and Google Photos keep separate trash folders, so restoring in one does not touch copies in the other.
Recovery windows by where the photo was deleted
| Where the photo was deleted | Retention period | Where to recover it |
|---|---|---|
| iPhone or iPad Recently Deleted album | 30 days, according to Apple's recovery guidance | Photos app, Albums or Utilities, Recently Deleted |
| Google Photos, photo was backed up | 60 days, according to Google's deletion and restoration guidance | Collections, Trash |
| Google Photos, photo was not backed up | 30 days under the same Google policy | Collections, Trash |
| Emptied Trash or permanently deleted item | Not restorable through the service | Look for an independent backup or surviving copy |
| Android manufacturer Gallery trash | Typically 30 days | Gallery app, Trash or Recycle bin |
Apple's holding period applies to synchronized photos across the iPhone, iCloud, and other devices connected to the same Apple Account. A second synchronized Apple device is not a separate backup. If the deletion has already synchronized, its library shows the same missing photo.
Google's longer window applies only when the item was backed up. Having Google Photos installed doesn't prove that backup was enabled or completed. A photo that existed only on the device follows the shorter retention policy, so confirm the backup status in the account that owned the photo before assuming the 60-day clock applies.
Manufacturer Gallery apps run their own trash independent of Google Photos, and the typical holding period sits around 30 days. Treat that figure as a working assumption and check the Gallery app's own Trash label for the exact countdown on your device.
Read the deadline as an opportunity, not a guarantee
Inside the retention window, check immediately. The window describes how long a service holds deleted items, and your photo may already be gone because someone emptied Trash, deleted it permanently, or removed it while signed into a different account.
Outside the window, redirect the search toward surviving copies: computer imports, message attachments, files shared before deletion, and any second cloud account. For files beyond photos, the same location-first approach helps when recovering deleted files.
Practical rule: Start with the deletion date and the app used to delete the photo. A recovery app comes later, if it belongs in the process at all.
How to Recover Deleted Photos Step by Step
Work through these checks without experimenting on the affected storage. Google's photo recovery guidance makes the critical distinction clear: restoring an item from Trash is different from trying to retrieve something permanently deleted.
Preserve the phone and inspect its own trash
Pause normal use because new activity can write to storage. Turn on airplane mode, stop taking photos, and don't install recovery apps. Avoid a factory reset, operating-system update, or unnecessary reboot while you decide what to do.
Airplane mode is a temporary preservation step, not a recovery tool. You can inspect local folders while disconnected; use a computer or another device to check cloud accounts where possible. If the pictures may be needed as evidence, stop troubleshooting and arrange specialist advice rather than changing more settings.
Open the phone's native trash because that's the least disruptive restore. On iPhone or iPad, open Photos and find Recently Deleted under Albums or Utilities, depending on the layout. Verify your identity with Face ID, Touch ID, or your passcode, select the missing pictures, and tap Recover.
On Android, open the manufacturer's Gallery app, then look under Albums or the menu for Trash, Bin, or Recently Deleted. Select the pictures and choose Restore. Don't confuse this folder with the separate Trash inside Google Photos.
If nothing appears, inspect Hidden, Locked Folder where available, and any alternate library or profile you use. A picture removed from the main timeline hasn't necessarily been deleted. Search by the date it was taken, not just the date you noticed it was missing.
Check the account that actually held the photo
Inspect every relevant account because the wrong login can look like data loss. In Google Photos, check the profile icon and read the account address before searching. Open Collections, choose Trash, select the item, and tap Restore.
Repeat the check for personal, work, and older Google accounts that might have received uploads. For Apple photos, inspect the matching Apple Account's library and Recently Deleted through iCloud in a browser. Don't sign out of the affected phone just to test another account when you can check elsewhere.
Say a parent moved from an Android phone to an iPhone. The older family pictures may still belong to a Google account used during the previous phone's setup, while the new phone displays a different account. Searching the right library can solve that problem without recovering deleted storage at all.
Check shared albums and ask anyone who received the photo whether they still have a copy. Don't assume a shared view guarantees an independent original, but don't overlook a recipient's saved download either. If the account layout is unfamiliar, this guide to using Google Photos can help you distinguish the library, albums, and backup controls.
Search other copies because an existing file is preferable to reconstructing deleted data. Look through computer photo imports, folders used for phone transfers, messaging attachments, email attachments, and old devices. Search around the event date and check the conversation where you originally sent the picture.
If the phone used a microSD card, treat it as separate storage rather than assuming every camera photo lived internally. Stop writing to that card. Don't accept a format or repair prompt just because a computer can't open it.
Deleting inside a synchronized photo app can remove the cloud copy too. Sync is not the same thing as an independent archive.
Verify the result before returning to normal use
Open restored files because a thumbnail alone doesn't prove you recovered the original. Confirm that the picture opens, zoom in to inspect detail, and check its dimensions or file information where available. Make sure it appears in the expected library or album.
A copy saved from a message may be smaller than the camera original. Keep it if that's all you have, but label it as a recovered copy rather than assuming it has the same quality. Save important recovered files to a separate location before doing any more cleanup.
Consider software or a lab only after surviving copies are exhausted. A tool can't recreate a cloud-only photo that the service has purged. Nor should you install something on the affected phone just because its advertising promises a deep scan.
Record what you checked, which accounts you searched, and whether the missing pictures lived internally or on a card. That information helps you evaluate a tool's actual capabilities or explain the situation to a forensic examiner without repeating risky experiments.
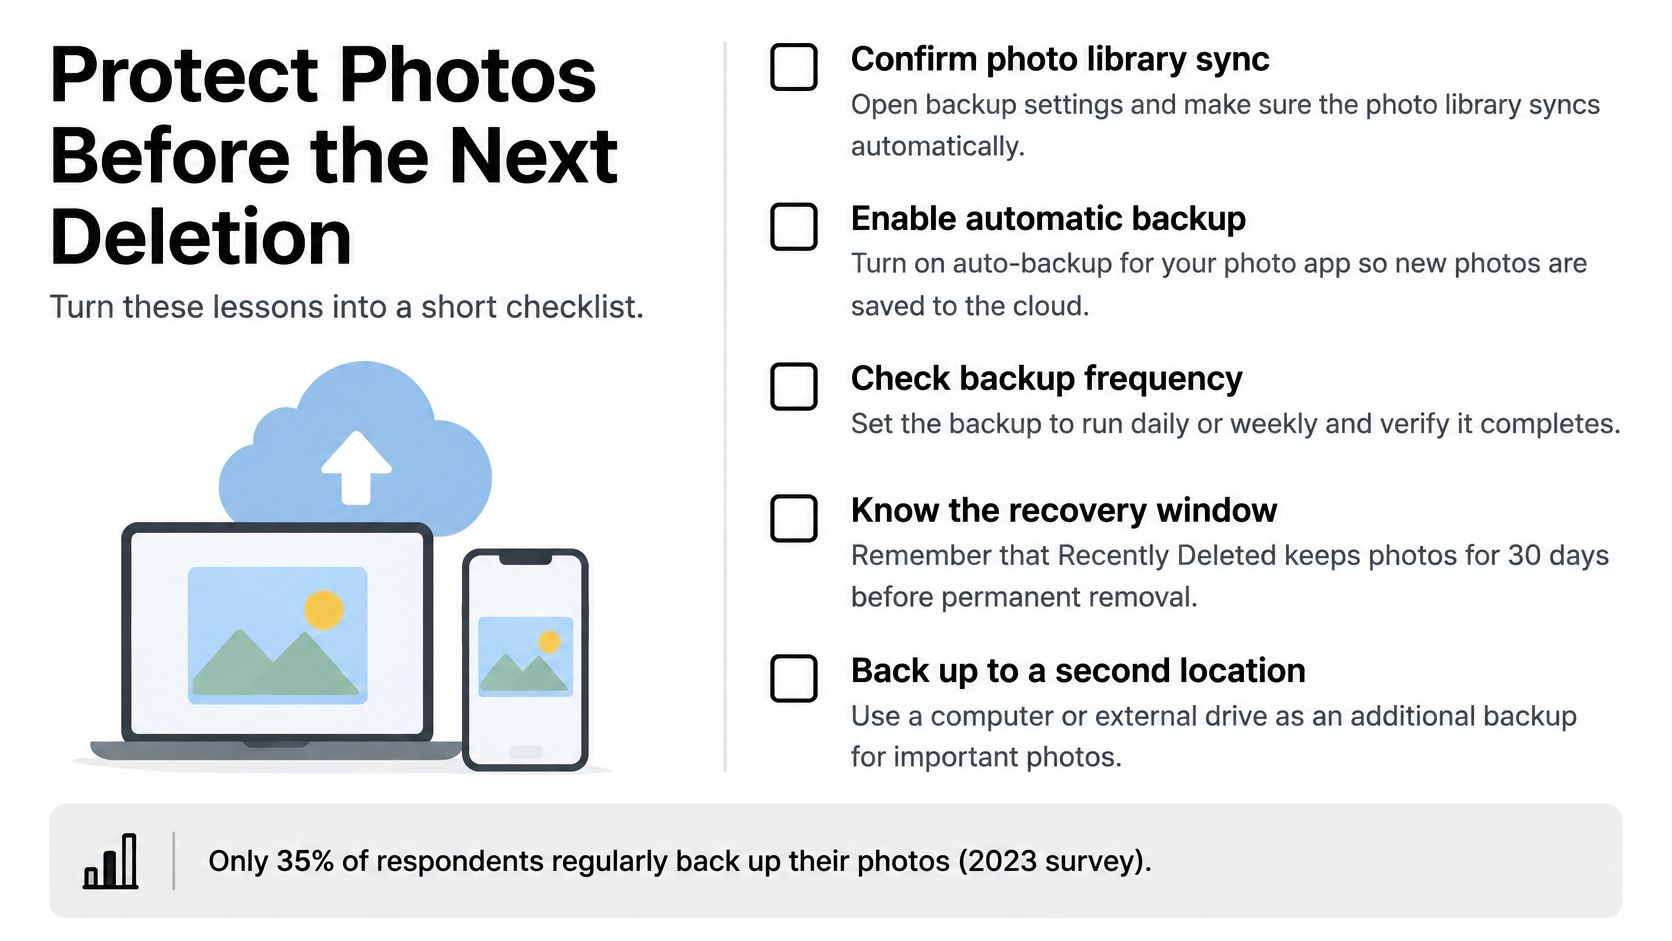
Once you've secured any recovered files, use this checklist to turn the emergency fix into a backup routine.
Recovery Apps and Labs Compared
Choose the method that can access the copy you need, not the one with the most impressive scan animation. A cloud restore, computer backup, and storage scan solve different problems.
Recovery options compared by fit and risk
| Option | Works best when | Main risk | Check before using |
|---|---|---|---|
| Built-in trash, Recently Deleted or Trash | Deletion is inside the retention window | Items vanish when the window ends | Deletion date and window length |
| Cloud account restore | The photo was backed up and remains available | Purged or emptied cloud copies cannot be restored | Signed-in account and backup status |
| Computer backup restore | A Finder, iTunes, or PC backup contains the photos | A full restore can replace newer phone content | Copy current files off first |
| Consumer recovery app | Built-in and cloud options failed, and the tool supports the storage | Installation can overwrite data; results aren't guaranteed | Permissions and whether photos leave the phone |
| Professional mobile-forensics lab | Pictures are valuable or evidentiary | Cost and time without guaranteed recovery | Credentials and documented chain of custody |
My recommendation is to use built-in and cloud recovery first, inspect computer backups next, and treat paid scans as a last resort. If you need to retrieve an existing cloud archive, understand the difference between downloading an iCloud backup and restoring individual photographs before replacing anything on your phone.
What a scan can and can't establish
Modern internal phone storage isn't equivalent to an ordinary removable memory card. Encryption and storage-management operations can prevent tools from accessing useful deleted content. The NIST mobile-device forensic tool test specification distinguishes acquisition methods and the deleted artifacts they may expose, which is why device compatibility matters more than a generic recovery promise.
A microSD card deserves its own assessment. Ask whether the tool supports the card's filesystem and encryption state, and recover files to a different drive rather than back onto the card being scanned.
Before allowing access to private photos, check:
- Permissions: Does the app explain why it needs each requested permission?
- Upload behavior: Will scanning or recovery send pictures to an external server?
- Exit procedure: Can you delete uploaded material, revoke access, and uninstall cleanly?
ACM-published work on data-loss experiences provides context for taking loss seriously, not a success benchmark for a recovery product.
For a lab assessment, photograph the phone using another device, document what happened, and avoid extra access attempts or reboots. Ask the examiner how to preserve its present power and network state. An app or lab promising a fixed success rate deserves skepticism, especially before anyone has assessed the device.
Protect Photos Before the Next Deletion
A backup setting is only the beginning. You need to know which account receives your photos, whether uploads finish, and whether a separate copy survives an accidental deletion.
In a 2023 survey by an online photo-printing service, only 35% of respondents regularly backed up photos on their phone's camera roll, while respondents stored an average of 3,139 photos and videos, as reported by TechRadar. The useful lesson isn't that everyone needs the same storage service. It's that a large camera roll can exist without a dependable recovery plan.
Make the backup routine observable
- Confirm the destination: Open your photo app's backup settings and read the account address so you know exactly where new pictures go.
- Enable automatic uploads: Turn on photo backup so protection doesn't depend on remembering a manual transfer.
- Check completion: Inspect the backup status and newest uploaded picture so a paused upload doesn't go unnoticed.
- Watch storage limits: Keep room available on the phone and in the backup account, since exhausted storage can interrupt normal backup activity.
- Keep an independent copy: Export irreplaceable albums to a computer or external drive so synchronized deletion doesn't remove every copy.
- Review Trash deliberately: Confirm that anything you want to keep exists elsewhere before permanently removing it.
When comparing services, free photo storage options are a starting point. Check whether the service preserves the quality you need, how you export originals, and whether it behaves as a synchronized library or an independent archive.
Backup test: Open a saved photo from the destination without relying on the phone's local copy. If you can't retrieve it, the backup still needs attention.
Make checking part of ordinary maintenance
Set a recurring reminder to inspect backup status and test a restore. Use a nonessential picture for the test, download it to another location, and confirm that it opens with the expected detail.
Don't use the only copy of a meaningful photograph to test deletion behavior. A spare test image lets you learn what the service does without putting another memory at risk.
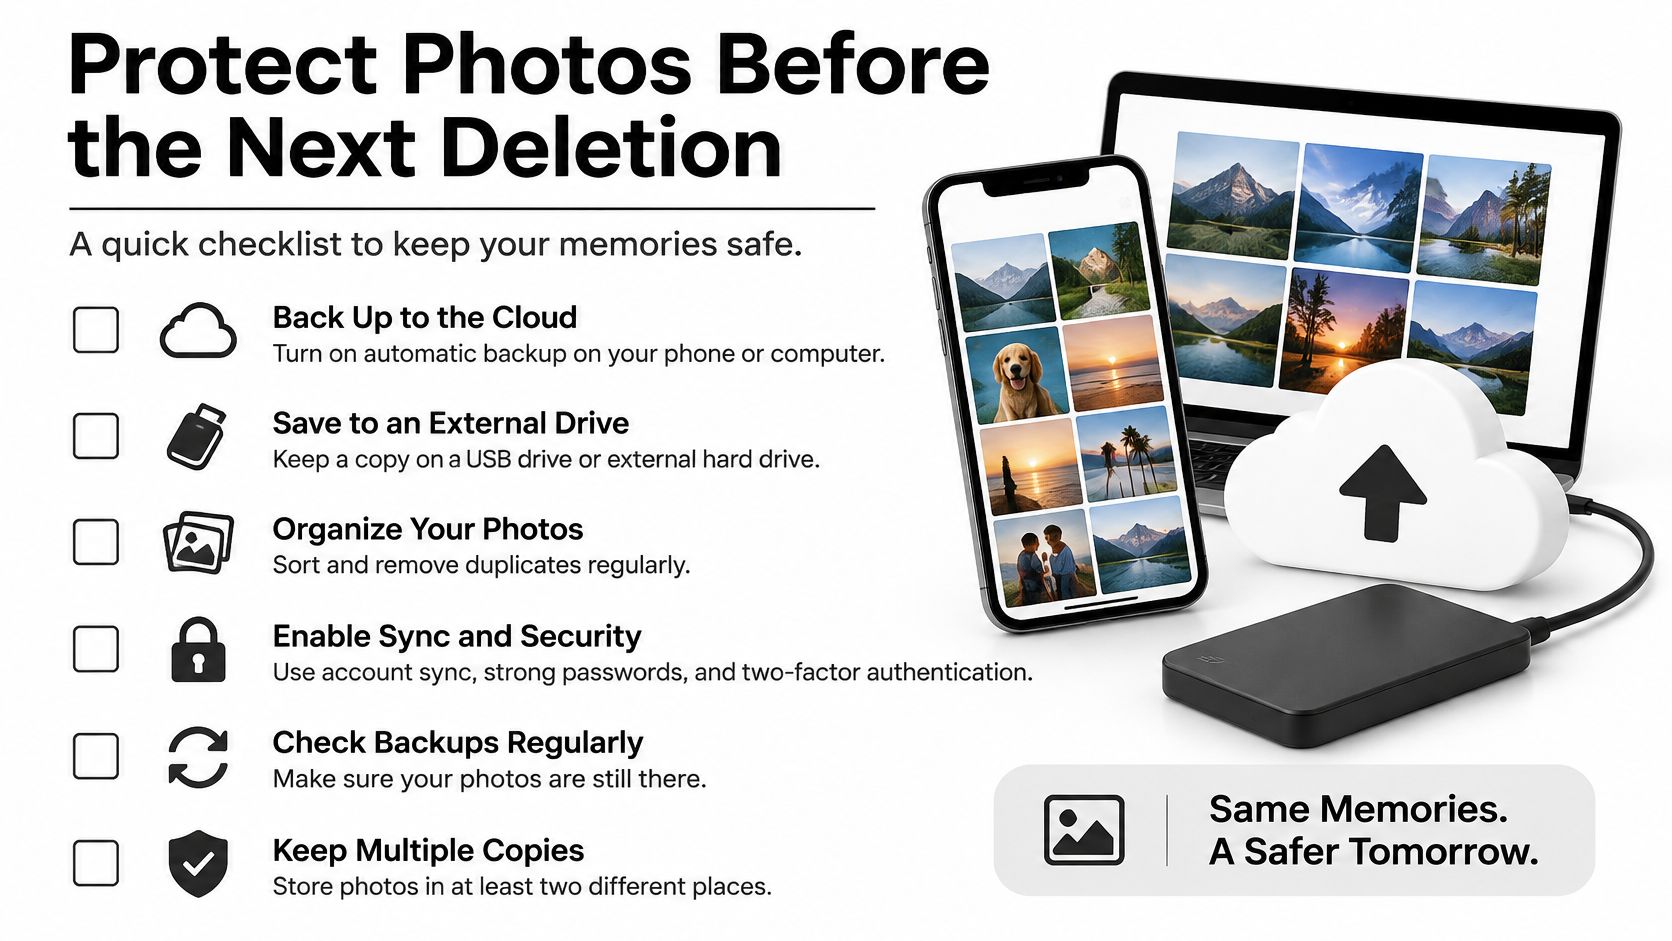
Keep this protection checklist somewhere you'll use it, especially before changing phones or clearing storage.
Choose Your Next Recovery Step Today
The right next move depends on what remains available, not on how urgently you want the picture back. Choose the least disruptive option that can reach it. Don't buy a tool merely to feel that you're doing something.
Match your situation to an action
- The picture is still in a holding folder: Restore it now and verify the file before starting any broader cleanup.
- Backup was enabled but the picture is missing: Investigate the matching account, shared locations, and completed uploads before making a purchase.
- Only an older computer backup may contain it: Preserve current files, inspect what the backup includes, and weigh the consequences of a full restore before proceeding.
- No copy remains and the pictures are irreplaceable or evidentiary: Stop interacting with the device and request a qualified mobile-forensics assessment rather than cycling through apps.
If you're considering consumer software, require a clear explanation of supported devices, storage access, permissions, and upload behavior. A preview of a cached thumbnail isn't the same as proof that the original can be recovered. Decide what result would be useful before paying.
Separate recovery from the next backup
Once you've secured the pictures you can retrieve, make a fresh backup of the phone's current state. Use a phone data backup checklist to protect the rest of your files too, particularly before a device transfer or reset.
Your immediate action is simple: open Recently Deleted or Trash and write down the deletion date or displayed expiry. If the photo is there, recover it. If it isn't, record the account and storage location you checked, then choose the matching route without adding unnecessary changes to the phone.
At Simply Tech Today, we publish practical technology guides, including how to set up a new iPhone from Android and how to update an LG Smart TV. Visit for straightforward help with backups, account settings, and device changes so your next cleanup or phone upgrade doesn't put your photos at risk.
Member discussion